
- Basic Functions
- Use Cases
- Frequently Asked Questions (FAQ)
- Troubleshooting
Linked pages:
By clicking the name, you will be directed to a new page.
1. Basic Functions ^

1. Pages ^
The ribbon at the top indicates all the pages that are included in the Infrakit software. Map is the default starting page when you log in to Infrakit software. By clicking the page icon below, you can find more information about each page.
By clicking the Infrakit logo on the left-top corner of the page, the user will be directed to the Infrakit starting page.
2. General Tools ^
Add Item ^
By clicking the "Add Item" button, a box will open.

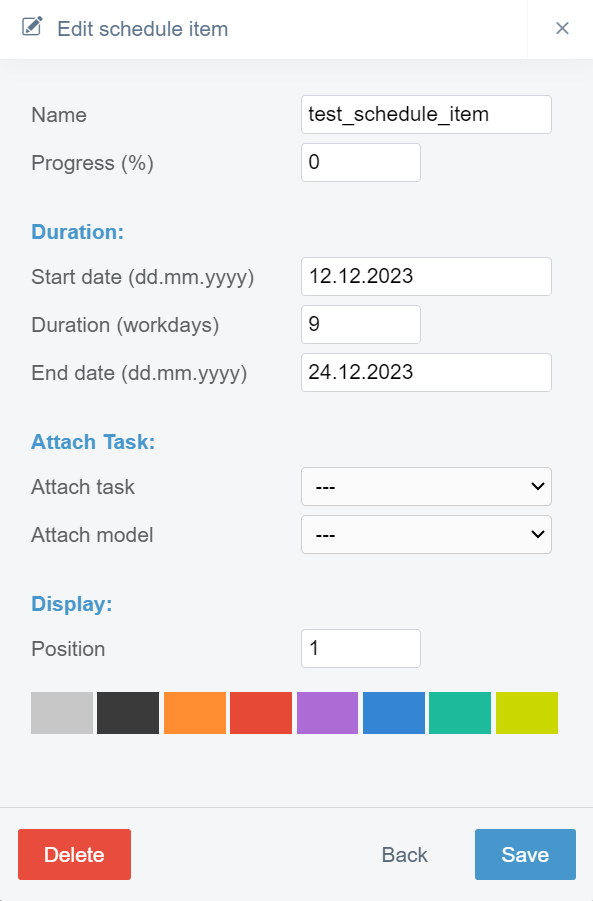
To create a schedule item, the user must insert a name for the item in the "Name" bar. This name will represent the item in Infrakit.
In the "Progress (%)" bar, the user can manually adjust the progress percentage of the schedule item.
In the "Start date (dd.mm.yyyy)" bar, the user can define the starting date for the schedule item. In the "Duration (workdays) bar, the user can define the duration of the item, and based on this, the end date will be automatically calculated. In the "End date (dd.mm.yyyy)" bar, the user can define the end date for the item, and based on this date, the duration will be automatically calculated.
From the "Attach task" drop-down bar, the user can select a task that has been created on the "Masses" page and attach it to the schedule item.
From the "Attach model" drop-down bar, the user can select a model to attach to the schedule item.
From the "Position" drop-down bar, the user can define the position of the schedule item in the chart. The proposed value in the bar will position the item at the bottom of the chart.
By clicking a color, the user can define the color of the schedule item in the chart.
The user must click the "Save" button at the end to complete the creation. If the user wants to close the box without creating a schedule item, the "Back" button can be clicked.
After the "Save" button has been clicked, a new schedule item will be added to the chart.

By clicking the "Edit" button next to the schedule item name, a box will open.
Assign Models ^
By clicking the "Assign models" button, a box will open.
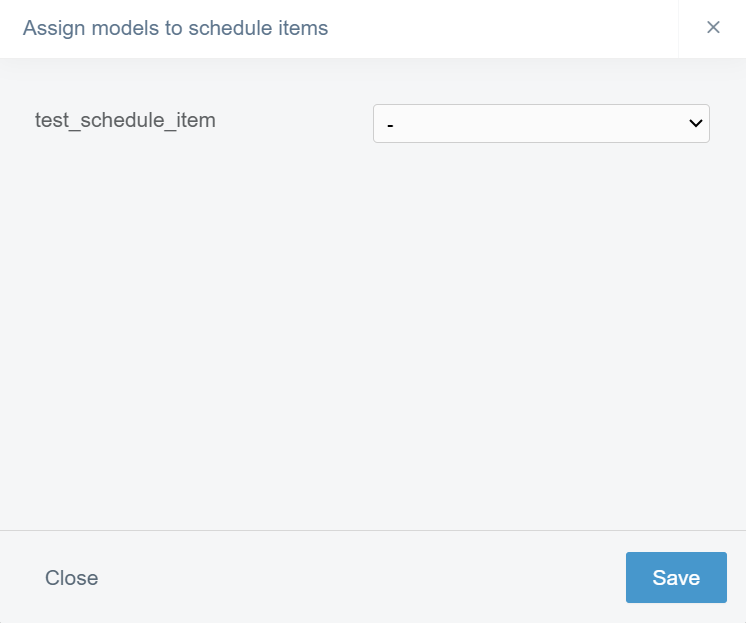
In this box, all the existing schedule items are listed, and the user can assign models to items.
From the drop-down bar next to each schedule item, the user can select a model that will be assigned to the item.
The user must click the "Save" button at the end to complete the assignment.
Import ^
By clicking the "Import" button, a box will open.
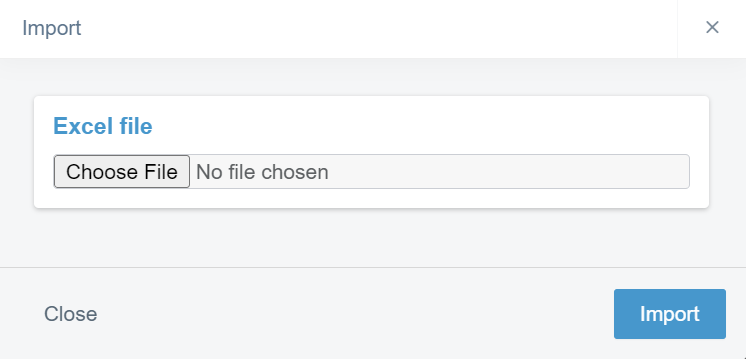
By clicking the "Choose File" button or dragging and dropping, the user can select an XLSX file to import.
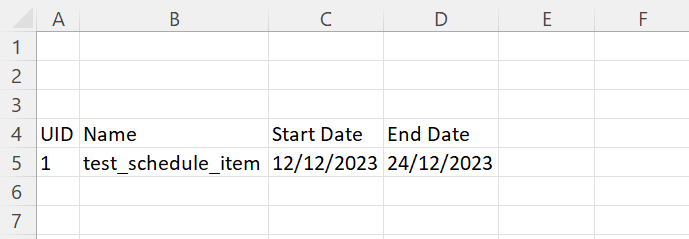
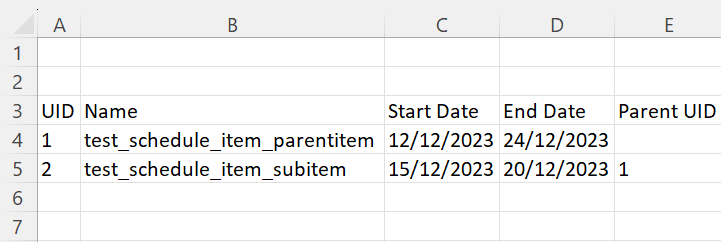
The xlsx file that will be imported must have a specific structure. The A, B, C, D, and E columns from the Excel sheet must be used with these headers and in corresponding order: UID, Name, Start Date, End Date, and Parent UID. Empty rows will be ignored, and the headers do not have to be in row number 1.
"UID" can include any character.
"Name" can include any character.
"Start Date" must be in Excel date format.
"End Date" must be in Excel date format.
"Parent UID" can include any character. This is an optional column and can be omitted.
Example Excel sheet with one item and no "Parent UID":
Example Excel sheet with parent item and subitem:
The user must click the "Import" button at the end to start importing the file. If the user wants to close the box without importing a file, the "Close" button can be clicked.
3. Chart-Adjusting Tools ^
Below the chart, different tools can be found to adjust the chart view.
By clicking the "Go to today" button, the chart will be adjusted based on the current day.
By clicking the "Fit items into view" button, all the schedule items will be fitted into the view.
By clicking the "Full view" button, the chart will be fully zoomed in and adjusted based on the current day.
By clicking the "-" and "+" buttons, the chart can be zoomed in and out.
By moving the knob in the slider, the chart can be zoomed in and out.
4. General Features ^
At the right corner of the top ribbon, four general features can be found.
By clicking the pen icon, the user will be directed to the "Project Editing" page.
From the drop-down box, the user can select the active project.
By clicking the bell icon, a new box appears.
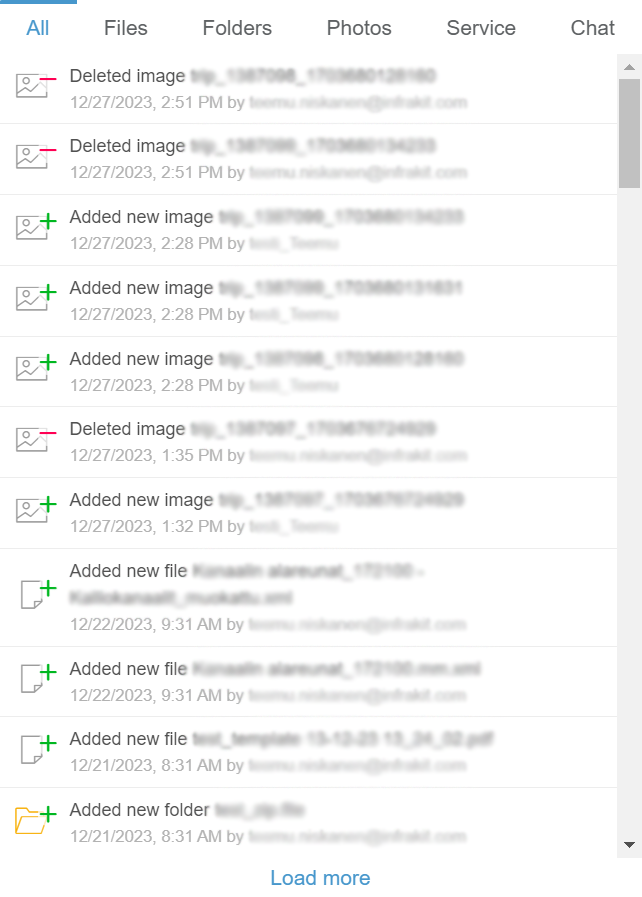
"All" is the default tab when the box opens. In this tab, all the notifications on the project are listed.
The "Files" tab contains all notifications concerning files.
The "Folders" tab contains all notifications concerning folders.
The "Photos" tab contains all notifications concerning image files.
The "Service" tab contains general notifications concerning Infrakit software.
Through the "Chat" tab, users can send messages inside a project.
By clicking "Load more", the user can observe older notifications.
By clicking the gear icon, a new box will open.

This box contains six options: "Project settings", "User settings", "Admin", "Invitations", "Support Center", and "Log out".
By clicking "Project settings", the user will be directed to the "Project Settings" page.
By clicking "User settings", the user will be directed to the "User Settings" page.
By clicking "Admin", the user will be directed to the starting page of the "Admin" features.
By clicking "Invitations", the user will be directed to a new page where invitations can be viewed and accepted or rejected.
By clicking "Support center", the user will be directed to the "Support Center" web page, where guidelines for how to use Infrakit software can be searched and contact information can be found.
By clicking "Log out", the user will be logged out of the Infrakit software.
5. Customer Support Features ^
By clicking the speech bubble icon, a new box appears.

Through the "Search for articles" bar, the user can browse Infrakit's knowledge base using key words that, for example, represent functions, tools, or operations.
By clicking the "Create support ticket" button, a new view will appear.
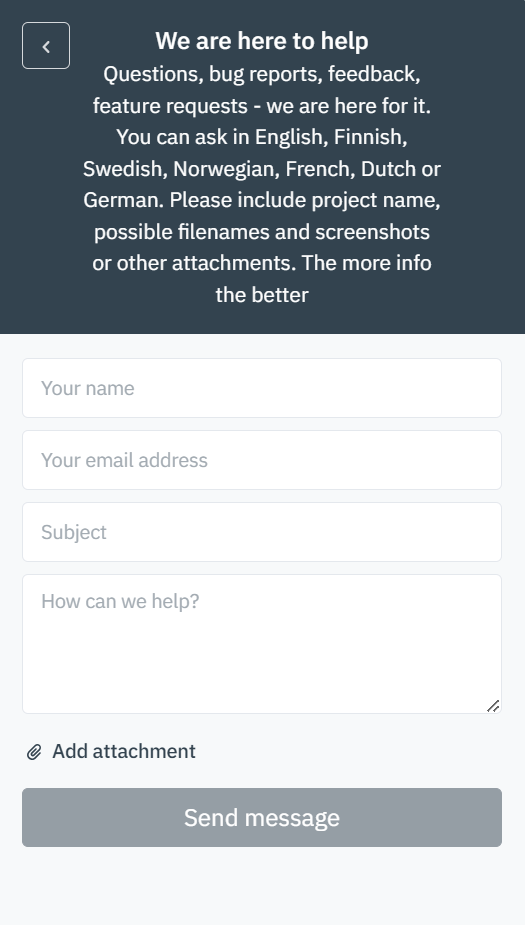
In this view, the user can send a message to Infrakit's customer support team.
In the "Your name" bar, the user can insert his or her own name.
In the "Your email address" bar, the user can insert his or her own email address.
In the "Subject" bar, the user should write a succinct description of the issue.
In the "How can we help?" box, the user should describe the issue as detailed as possible. The more related information is provided, the easier it is for the support team to investigate the issue.
By clicking "Add attachment", the user can add attachments to the message. Attaching images, videos, and files where the issue occurs will help to solve the issue more efficiently.
By clicking the "Send message" button, the message will be sent to the support team.
By clicking the arrow icon button, the user can change to the previous view.
By clicking the x icon button, the user can close the customer support box.
2. Use Cases ^