In this tutorial, you'll learn how to save your measurements made with either the distance tool or the area measurement tool in Infrakit. Let's look at the steps:
Step 1: Select Measurement Tool
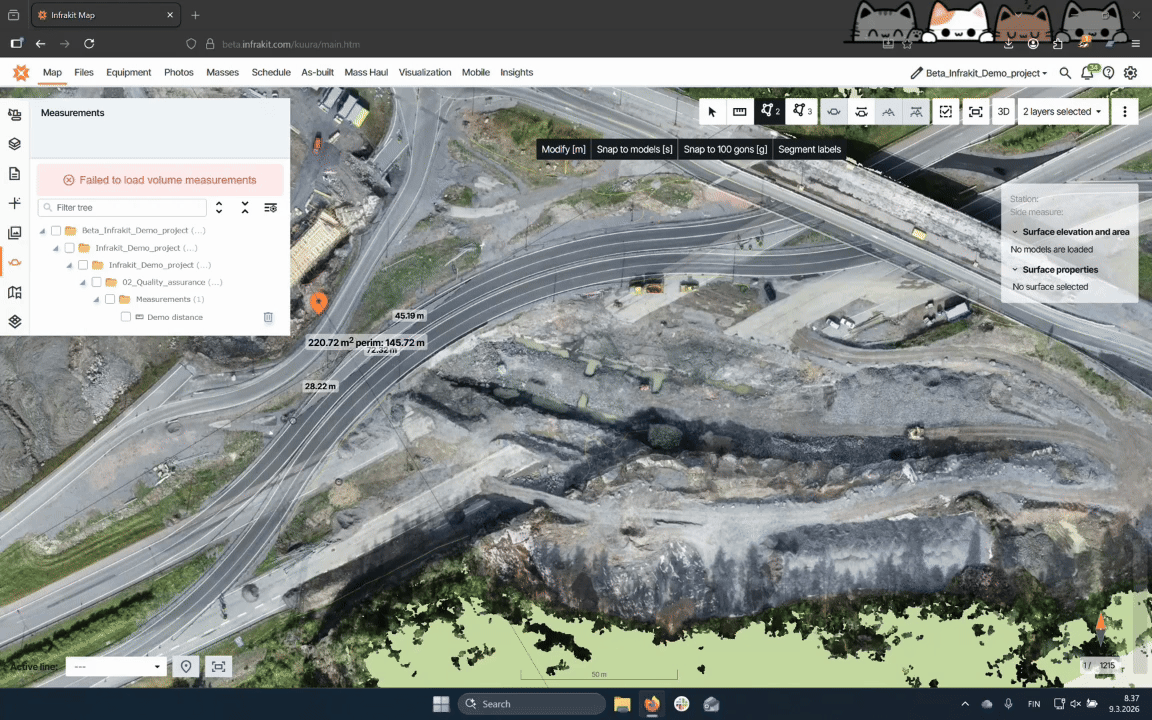
Start measuring by selecting either the distance measuring tool or the area measuring tool.
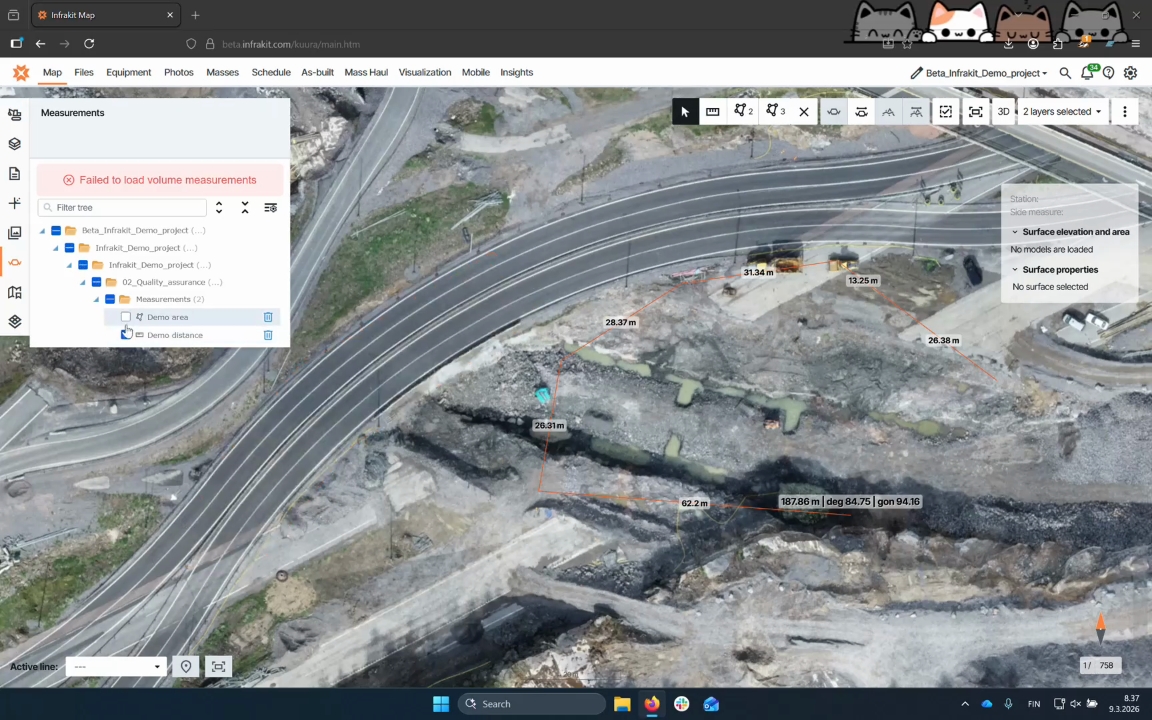
Step 2: Measure Distance
To measure distance, left click on the screen after selecting the distance tool. You can perform multiple measurements. Once finished, double click the left mouse button to save the measurement.
For more info on the measuring tools see chapter 5 on article:
Step 3: Access Save Option
Right click on the measurement and select the save measurement option.
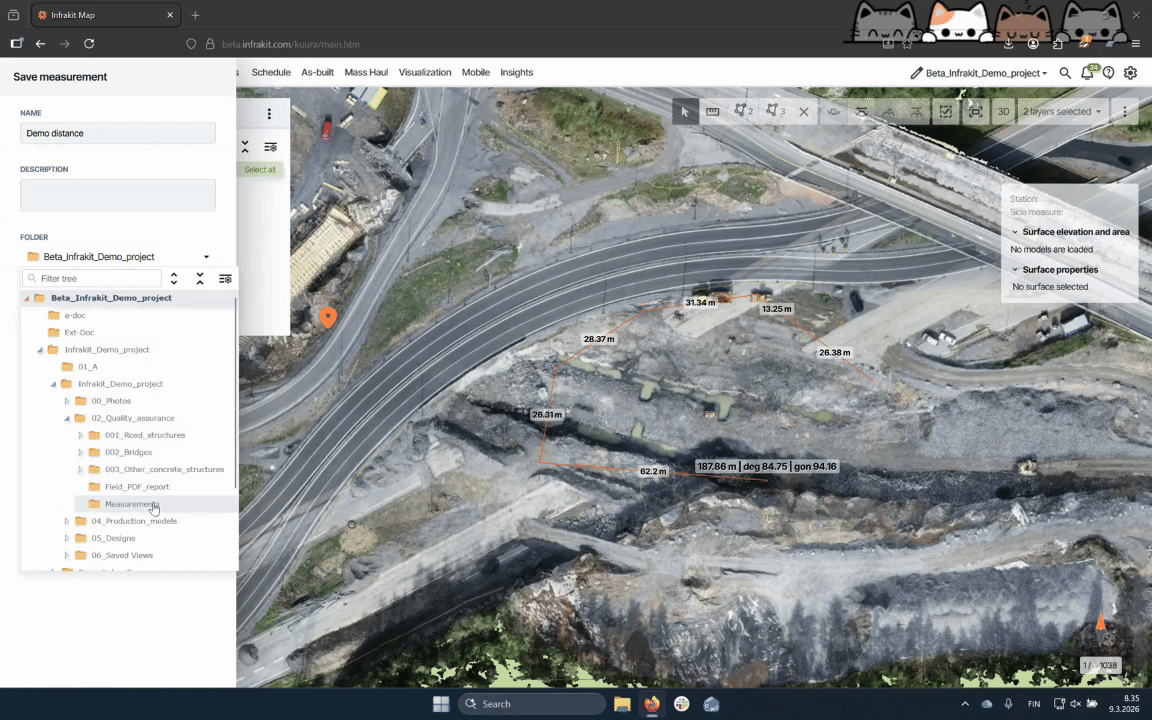
Step 4: Provide Details
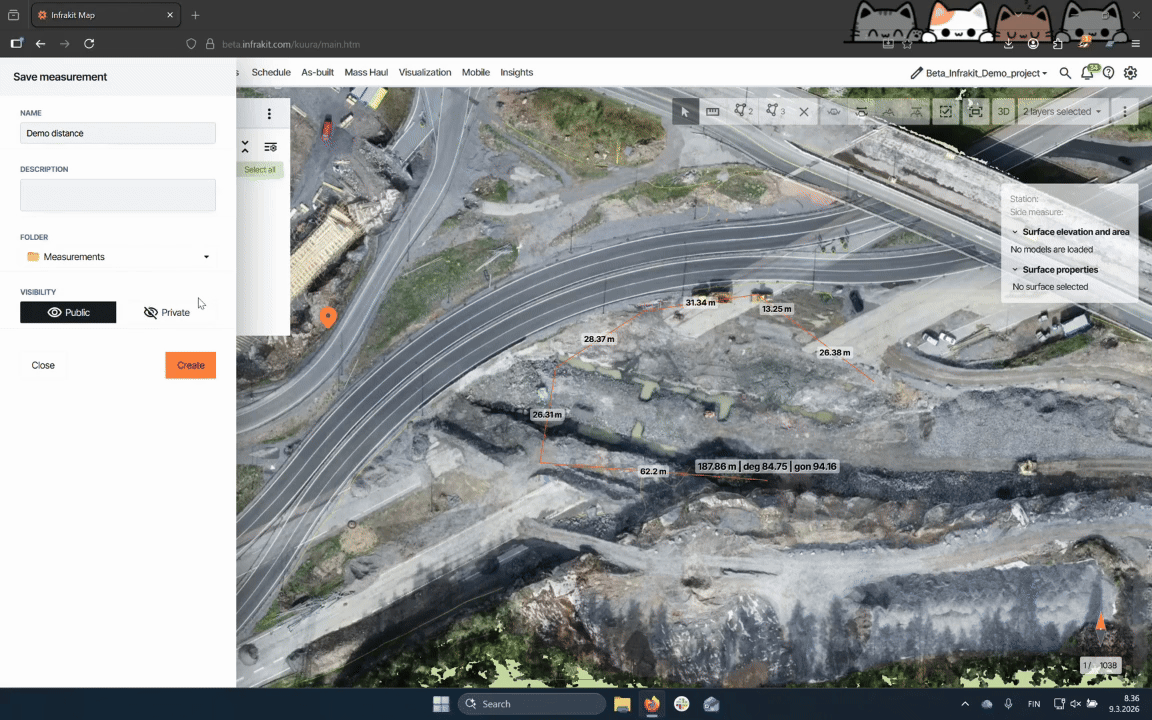
Enter a name and select the folder for saving the measurement.
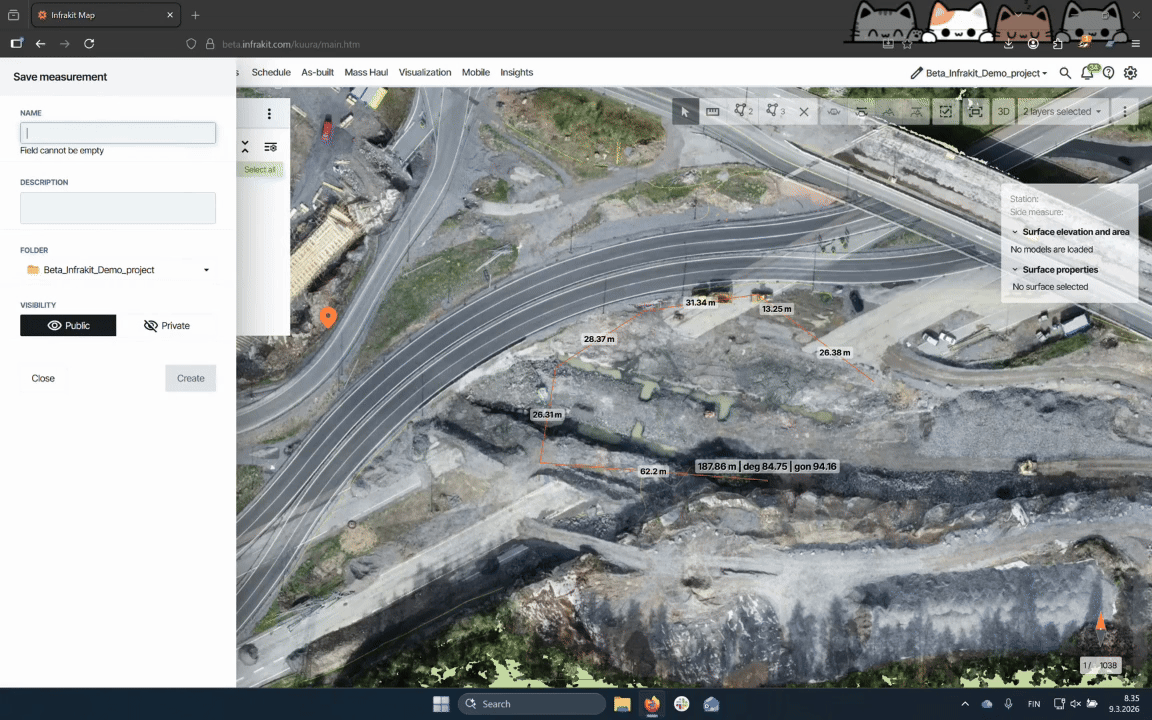
Step 5: Choose Visibility
Select whether the measurement is Public or Private.
Public means anybody with "Read" rights to the folder can see it, private means only the user that created the measurement can see it.
Step 6: Finalize Saving
Press Create to save the measurement.
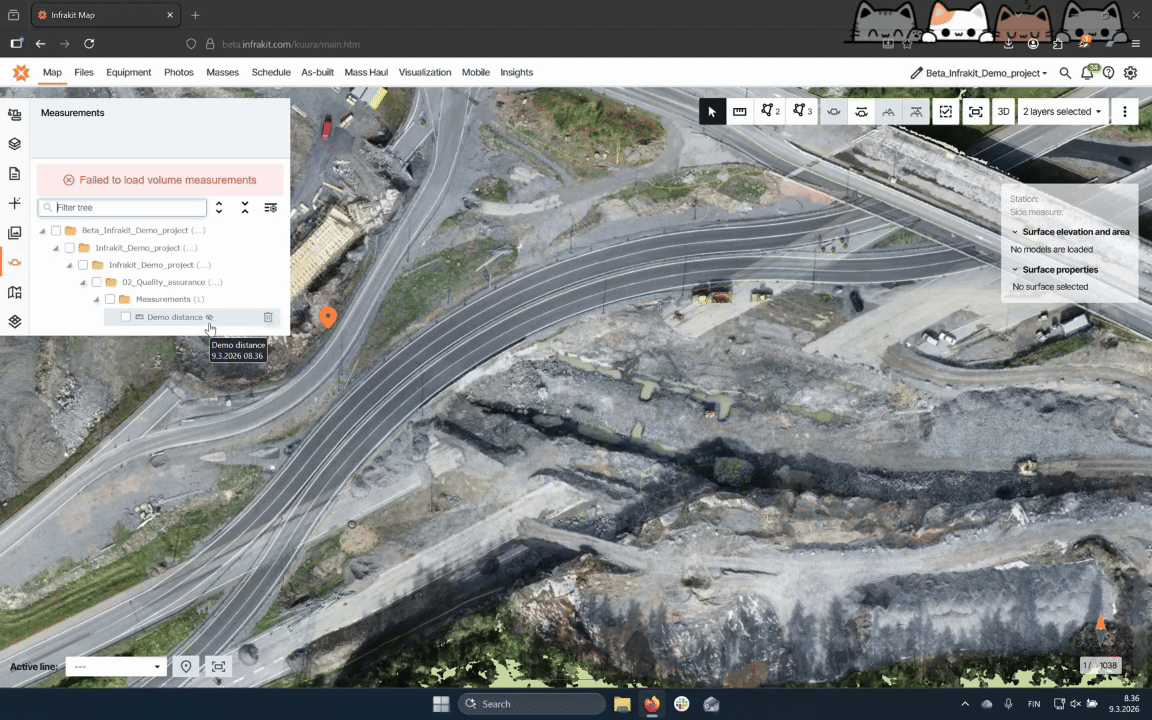
Step 7: Verify Measurement
Find your saved measurement in the Measurements tab. The crossed eyeball icon next to the file name means it is private.

Step 8: Edit measurement
To edit a measurement right click, select Edit Measurement. In the menu user can rename the measurement, change the description or visibility.
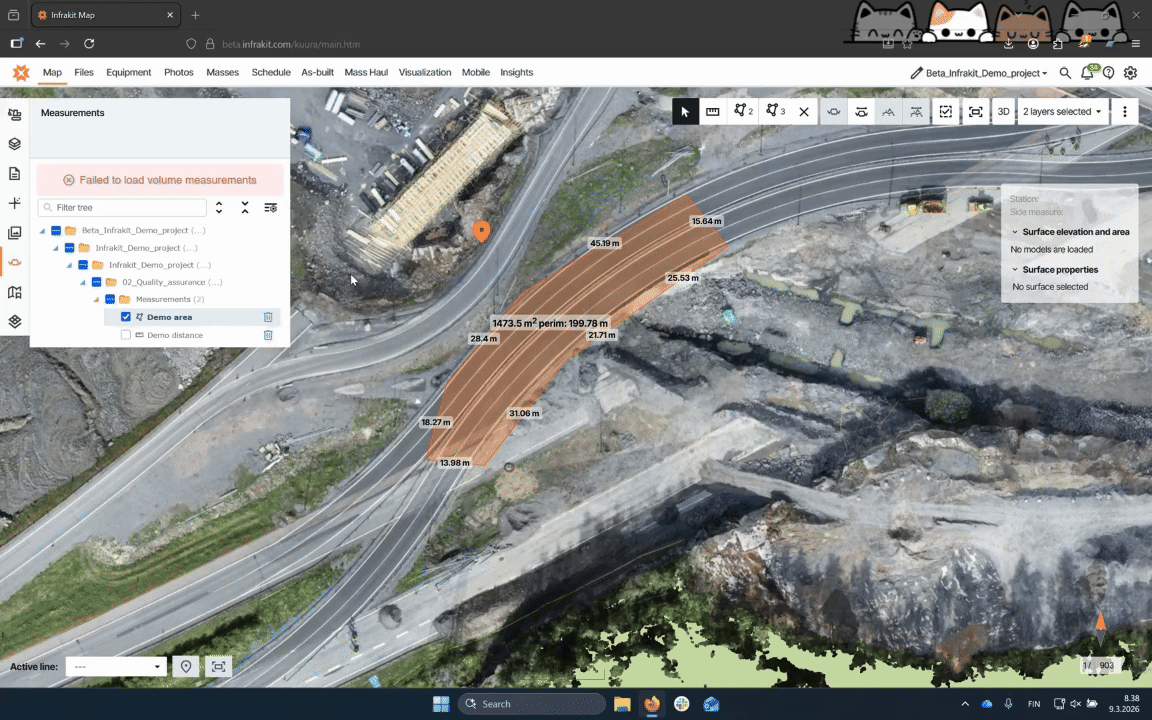
Step 9: Save Area Measurement
For the area measuring tool, click to create points and double left click to finish measurement. Save it similarly as the distance measurement.
Step 10: Delete Measurement
To delete a measurement, click the Trash bin button next to the name or right click and select Delete.