In this tutorial, we will go through the steps to lock your saved views in Infrakit. This ensures that your views remain unchanged and secure. Let's look at the steps:

Step 1: Create a Saved View
Navigate to the Saved View tab and click the Saved View button after selecting the desired folder.
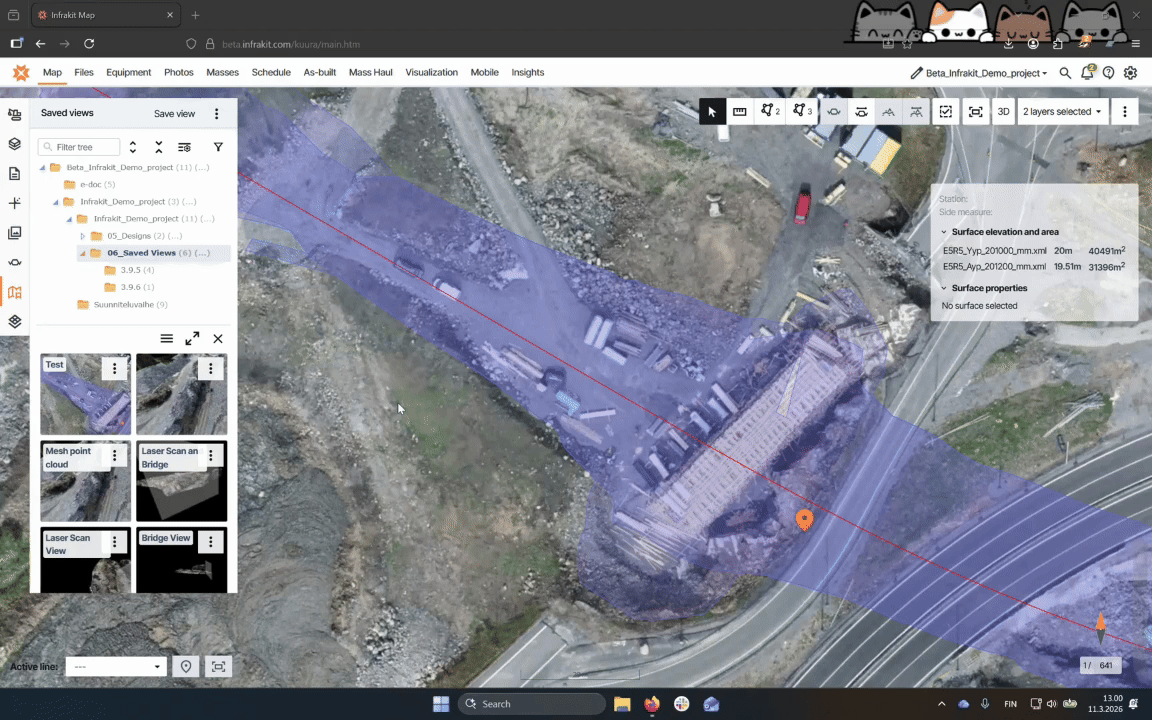
Step 2: Open the Saved View
Click on the saved view you created in the "Saved views" tab to open it.

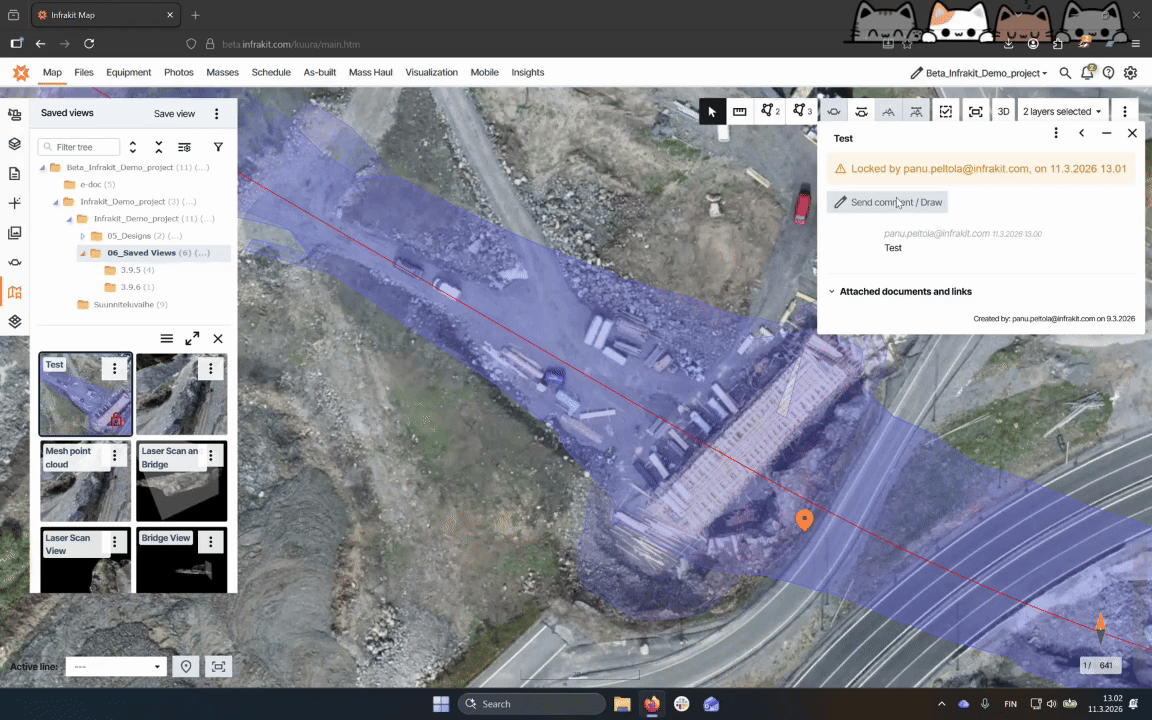
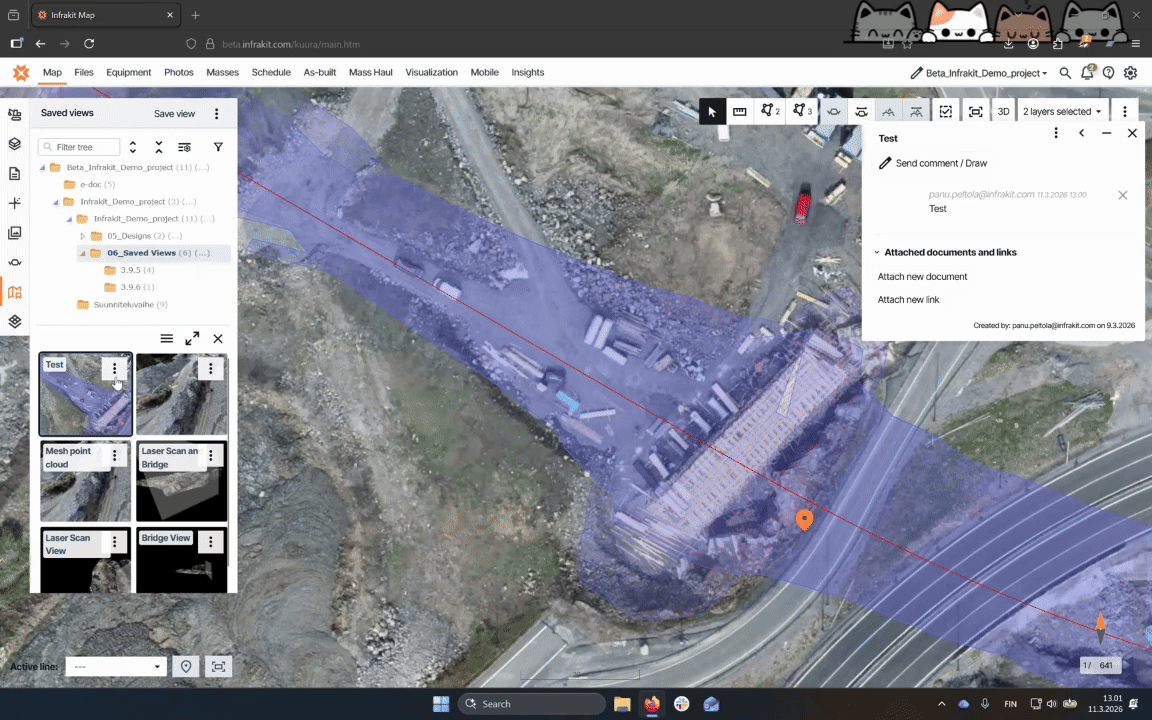
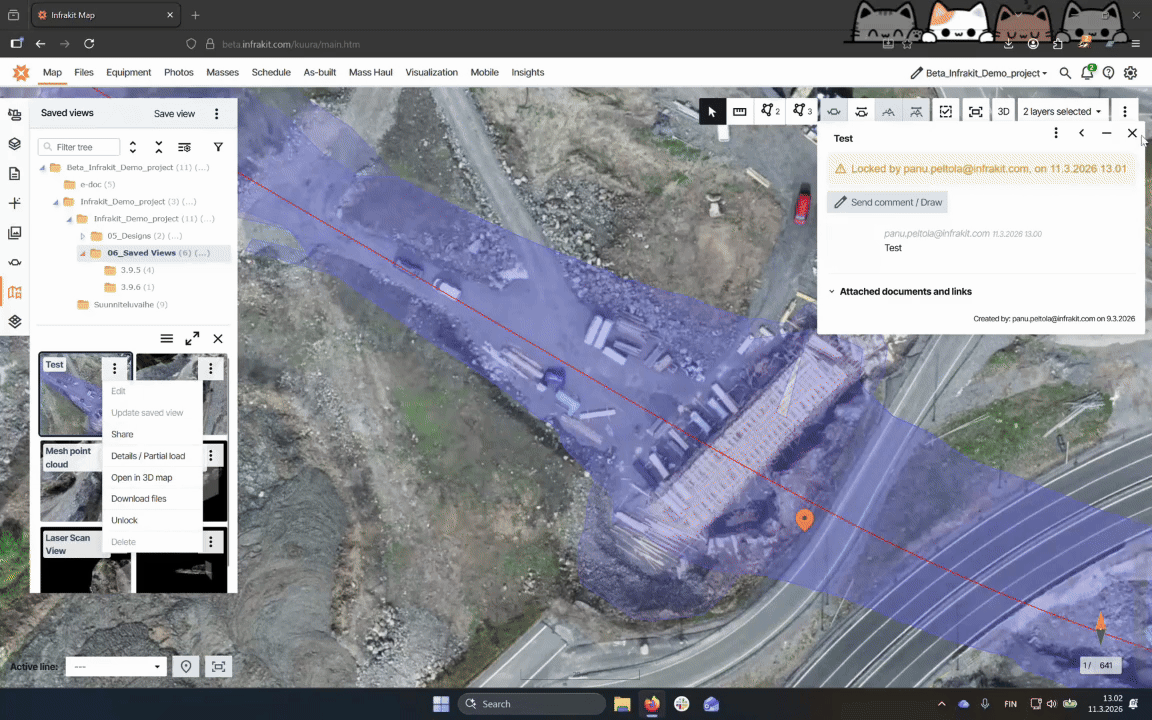
Step 3: Lock the Saved View
In the Saved View tabs. Click on the three dots next to the saved view you want to lock and select Lock.
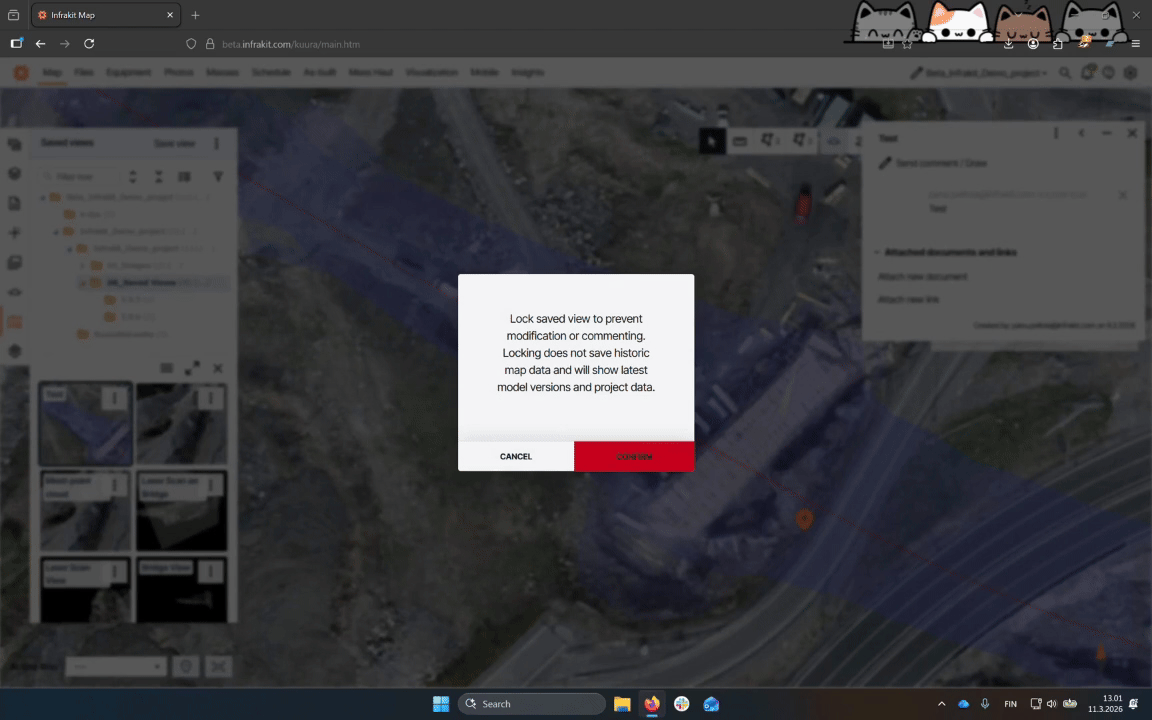
Step 4: Confirm Locking
After selecting Lock, confirm the action. Note that once locked, the view cannot be modified again unless unlocked by the user that has locked it.
Step 5: Understand Locking Effects
A locked view can not be edited anymore and comments or linked files can't be changed. However if a new version of a model is uploaded, it will still update in the saved view.

Step 6: Unlock the Saved View
To unlock, use the same button that was used for locking. Once unlocked, you can edit the view again. Only the person who locked the view can unlock it.
That's how you can lock and unlock a saved view in Infrakit, ensuring control over your views and their content.