Let's do it together!
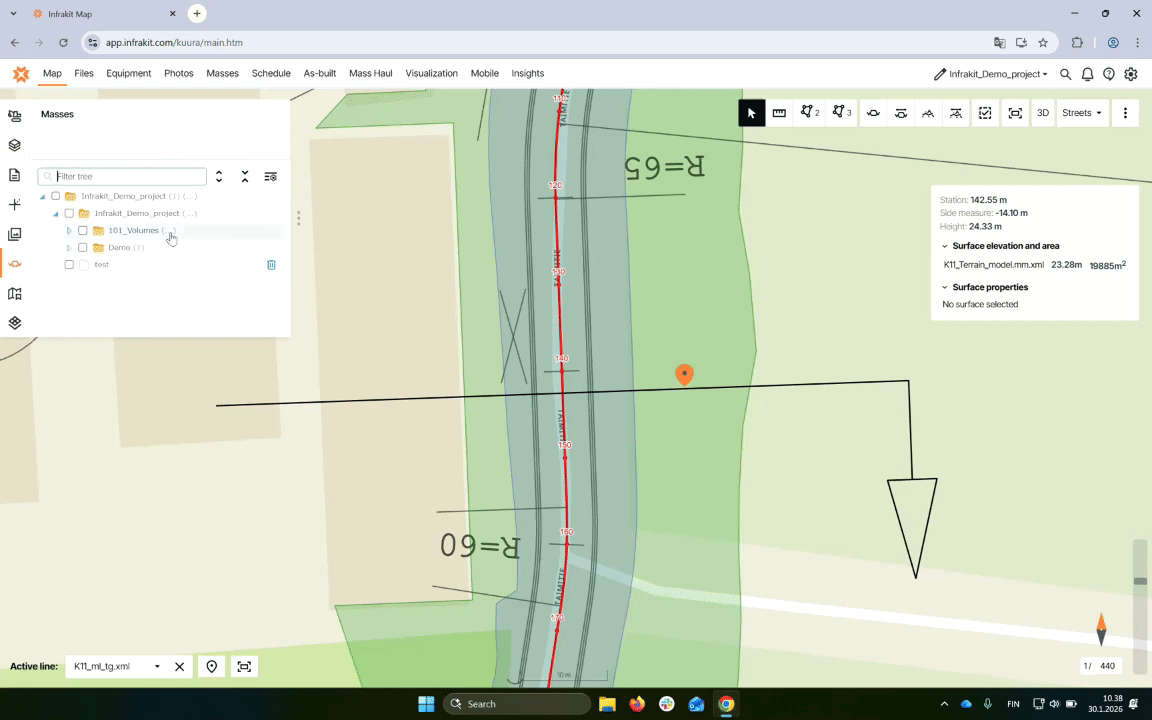
Step 1: Activate models
Open the folder containing your models, then click next to each model's name to activate them on the map.

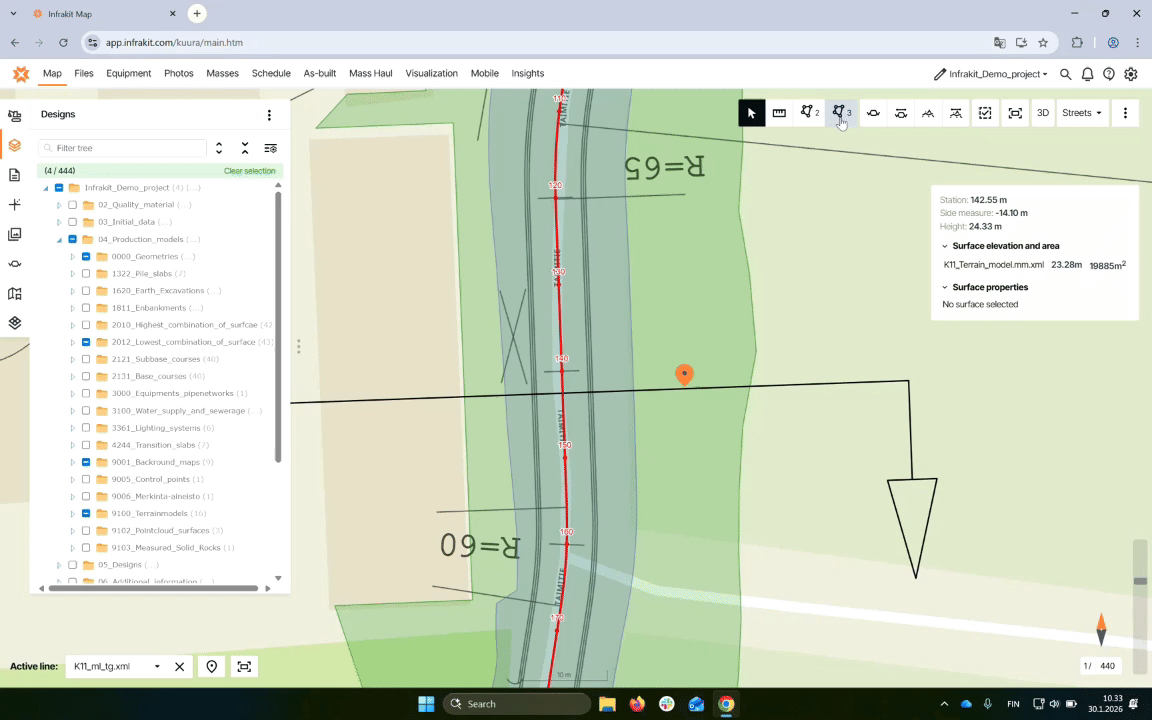
Step 2: Open volume tool
Access the Stockpile volume calculation tool by clicking on the icon with the number three next to it.

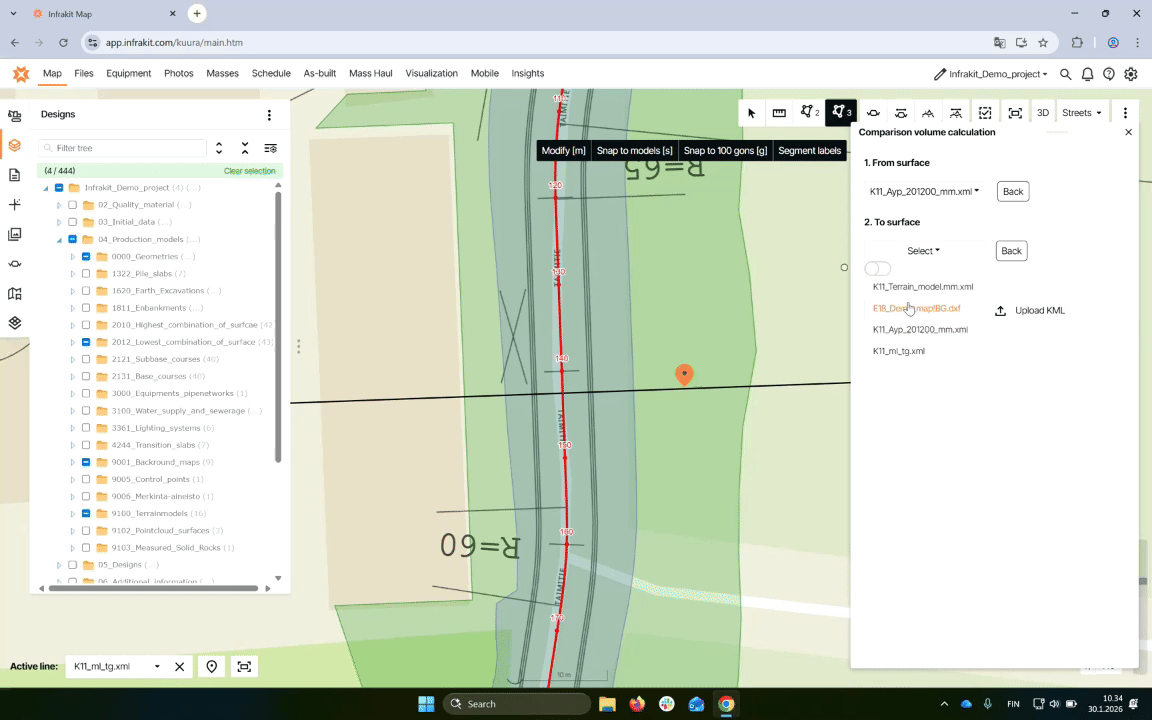
Step 3: Select model difference
Select the model difference option to choose the surfaces for comparison.
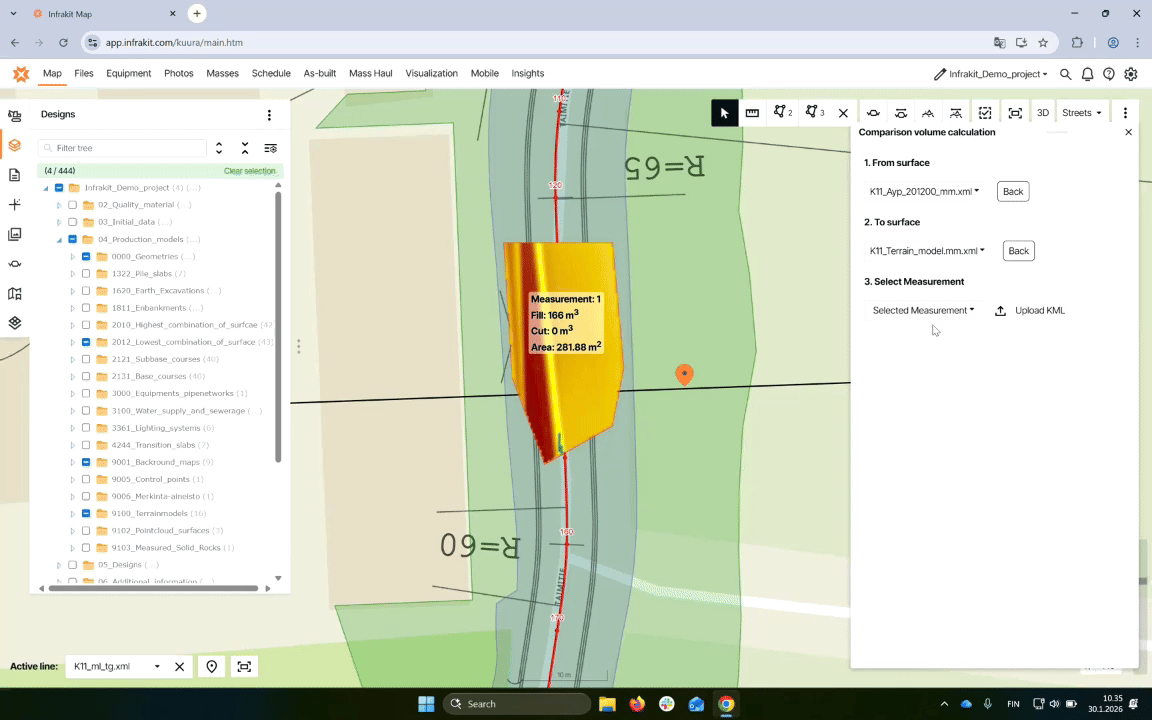
Step 4: Choose surfaces
Select the models you want to compare, starting with the surface you want to calculate from.

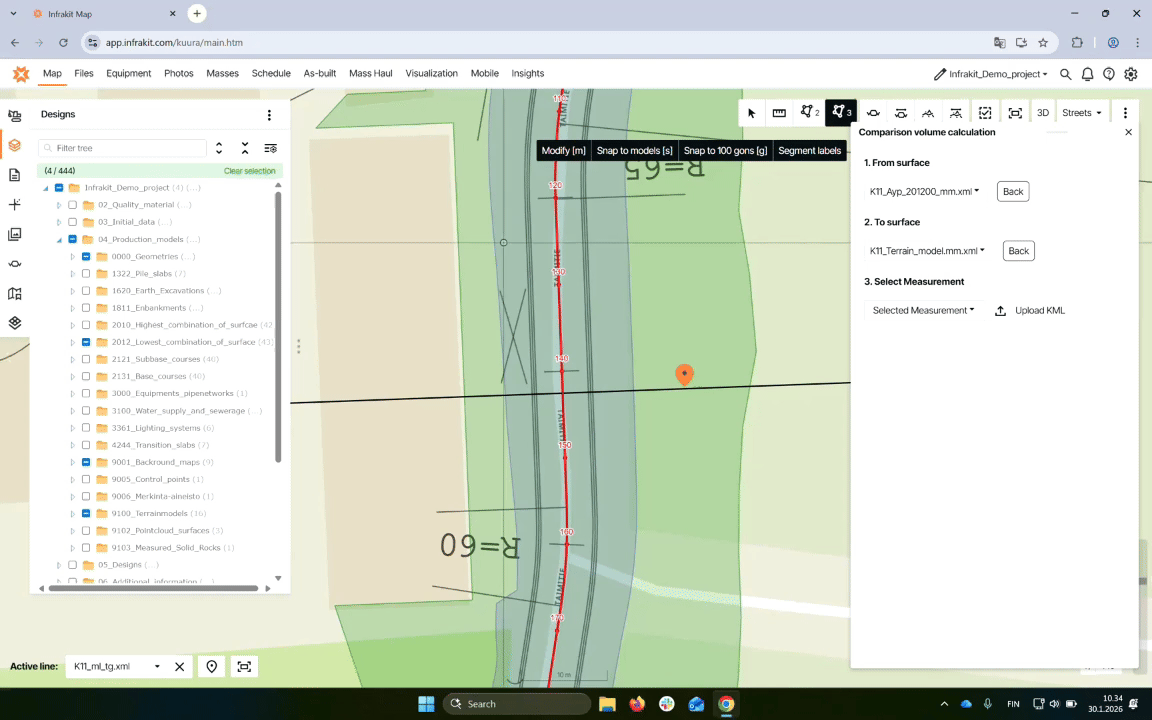
Step 5: Find models
If the desired model is not active, click the slider below the select box to open the file tree and select it.
Step 6: Draw area
Click with your left mouse button to start the area tool, then create points by clicking again. Double-click to finish.
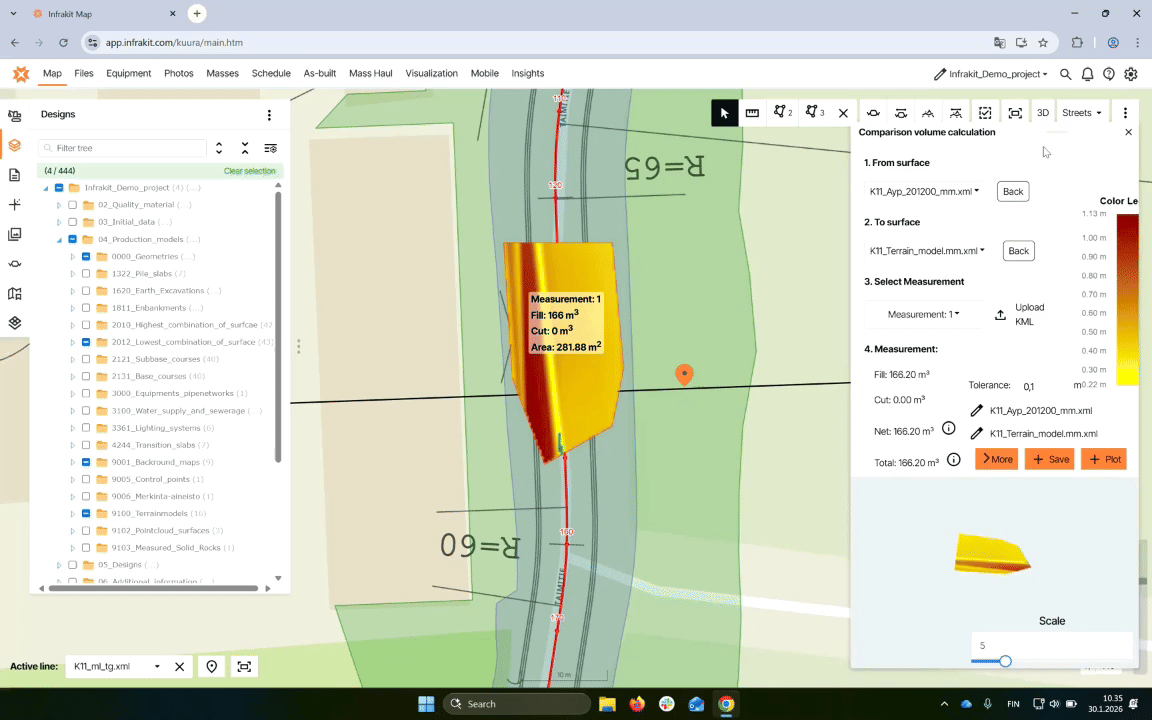
Step 7: View measurements
To view area calculations, select the measurement from the options available, like Measurement one.
Step 8: Analyze results
Review the 3D view, color legend, and volume fill/cut metrics for the selected surfaces.
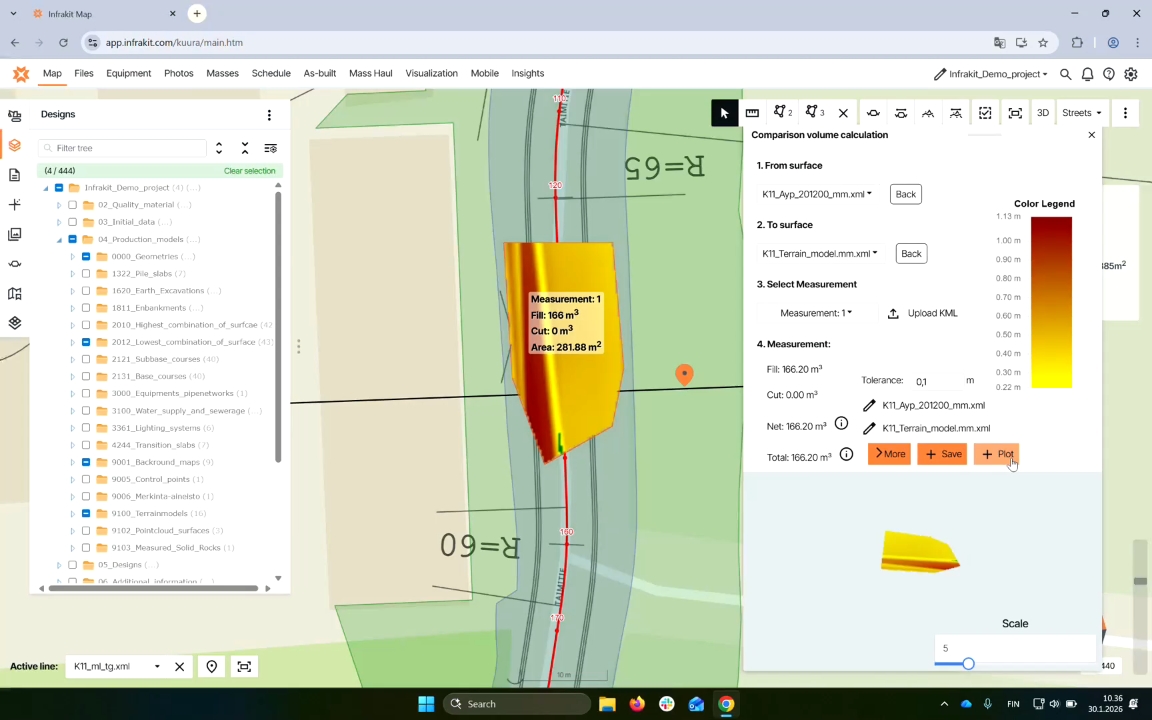
Step 9: Plot results
Click the plot button to see the distribution of fill and cut volumes for the area.
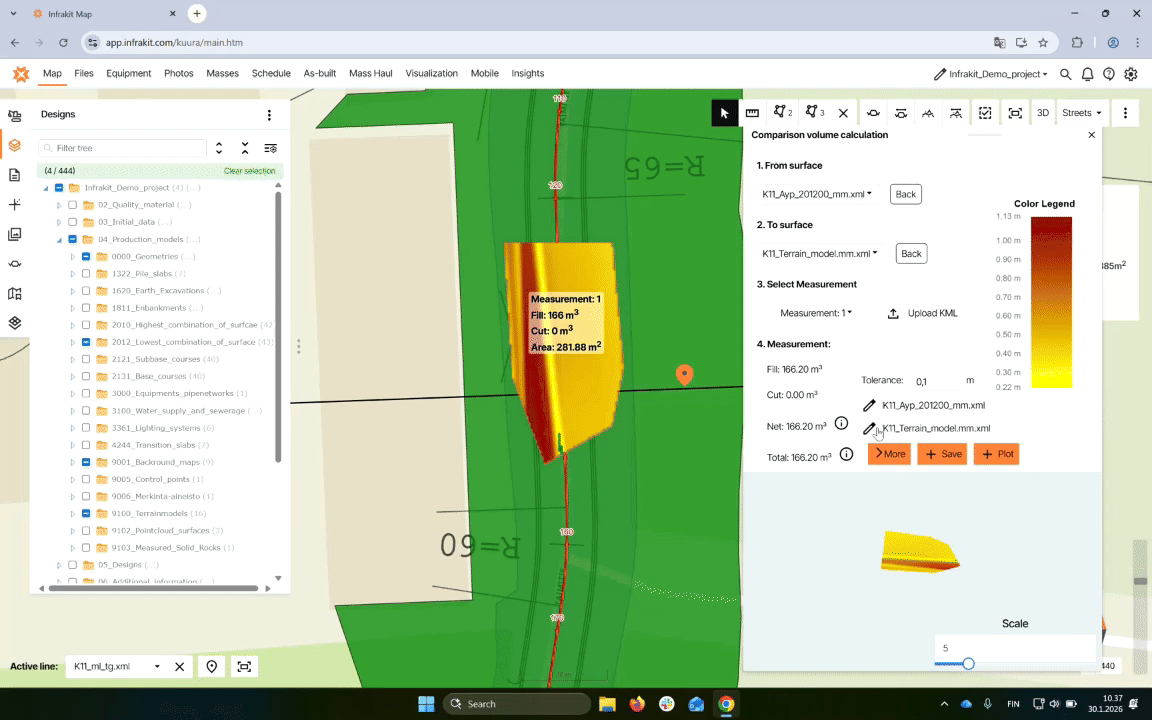
Step 10: Save volume
Click the save button, name your volume (e.g., demo), and select the folder to save it in.
Step 11: Access saved volumes
Go to the masses tab on the map page to view all saved volumes in folders.

Step 12: Modify saved volume
Select your saved volume in the demo folder to view or modify it as needed.