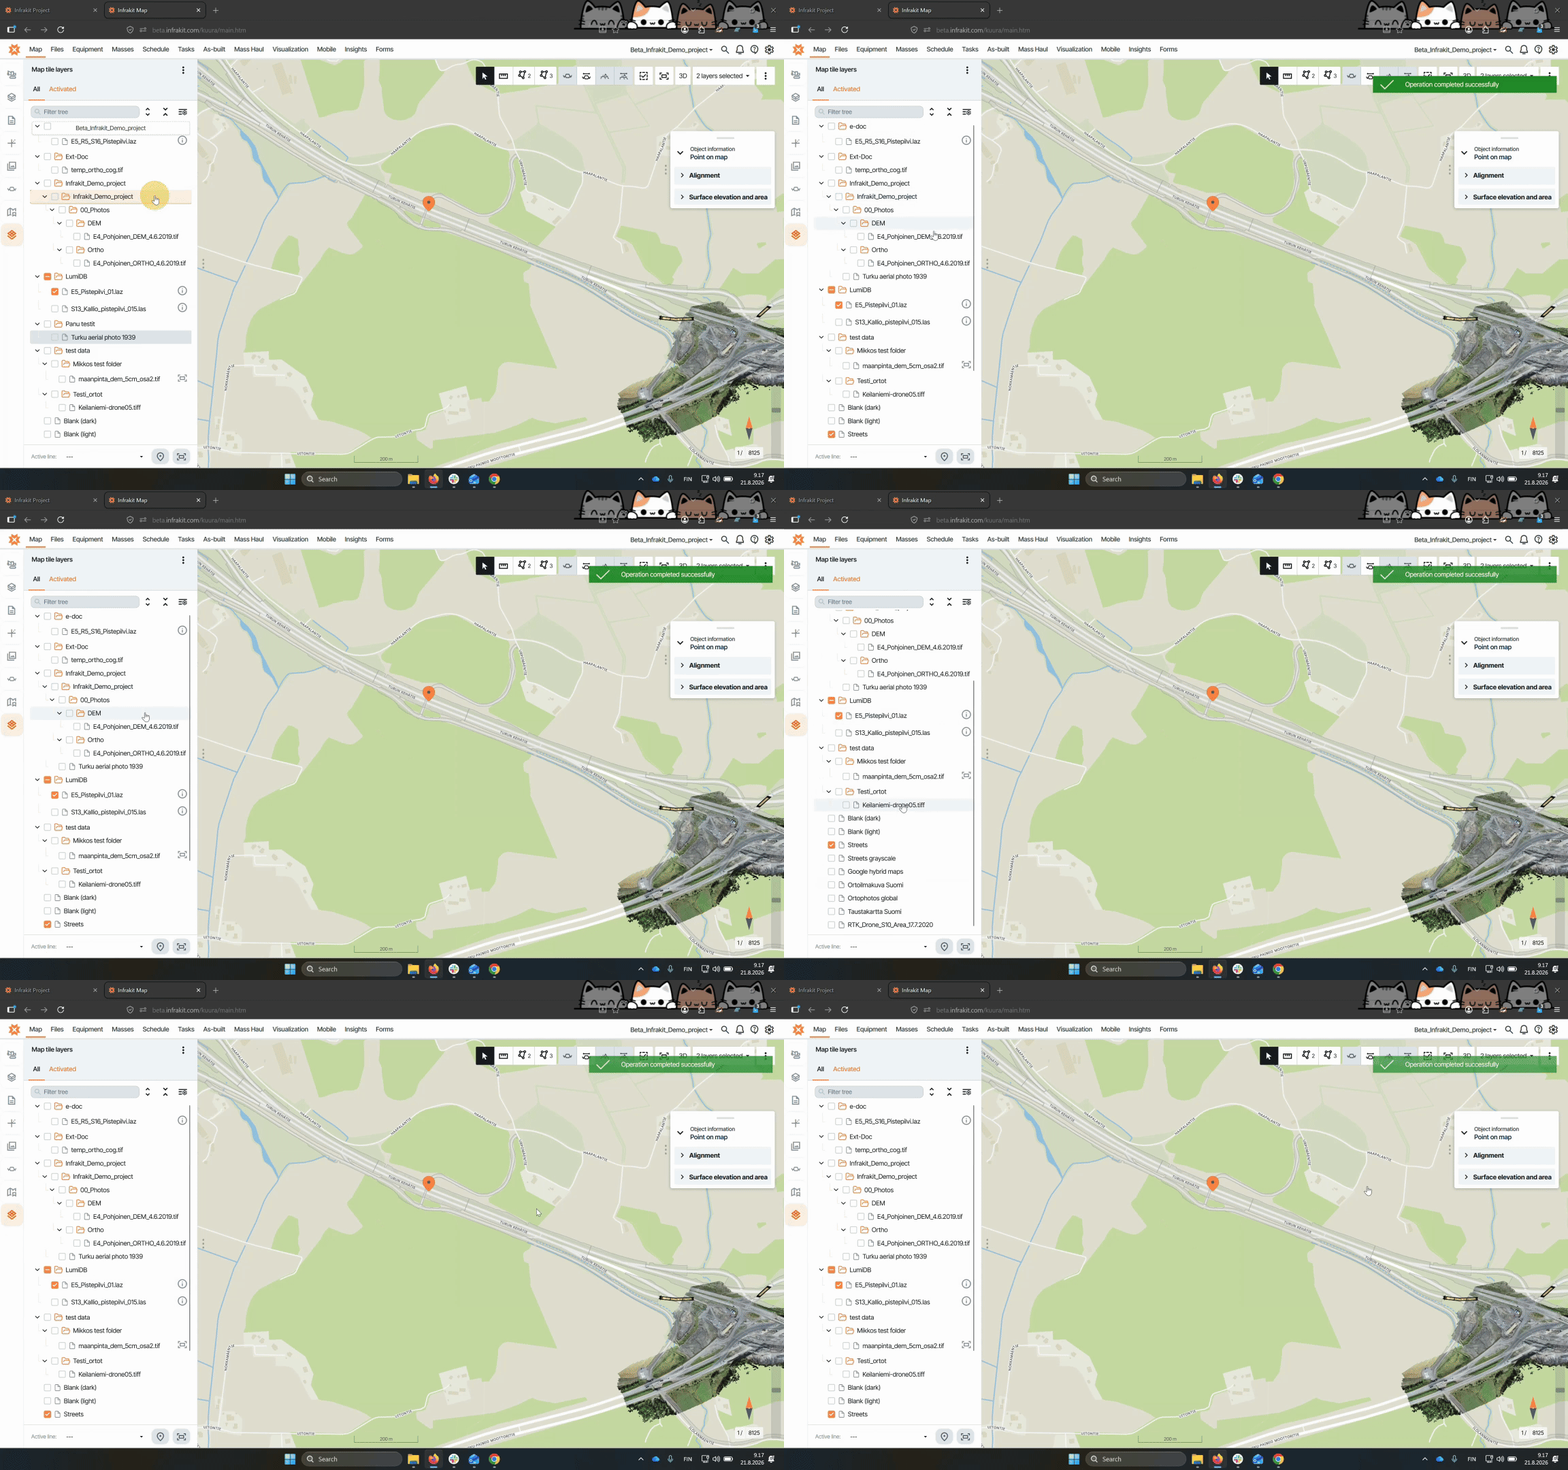

This guide explains how to organize your map tile layers using two different methods. Let's look at the steps:
Option 1: Organizing from project settings
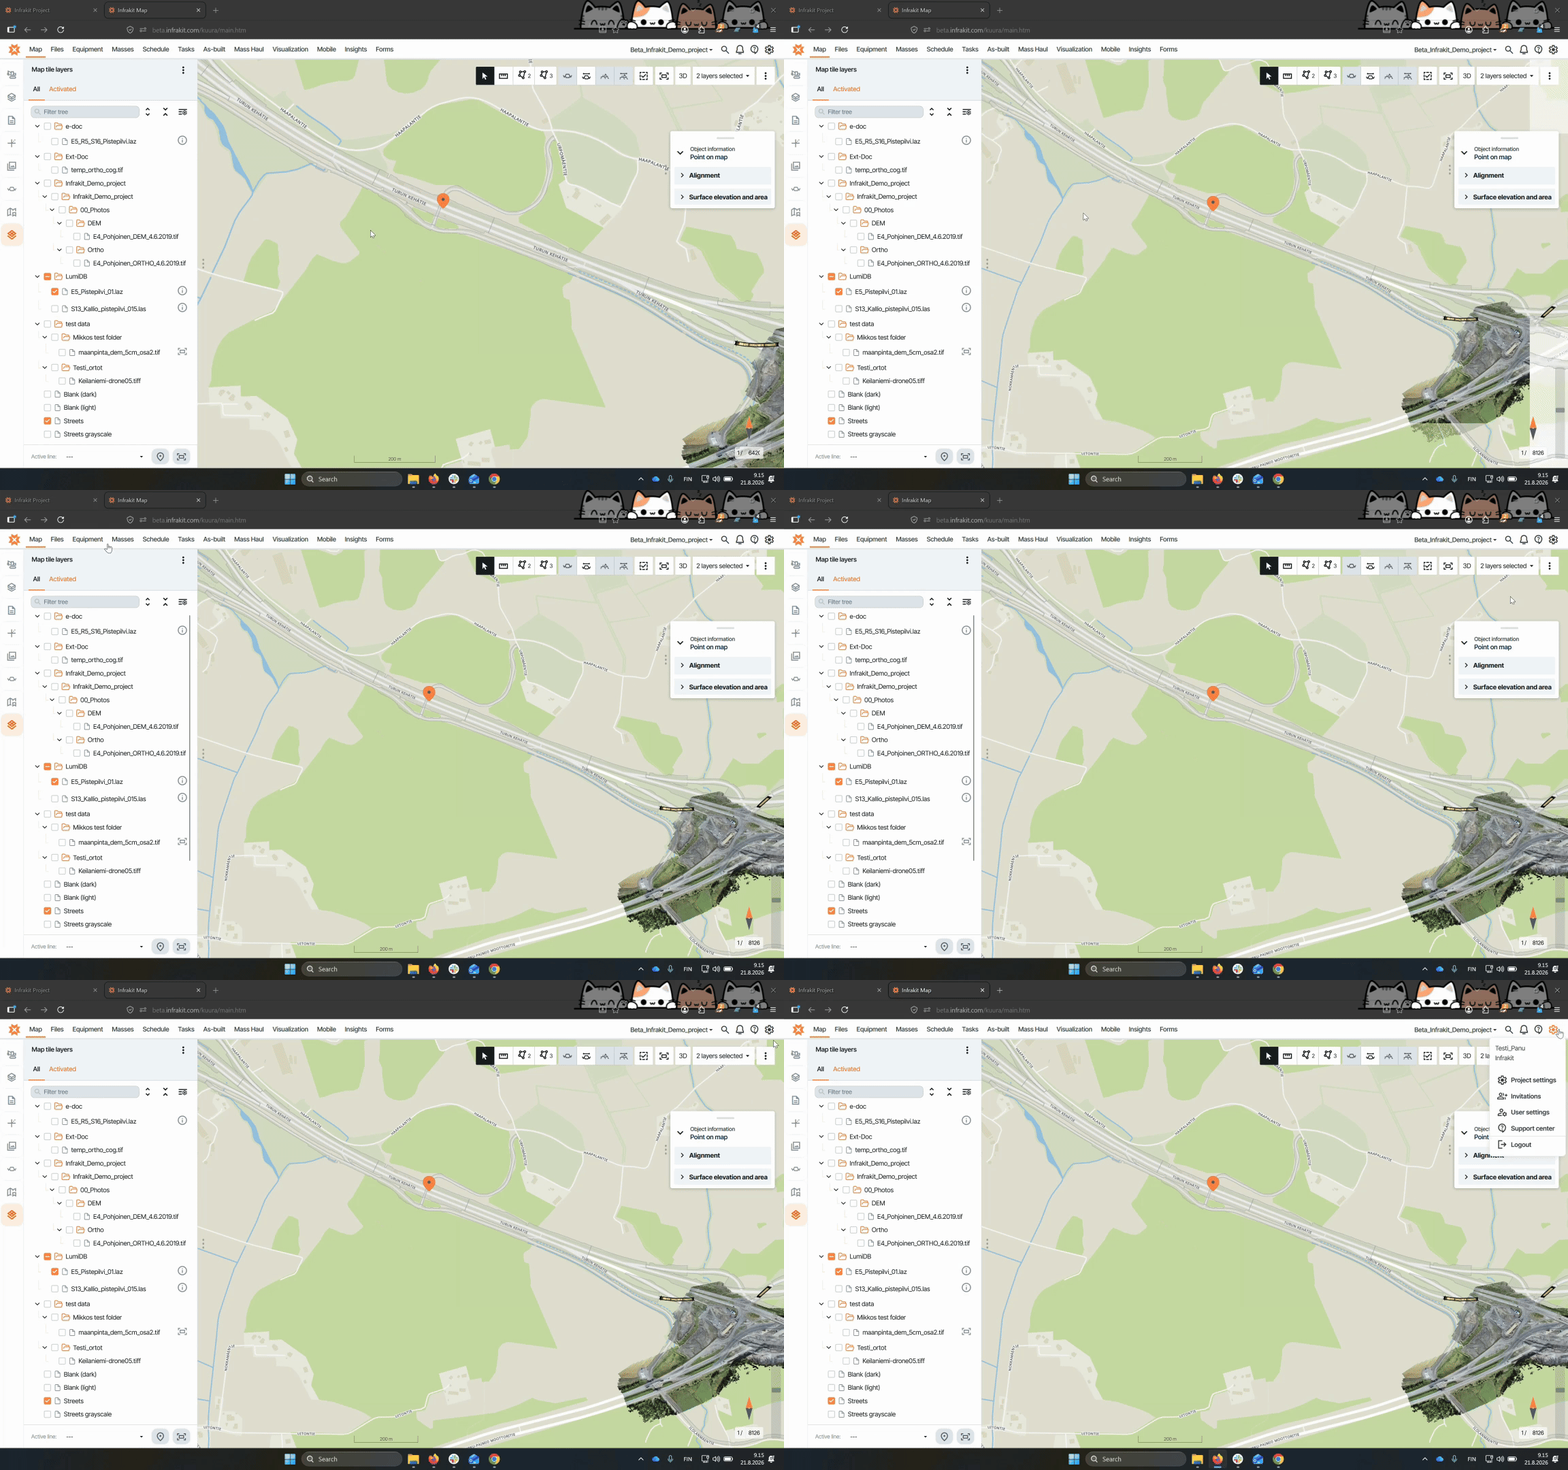
Step 1: Open Project Settings
Click the cog icon and select Project Settings from the menu.
You may not see the project settings menu if your user does not have high enough permissions
Step 2: Access Map Tile Layers
In the Project Settings, select Map Tile Layers to view all available layers.
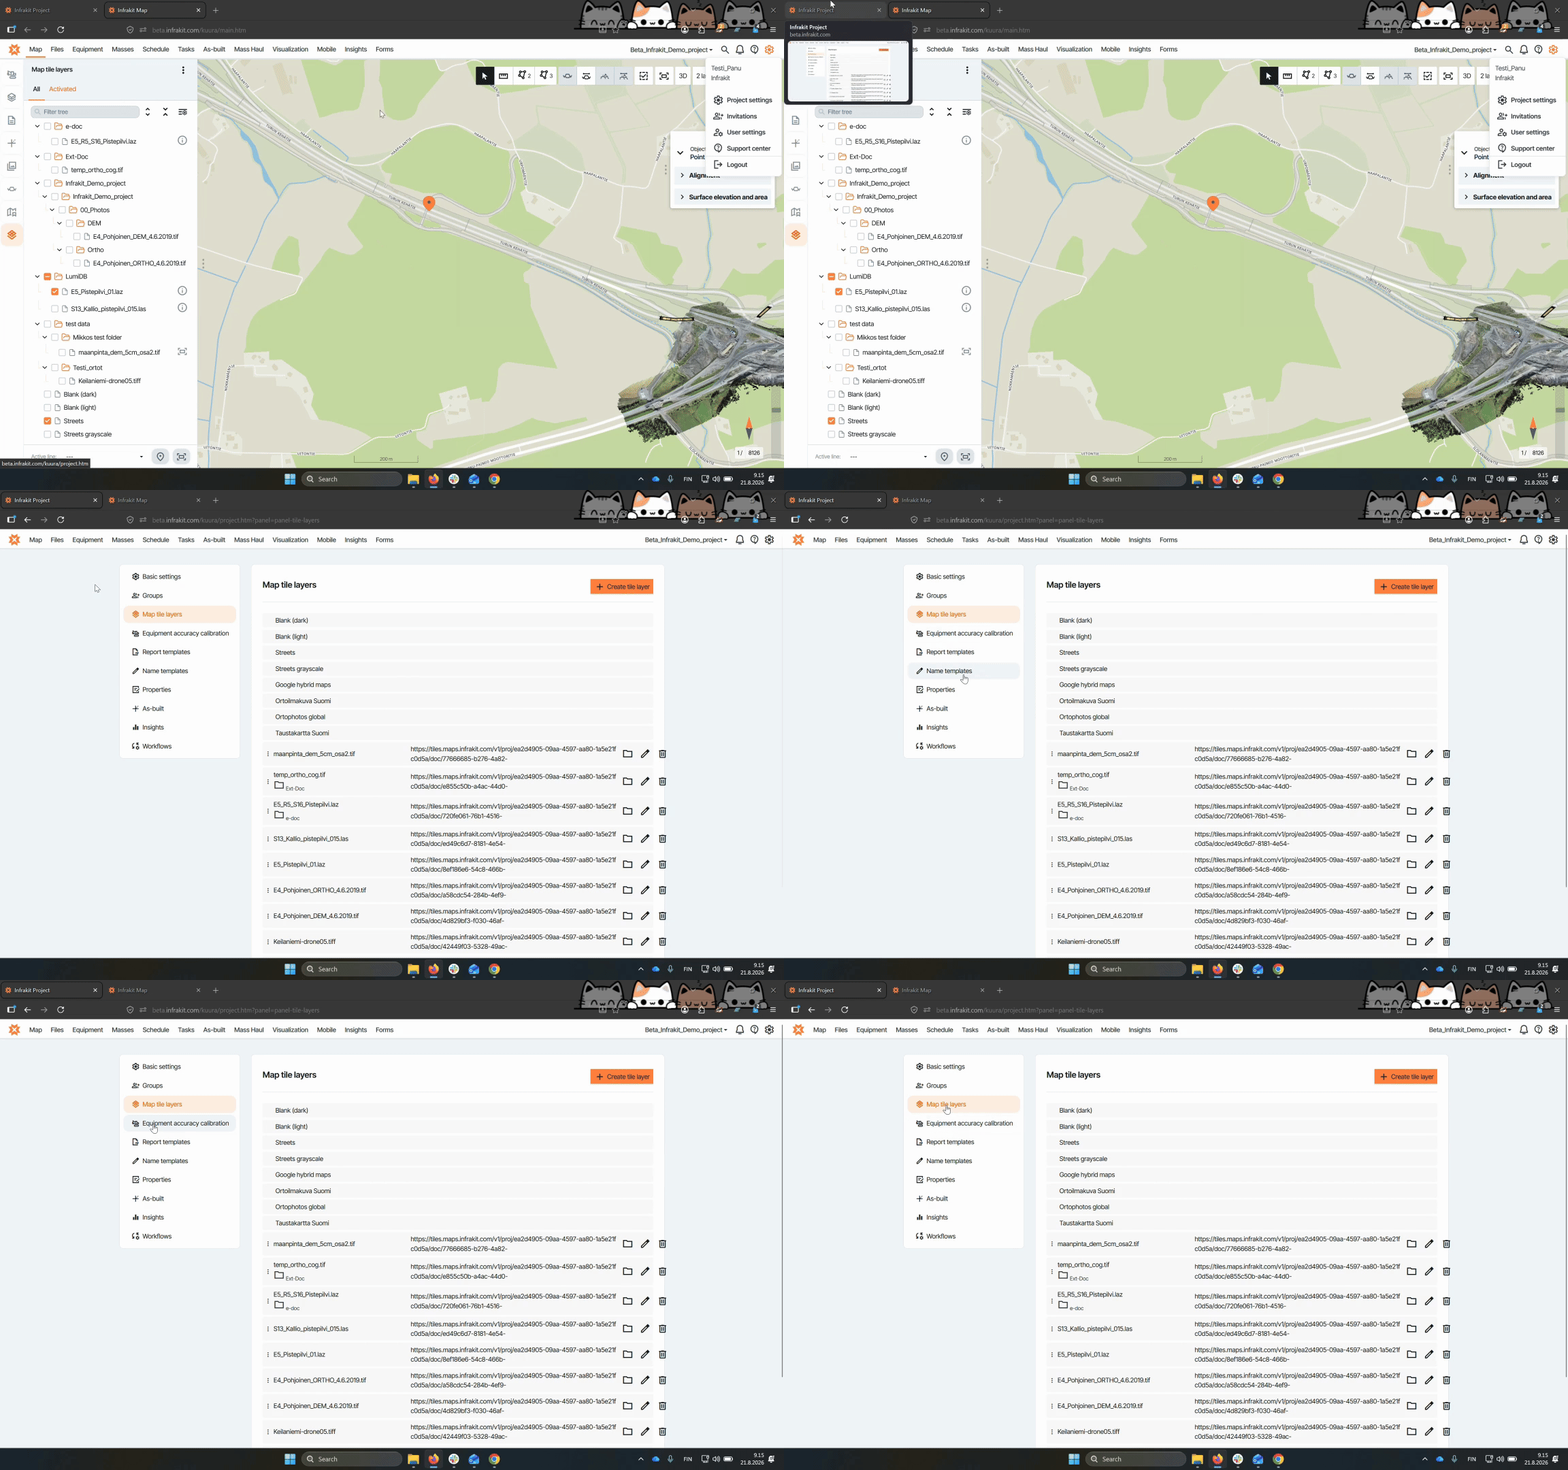
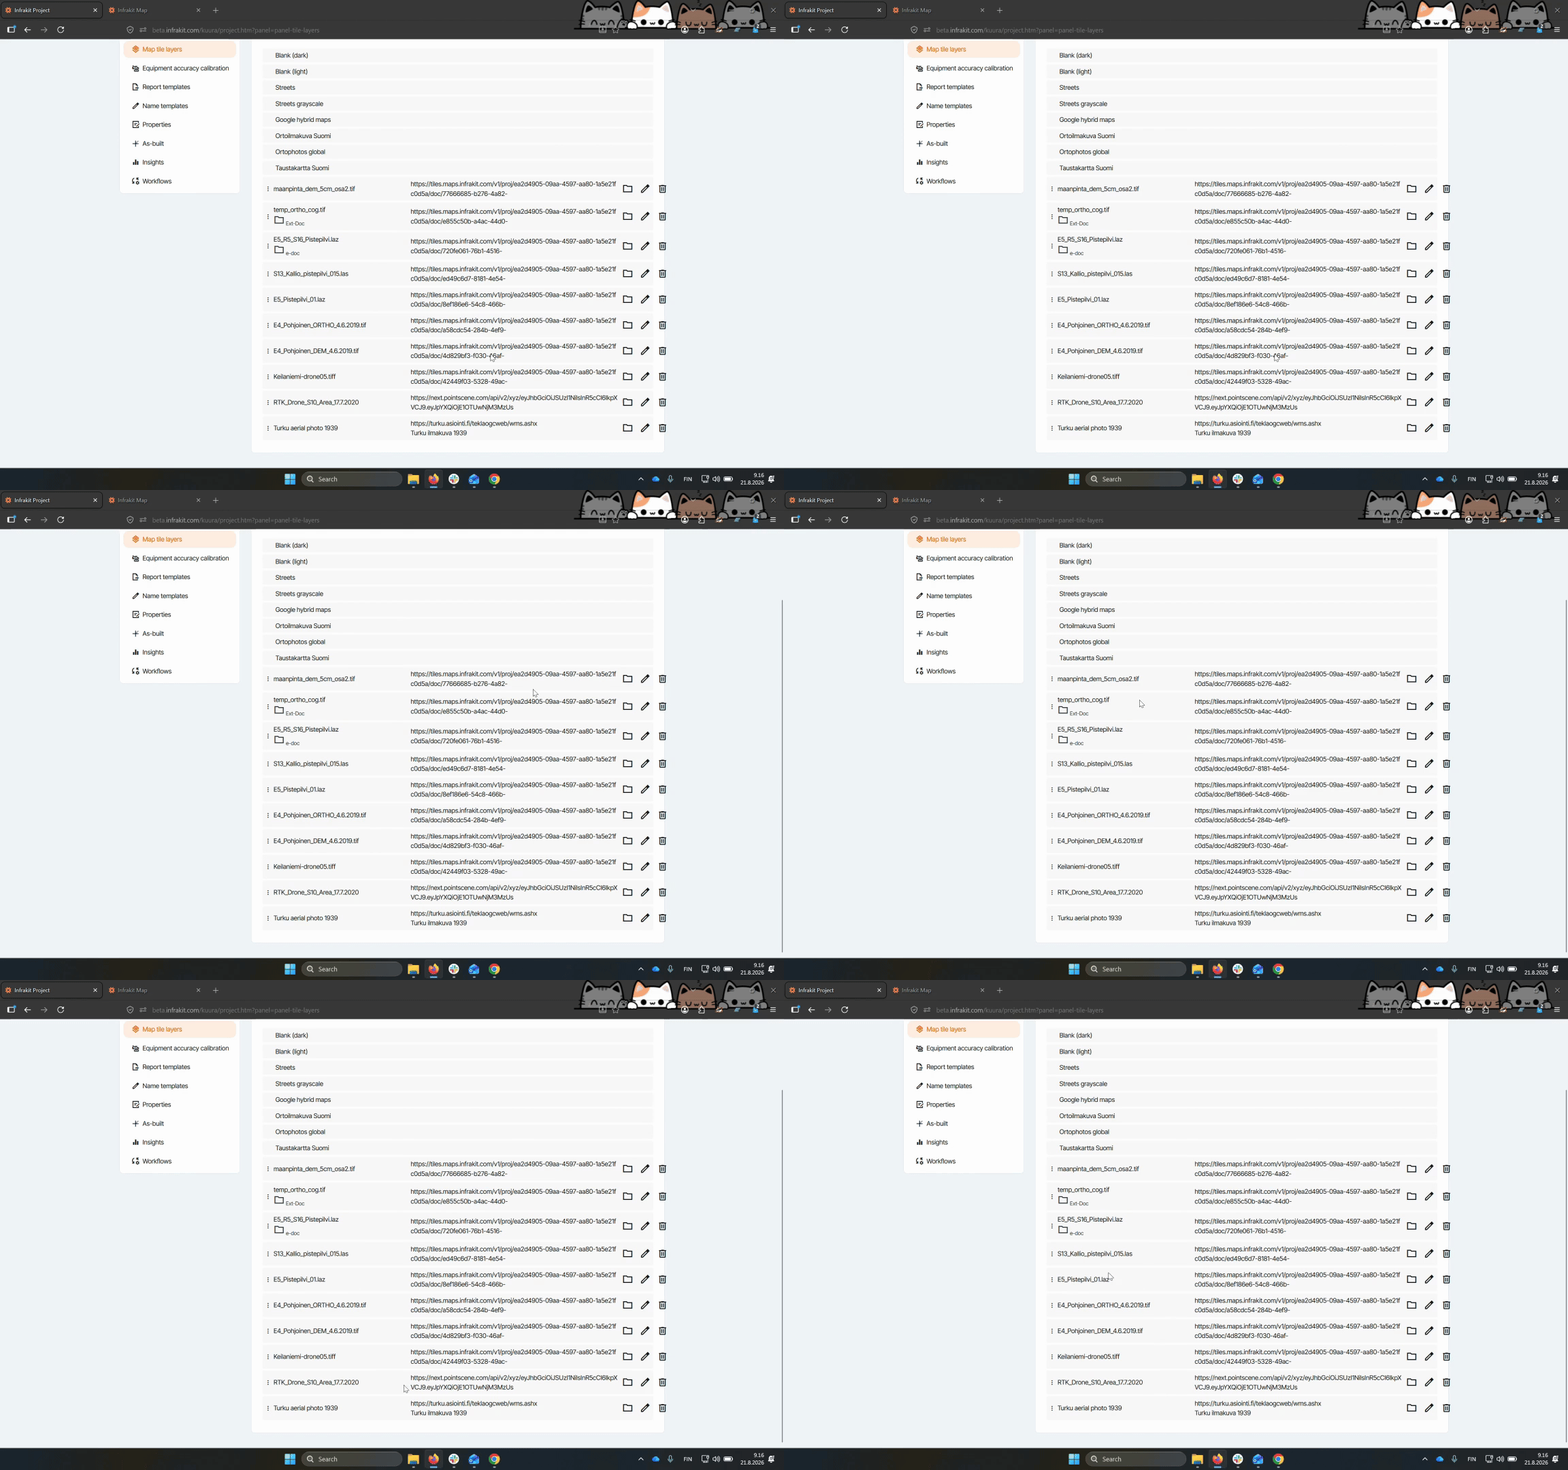
You will see all map tile layers you have connected or generated, including WMS and XYZ tile layers, as well as those from orthophotos or point clouds.
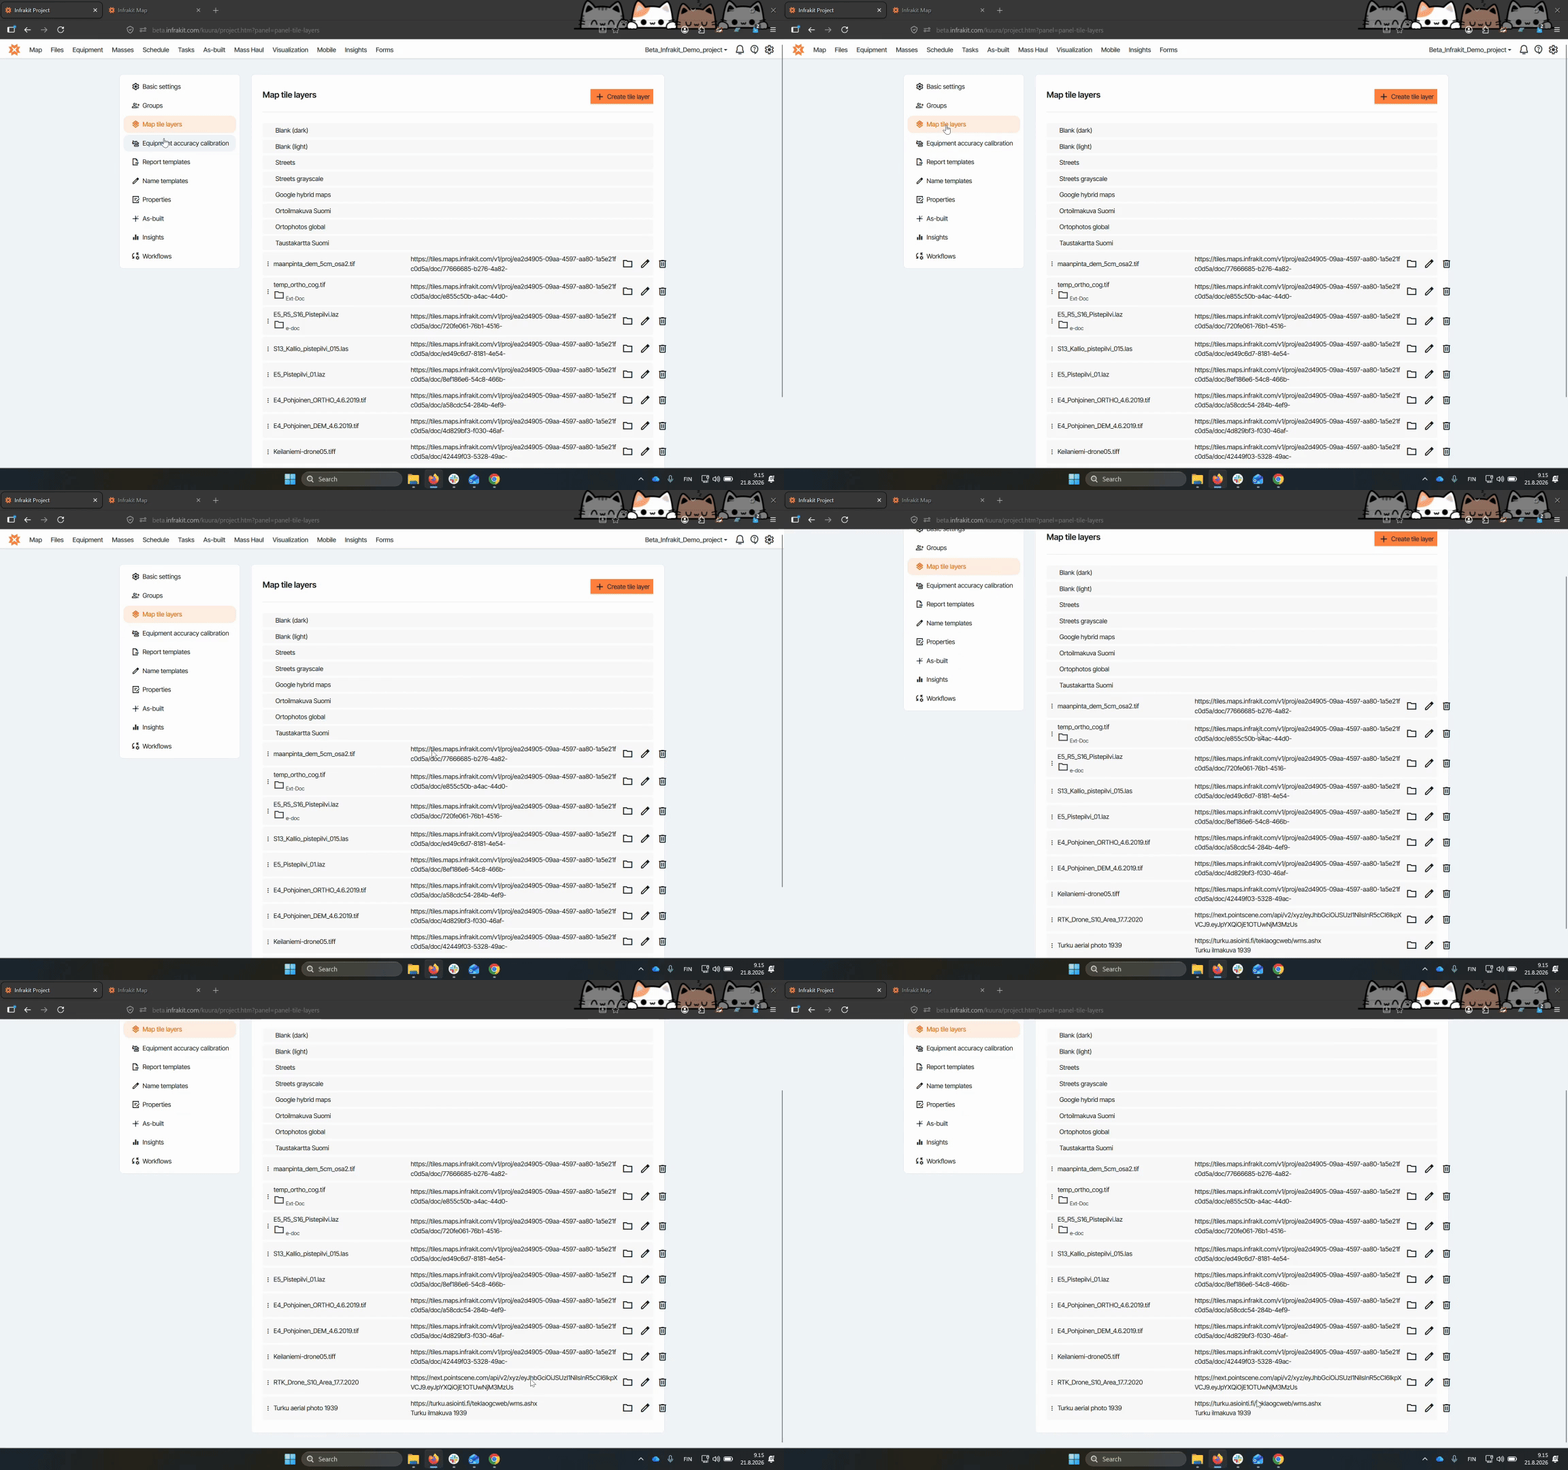
If there is no folder name beneath a layer, it is in the root folder. If a different name appears, the layer has been moved to that folder.
Step 3: Move a Tile Layer to a Folder
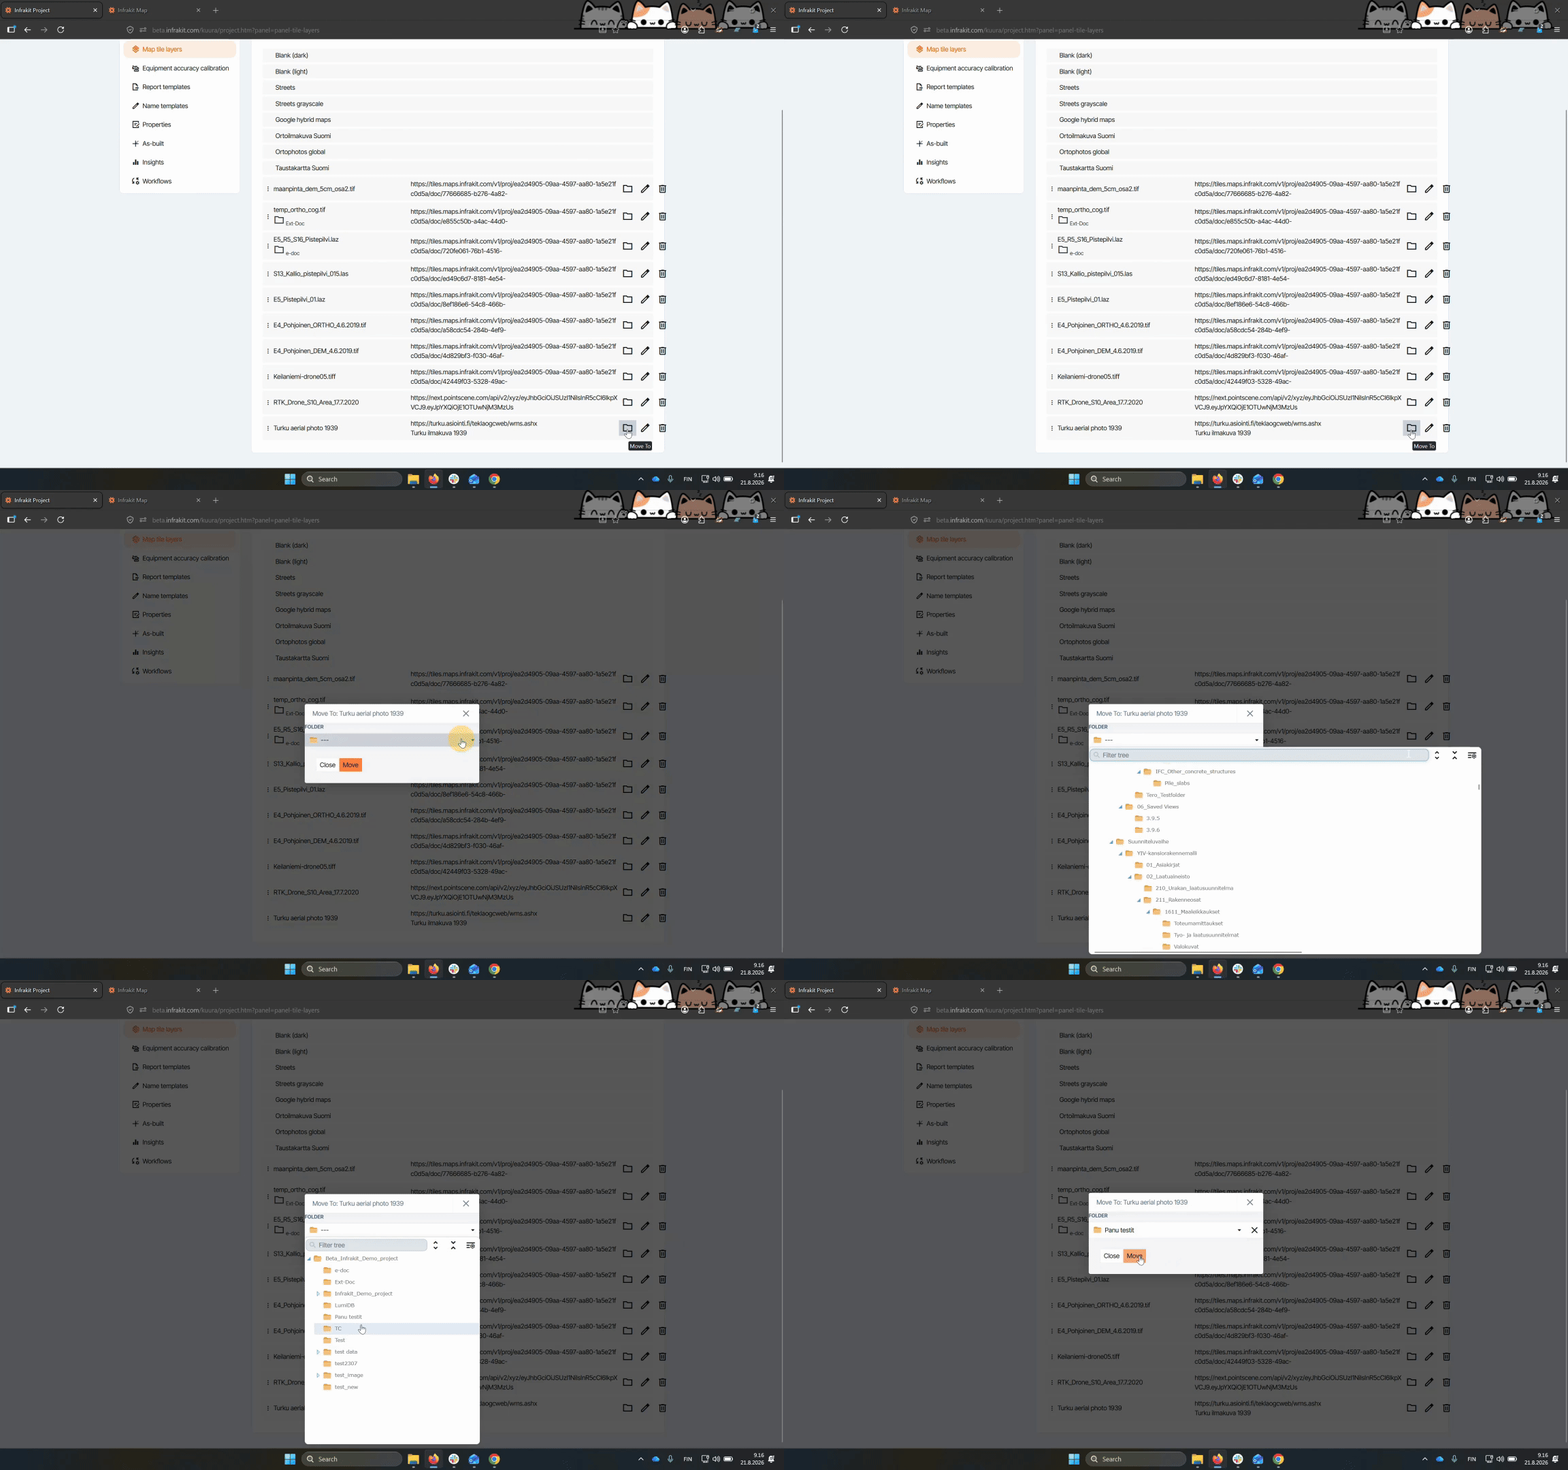
Select the folder icon with the Move to help text beneath it. Then, choose the folder you want to move the tile layer to and click Move.
Step 4: Verify the Layer's New Location
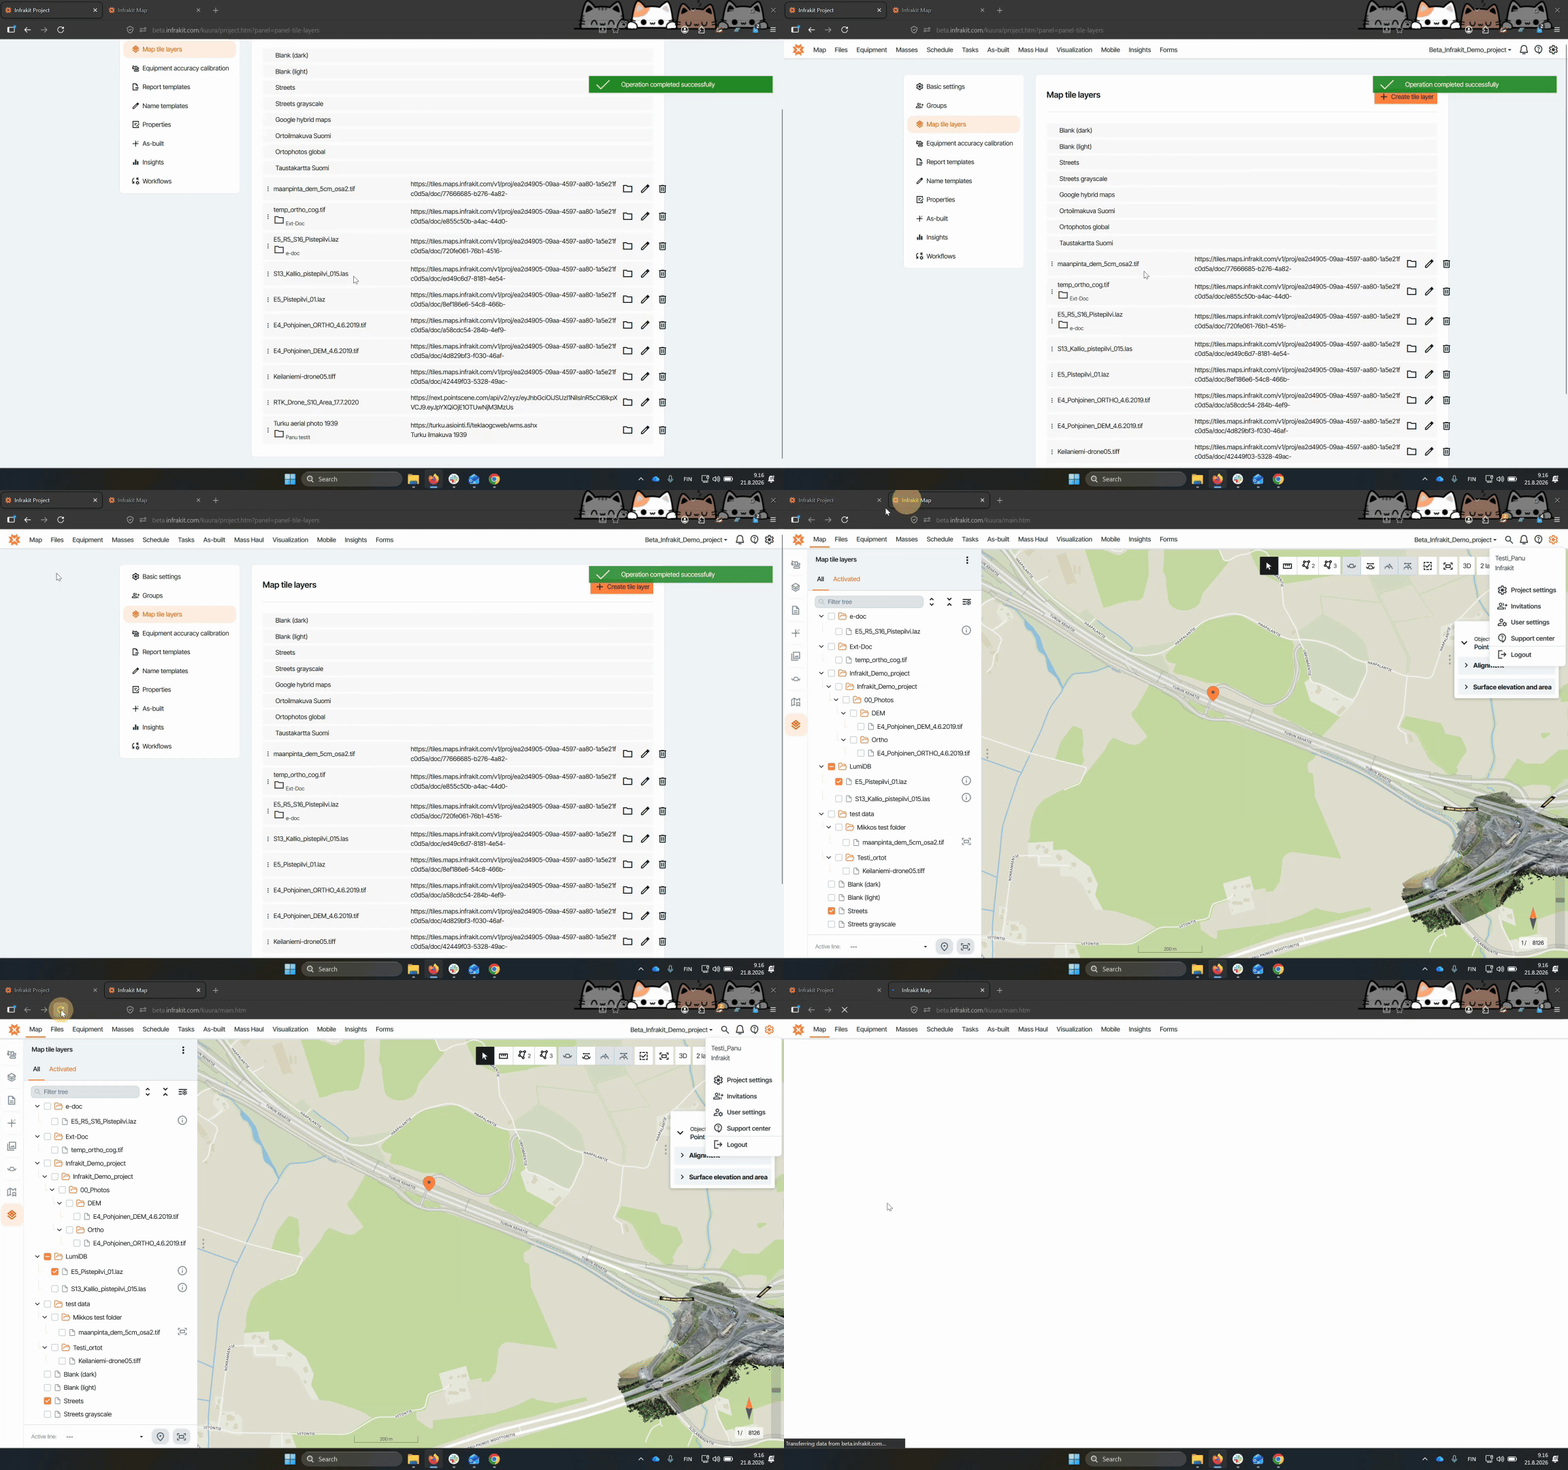
Return to the map page and refresh. The tile layer should now appear in the folder you moved it to.
Option 2: Map page
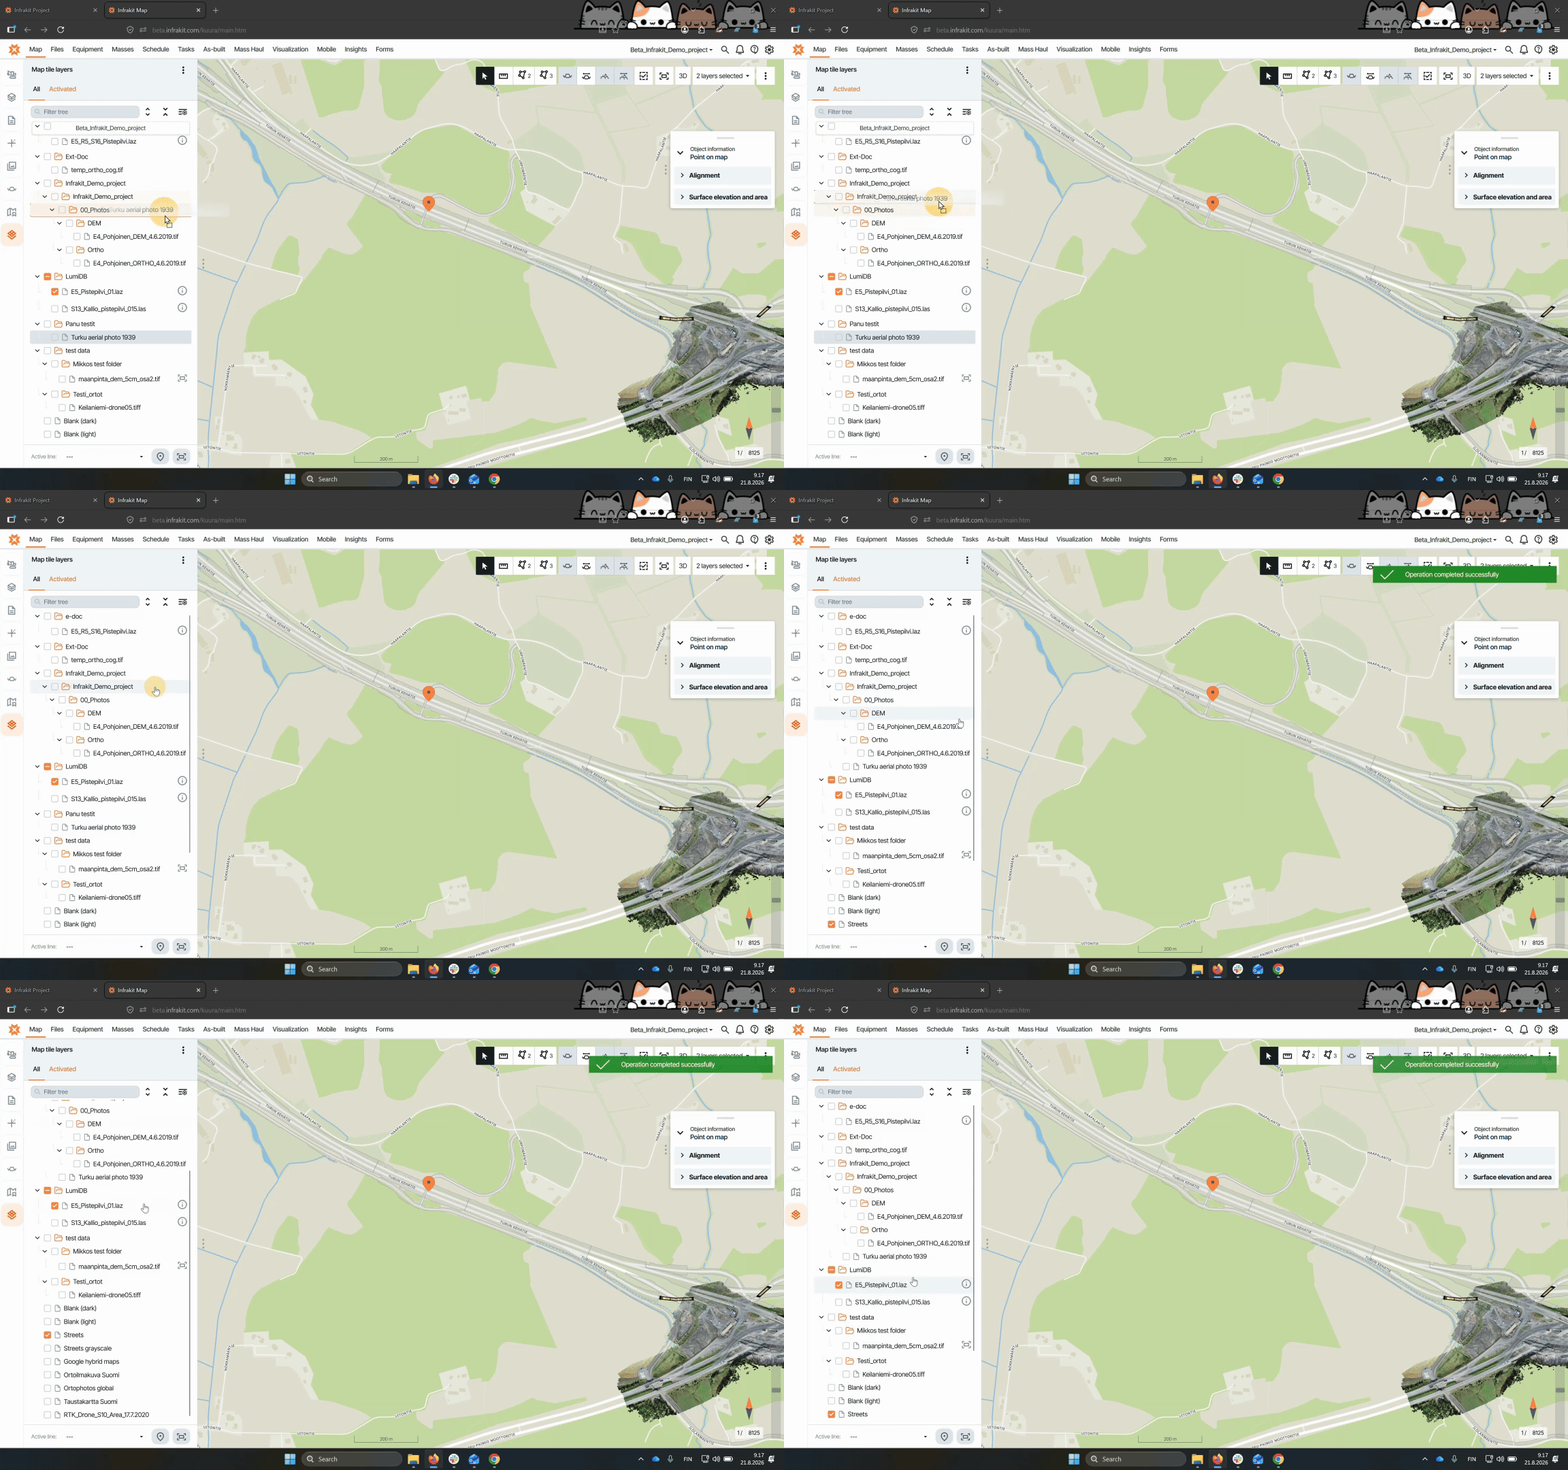
On the map page, drag the file name of the point cloud or tile layer and drop it onto the desired folder. To move it back to the root folder, drag it to the project name at the top of the folder list and drop it there.
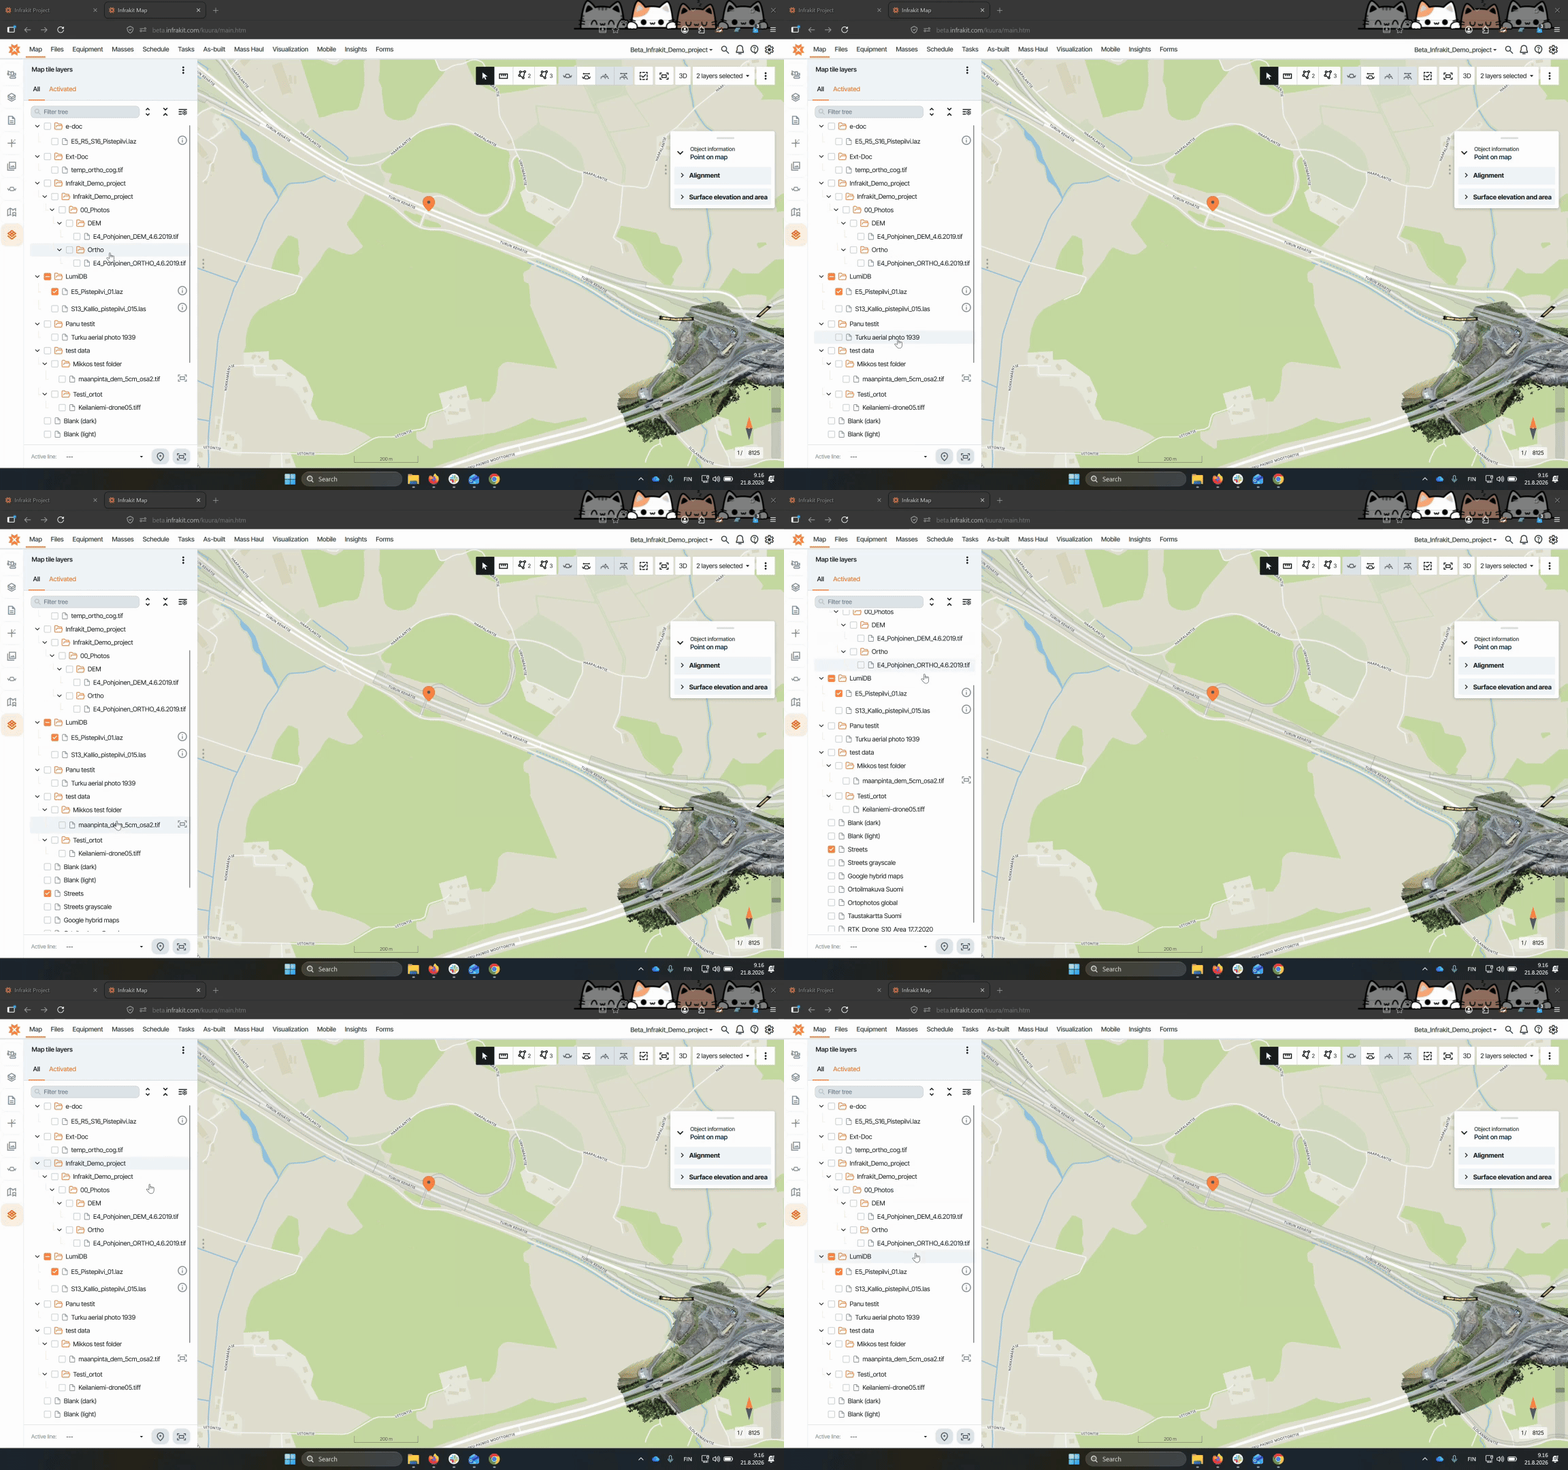
The layer will be moved to the selected location.
Organizing your map tile layers is quick and straightforward.