Let's do it together!
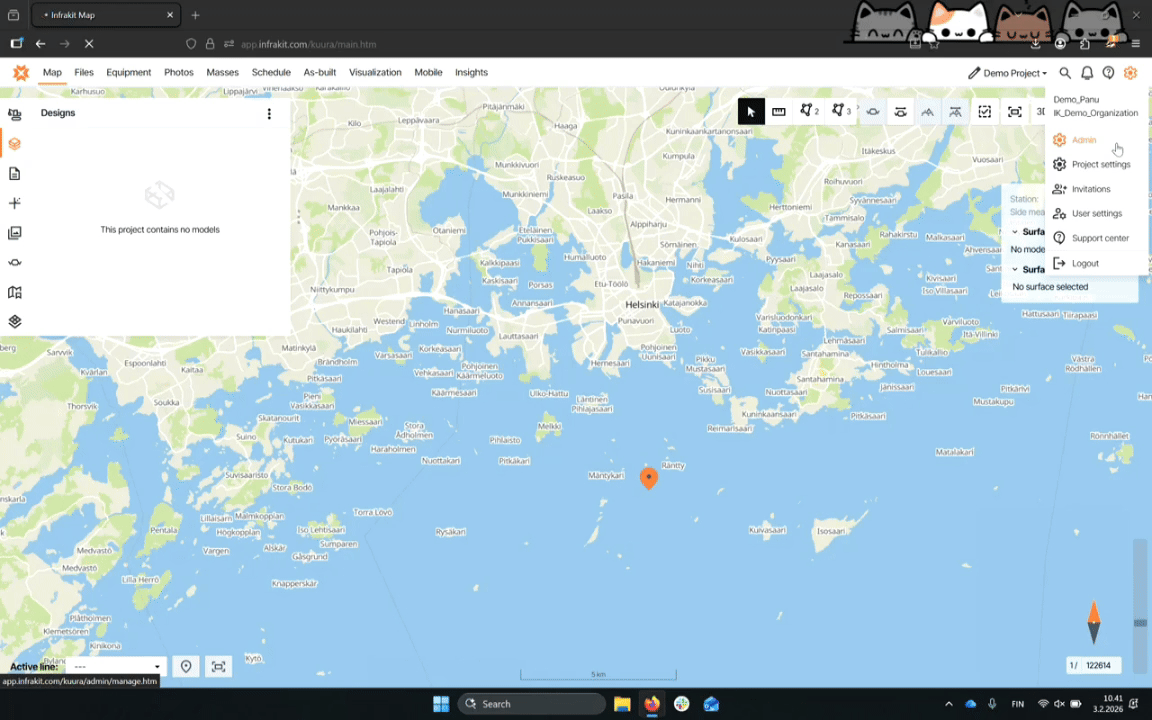
Step 1: Access Admin Menu
Go to the top right corner and click on the cogwheel to access the admin menu.
Step 2: Manage Organizations
In the admin menu, select the Manage Organizations tab to proceed.
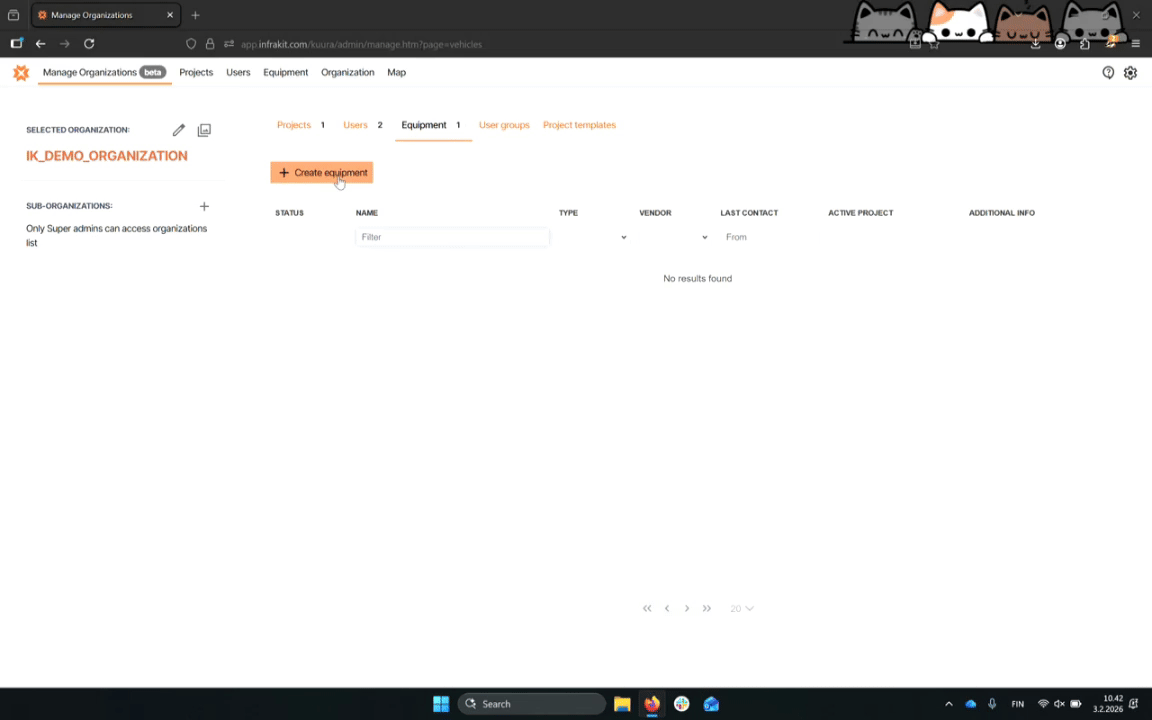
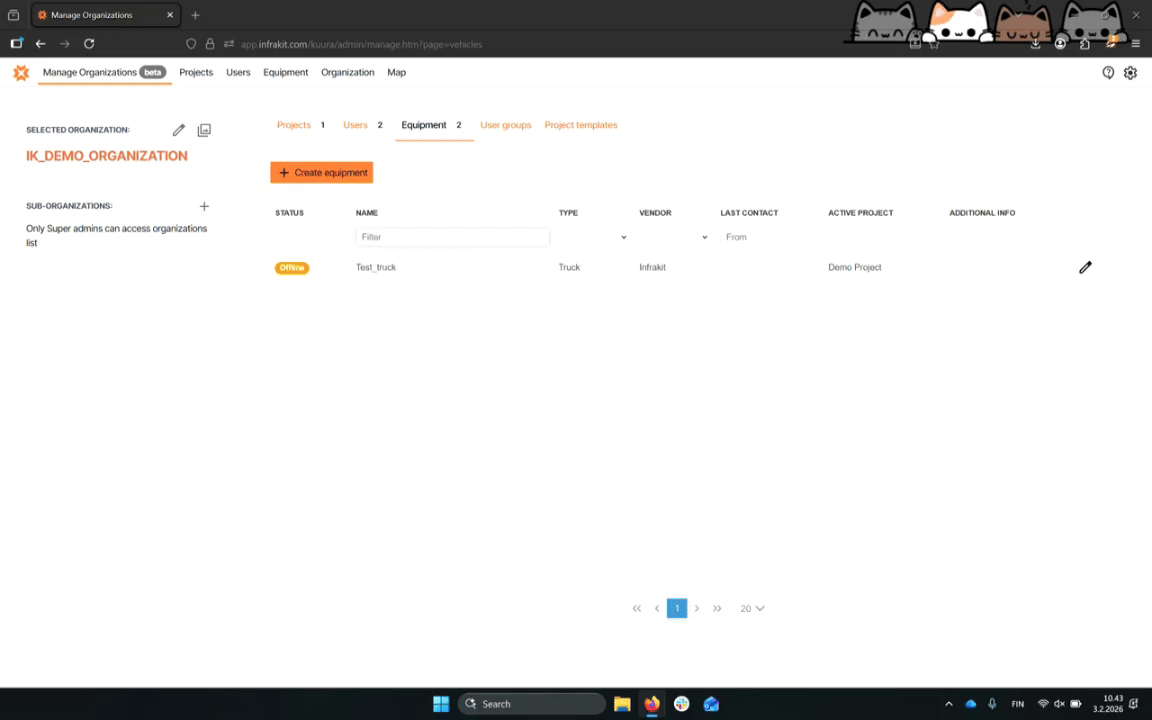
Step 3: Go to Equipment
Select the equipment option to create a new truck.

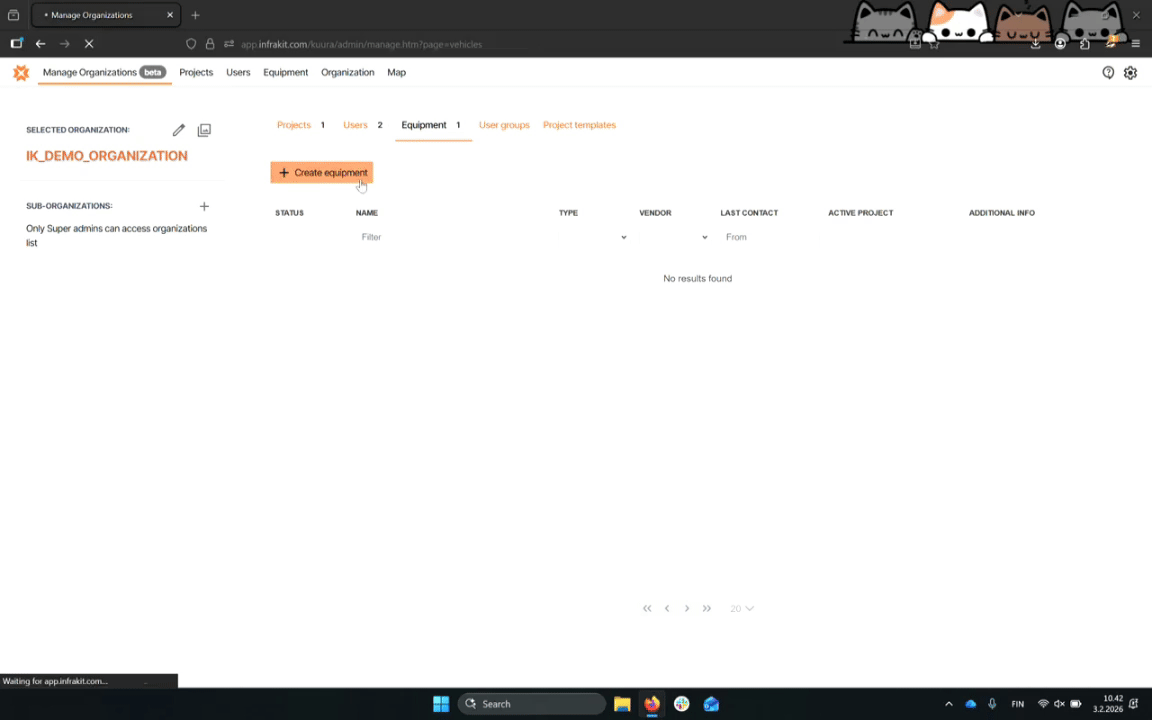
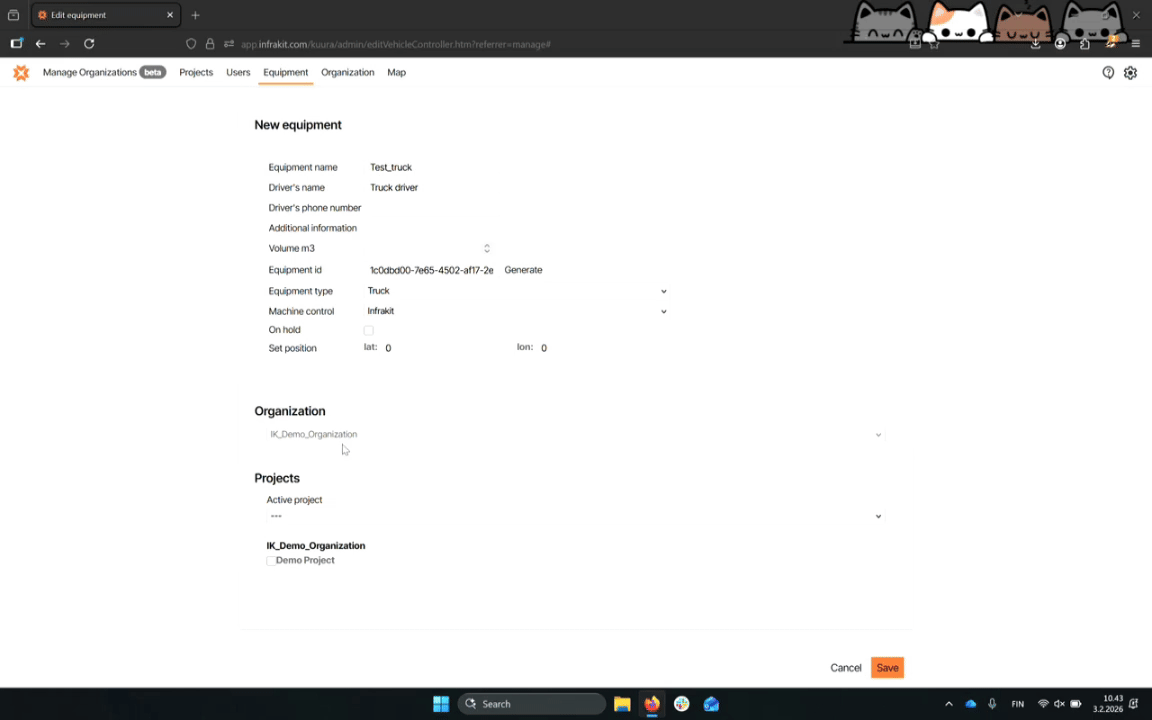
Step 4: Create Equipment
Click the Create equipment button to begin entering truck details.
Step 5: Enter Basic Info
Fill in the basic information for the truck, including setting the equipment type to truck.
Step 6: Set Machine Control
Select Infrakit for machine control, as trucks do not have this feature.

Step 7: Generate Equipment ID
Generate an equipment ID since it is a mandatory field for the truck.

Step 8: Additional Details
Optionally, add a phone number for the driver and select the organization it belongs to.

Step 9: Select Active Project
Select an active project from the list for the truck.
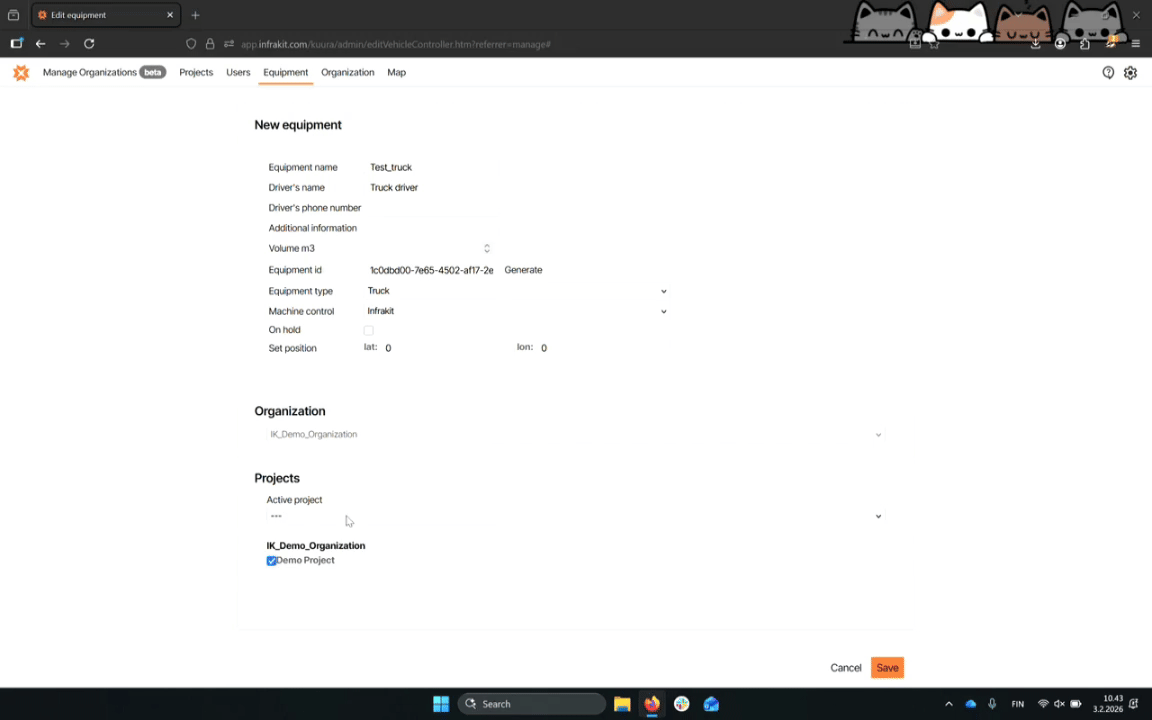
Step 10: Save Equipment
Click Save to finalize the creation of the truck.
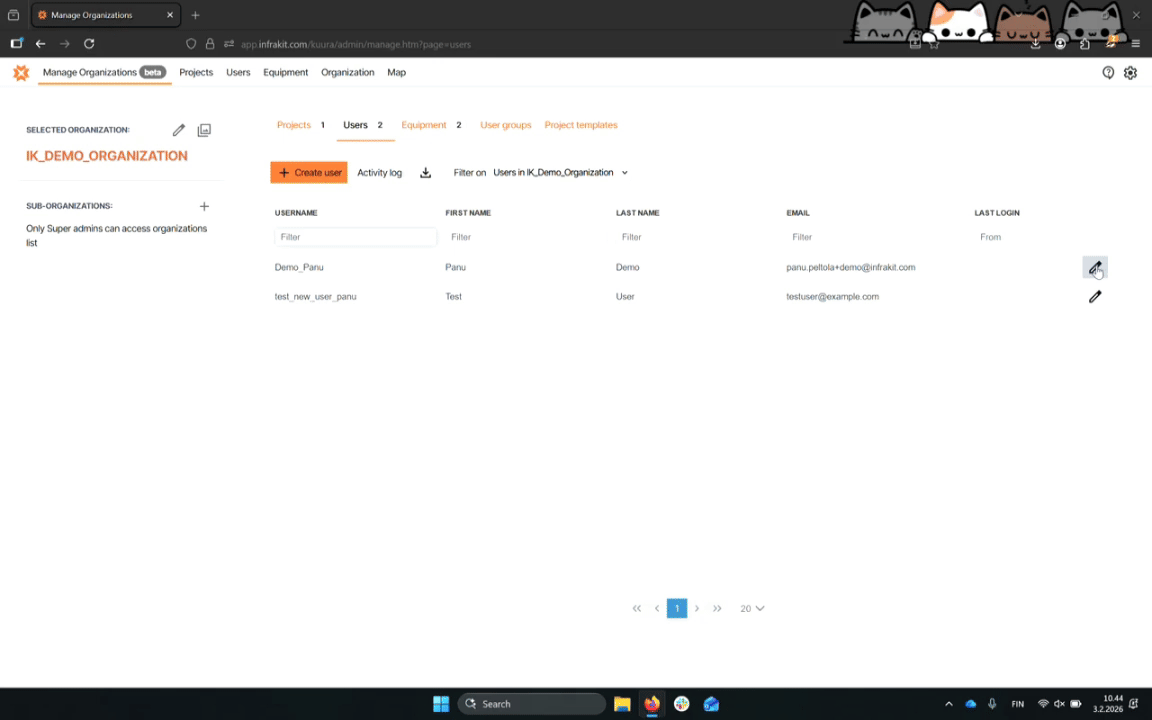
Step 11: Access Users
Navigate to the users section to attach the truck to a user.
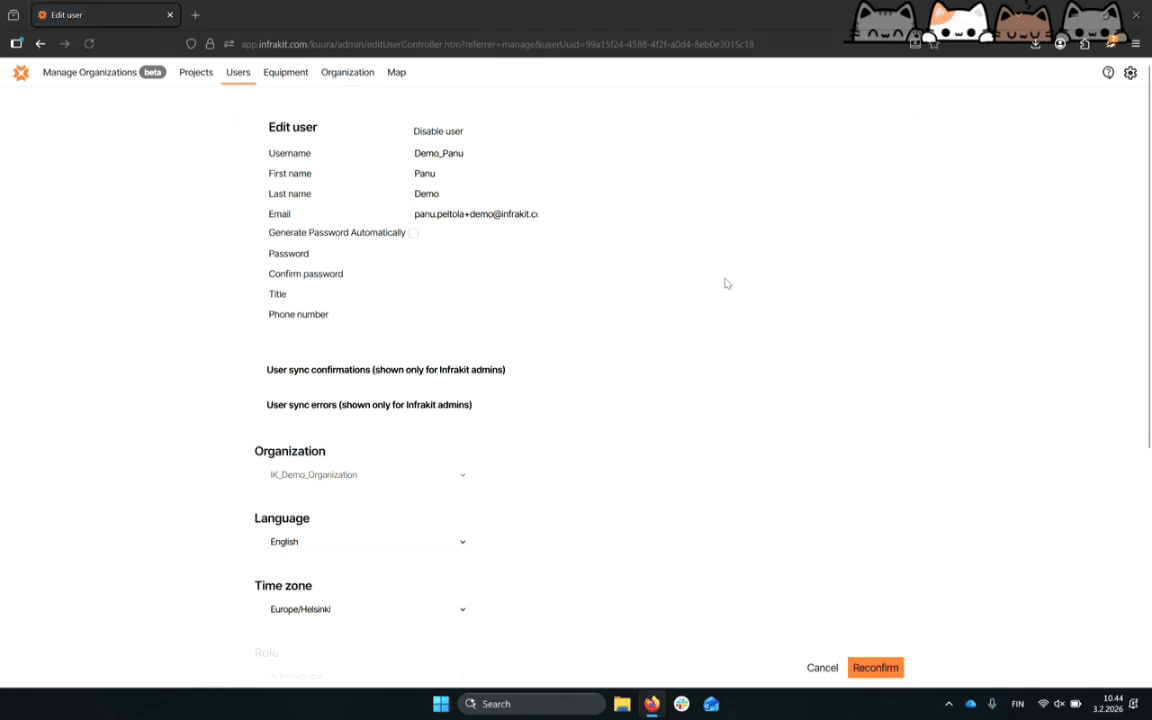
Step 12: Edit User
Select Edit user to assign the truck to a user.
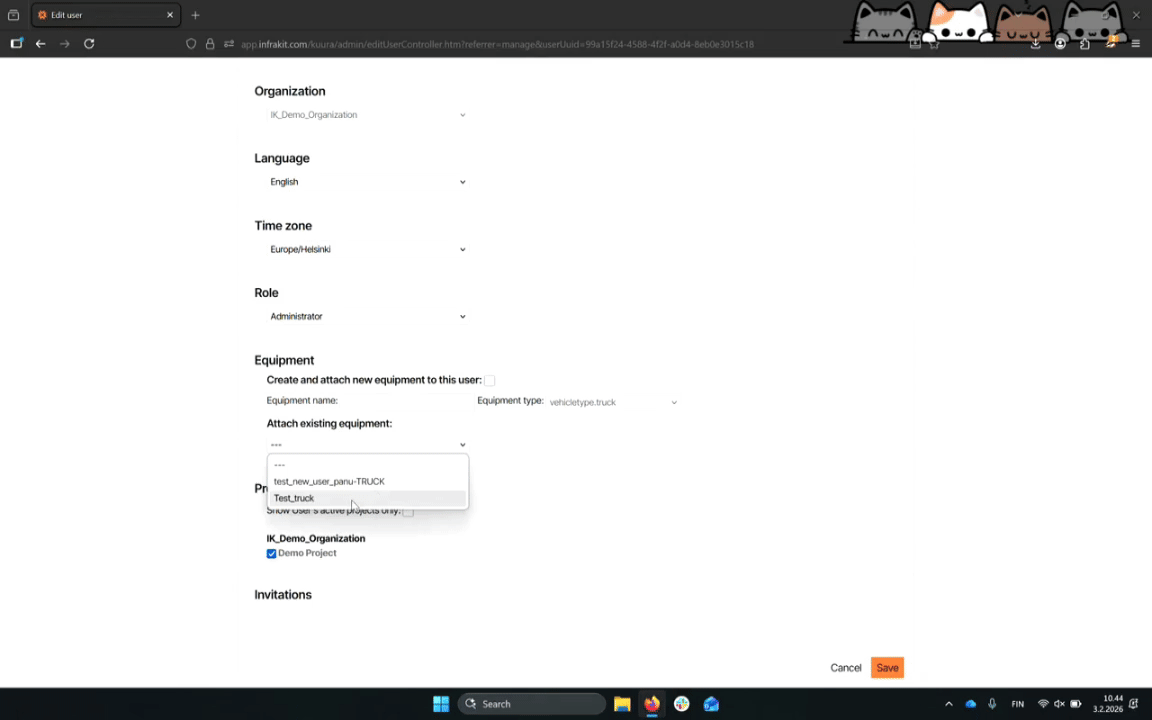
Step 13: Attach Truck
Attach the created truck by selecting it from the available options.
A truck can also be created from this view by selecting "Create and attach new equipment to this user"
Step 14: Save User Changes
Click Save to finalize the attachment or creation of the truck to the user.
Step 15: Completion
The truck is now attached to the user and can be used in the truck app.
