
- Basic Functions
- Mouse Actions
- Use Cases
- Frequently Asked Questions (FAQ)
- Troubleshooting
<< To Map page
1. Basic Functions ^

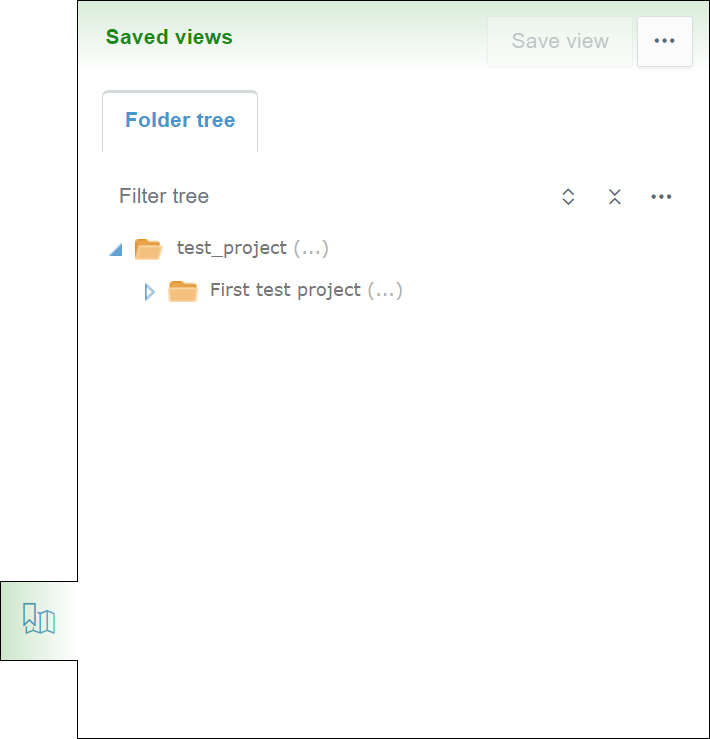
When the "Saved views" tab is clicked, a tab will appear where folder three is shown with different features and tools.
The tab contains one subtab, "Folder tree".
Folder Tree Subtab ^
Folder Tools ^
By clicking the folder name, the user can view all the saved views in the folder as thumbnails at the bottom of the tab.

By clicking the "List" icon, the user can view the image files as a list.
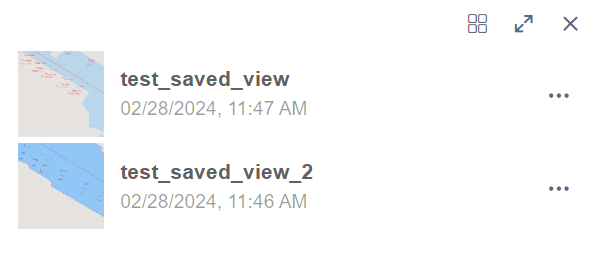
By clicking the double arrow icon, a new side box will open next to the tab.
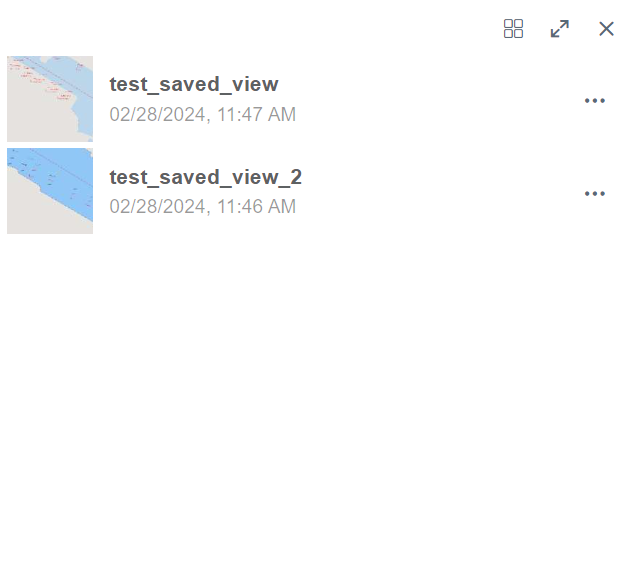
By clicking the x icon, the user can close the file view.
Folder Tree Tools ^
Above the folder tree, different tools can be found to browse the folders.
In the "Filter tree" bar, the user can search folders from the folder tree.
By clicking the "Expand tree" button, the whole folder tree will be revealed.
By clicking the "Collapse tree" button, the folder tree will be collapsed so that only the root folder will be visible.
By clicking the "Tree settings" button, a box will appear.
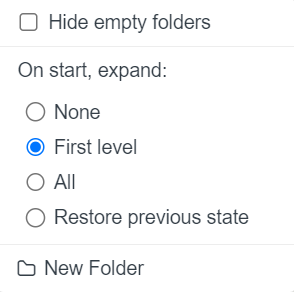
By adding a check mark to "Hide empty folders" all the empty folders in the folder tree will be hidden.
"On start, expand", the user can determine how the folder tree is shown after the browser page has been reloaded, for example, when the user logs in to Infrakit or refreshes the page. "None" means that only the root folder is shown; "First level" means that only the direct subfolders of the root folder will be shown; "All" means that all the folders in the folder tree will be shown; and "Restore previous state" means that the previous state of the folder tree will be restored.
By clicking "New Folder", the user can create a new folder under the folder that has been chosen.
Saved View Tools ^

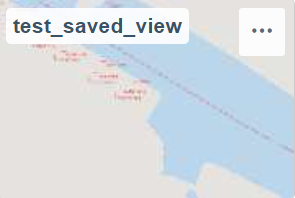
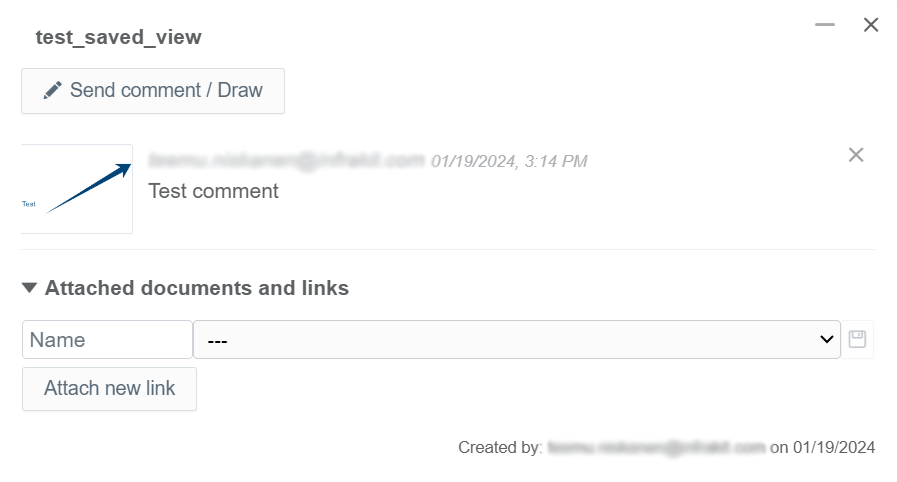
By clicking a saved view, the view will be generated on the map, and a box will open in the right corner of the screen.
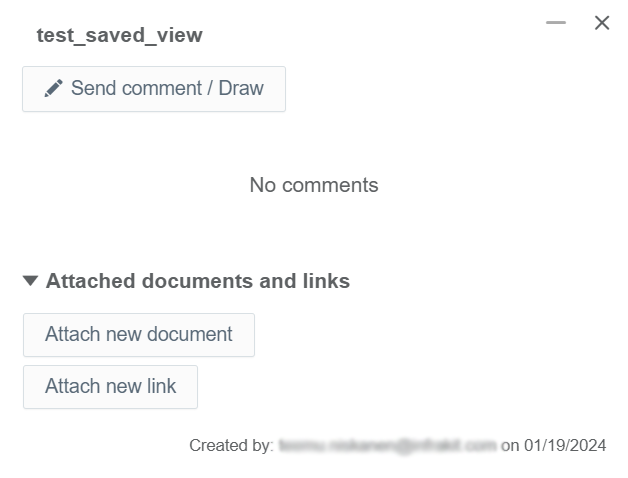
In this box, the user can add comments by utilizing drawing tools and attach files and links to the saved view.
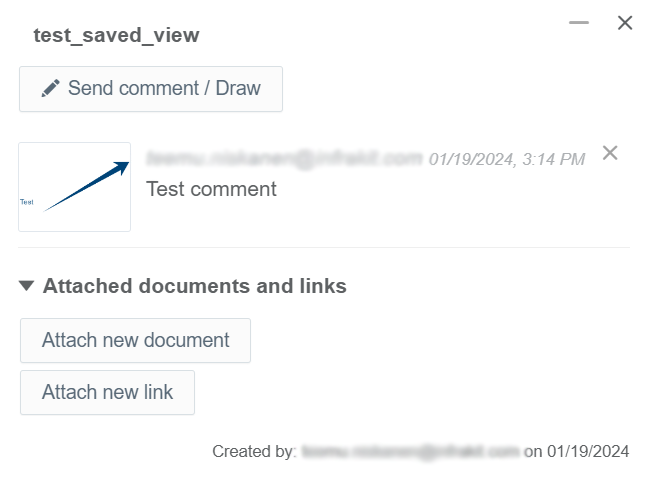
By clicking the "Send comment / Draw" button, an additional box will appear.

At the top of the box, the user can activate different tools to draw in the saved view.
In the "Comment" box, the user can add a written comment to the saved view.
From the "Visible to user group" drop-down bar, the user can determine which groups can view the comment. Groups can be created in the "Project Settings" page, section "Groups".
By clicking the "Send" button, the user can submit the comment.
By clicking the "Cancel" button, the user can return to the previous view without leaving a comment.
After the "Send" button has been clicked, the comment will appear in the previous box. All the comments will be listed in chronological order.
In the "Attached documents and links" section, the user can attach and observe documents and links.
By clicking the "Attach new document" button, a new view appears at the bottom.
In the "Name" bar, the user can insert a name for the document.
From the drop-down bar, the user can select the document that will be attached to the saved view.
By clicking the save icon, the user can complete the attachment.
All the attached documents will be listed under the "Attached documents and links" section.
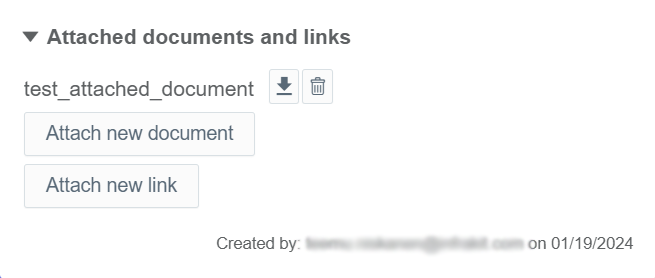
By clicking the downward arrow icon, the user can download the document file to local storage.
By clicking the trash can icon button, the user can detach the document file.
By clicking the "Attach new link" button, a new view appears at the bottom.
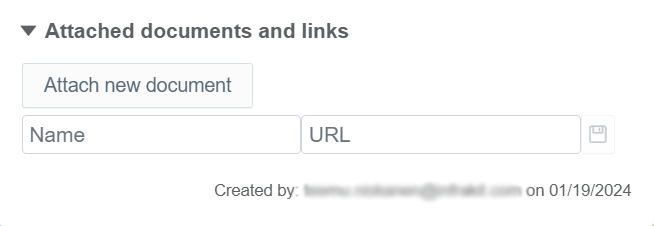
In this view, the user can attach a link to the saved view.
In the "Name" bar, the user can insert a name for the link.
In the "URL" bar, the user can insert the URL of the link.
By clicking the save icon, the user can complete the attachment.
All the attached links will be listed under the "Attached documents and links" section.
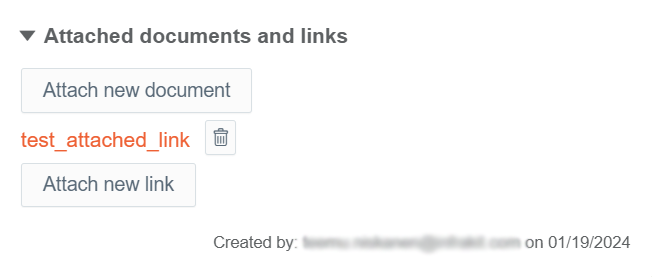
By clicking the trash can icon button, the user can detach the link.
By clicking the three-dot icon button, several different options appear.
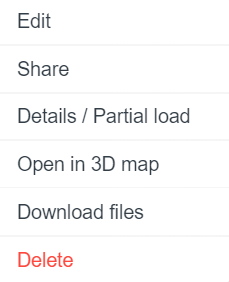
By clicking "Edit", a side window will open.
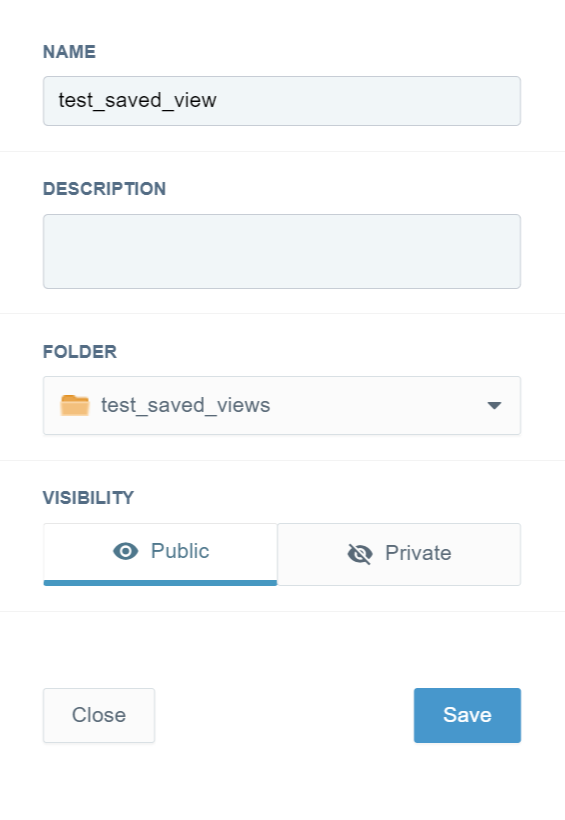
In this side window, the user can modify the basic attributes of the saved view.
In the "NAME" bar, the user can modify the name of the saved view.
In the "DESCRIPTION" bar, the user can provide a description for the saved view.
From the "FOLDER" drop-down bar, the user can change the folder where the saved view is located.
In the "VISIBILITY" section, the user can determine if the saved view is available for other users in the project. By clicking "Public", the saved view is available for other users in the project, and by clicking "Private", the saved view is only available for the creator.
By clicking the "Save" button, the user can save the modifications.
By clicking the "Close" button, the user can close the side window without saving the modifications.
By clicking "Share", a box will open.
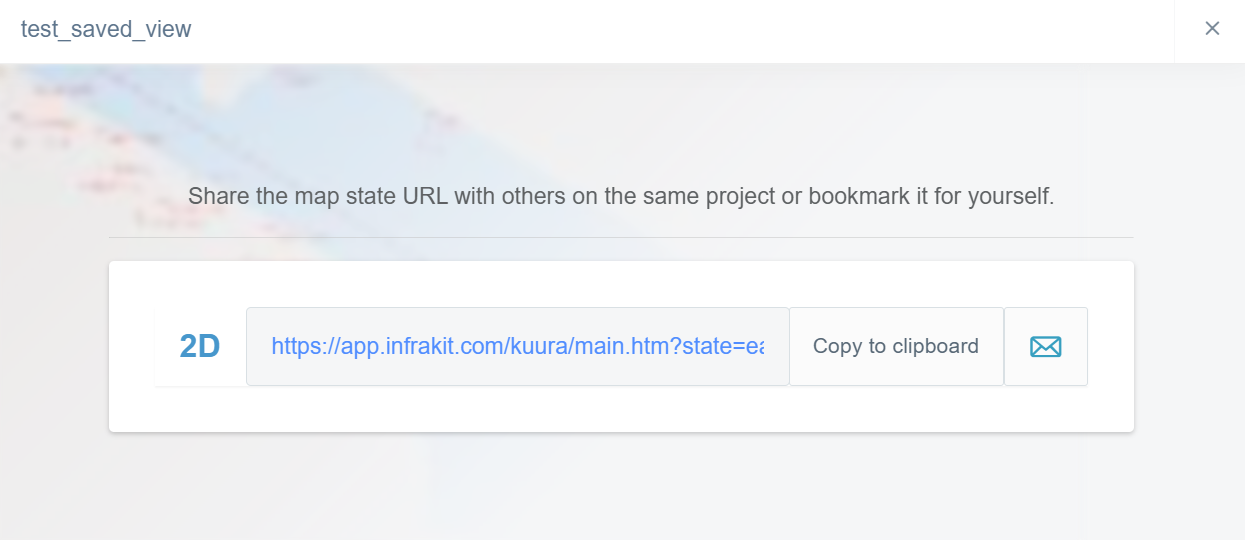
In this box, the user can share the URL of the saved view with other users of the project.
By clicking "Copy to clipboard", the user can copy the URL, which will direct the user to the saved view on the clipboard.
By clicking the envelope icon, a new box will open.
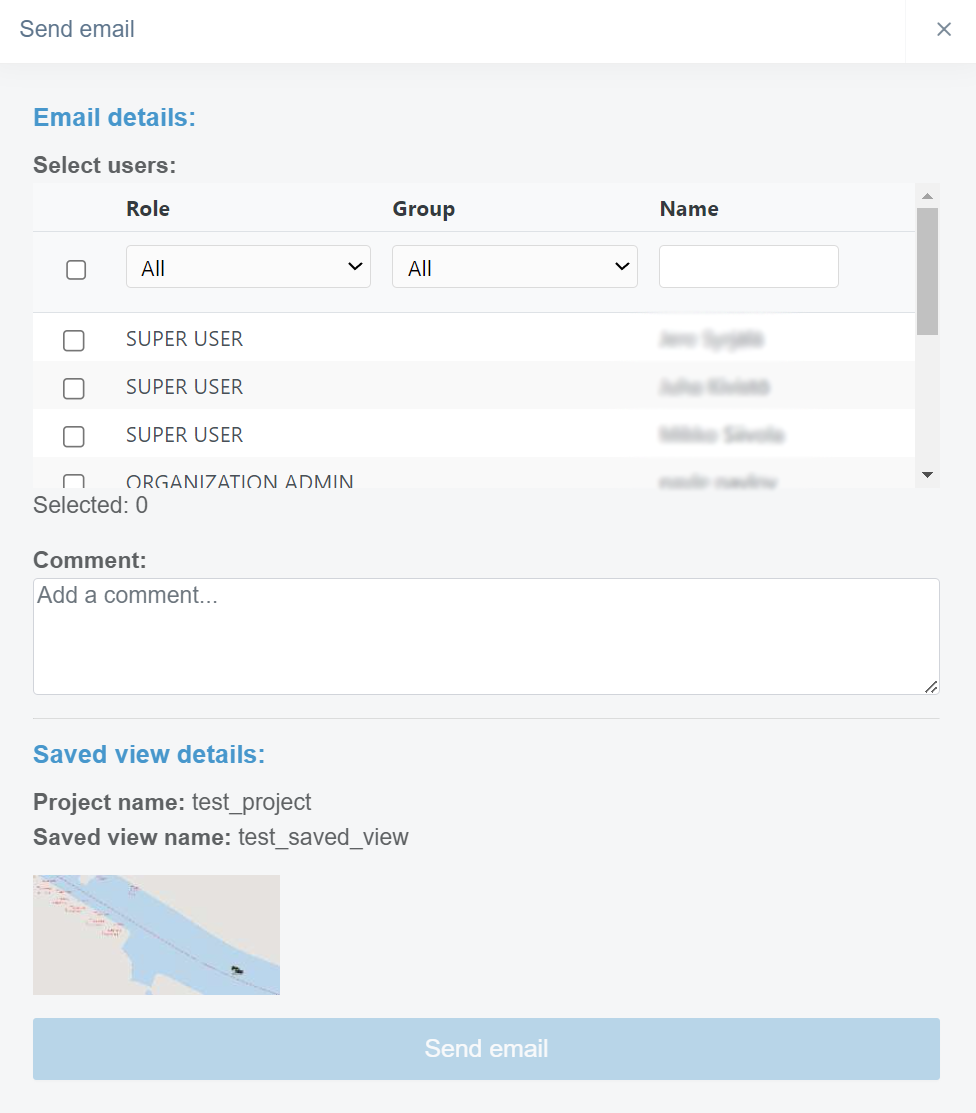
In this box, the user can send an email message to selected users that includes the URL to the saved view.
By checking the box in the user's row, the user can select to which users the URL of the saved view will be sent.
By using the "Role" and "Group" drop-down bars or the "Name" bar, the user can filter the users based on the role, group, or name. Groups can be created in the "Project Settings" page, section "Groups".
In the "Comment" section, the user can add an additional comment, which will be visible in the email message.
By clicking the "Send email" button, the user can send the email message.
By clicking "Details / Partial load", a box will open.

In this box, the user can manage which parts of the saved view will be downloaded on the map.
By checking and unchecking boxes next to attribute names under the column "PANEL", the user can select which parts of the saved view will be downloaded and visible on the map.
By clicking the "Load selected" button, the user can load the saved view with selected attributes.
By clicking the "Close" button, the user can close the box without downloading the saved view.
By clicking "Open in 3D map", the user will be directed to the "Visualization" page, and the saved view will be active.
By clicking "Download files", the user can download all the files included in the saved view.
By clicking "Delete", the user can delete the saved view.
General Tools ^
Create a Saved View ^
At first, the user has to choose the folder where the view will be saved. After this, by clicking the "Save view" button, the current map view will be saved to the chosen folder.
Sorting Tool ^
By clicking the three-dot icon button, a box will appear.

In the "SORT" section, the user can choose if the views are sorted alphabetically by the name or chronologically by the date the views were created.
In the "VIEW" section, the user can determine if the 3D views taken on the "Visualization" page are visible or hidden in the folder tree.
2. Mouse Actions ^
By clicking a saved view with the right button on the mouse, the same features and tools become available as when the three dots are clicked at the end of the file's row.
By clicking a folder in the folder tree with the right button on the mouse, one option appears.
By clicking "New Folder", a box will open.
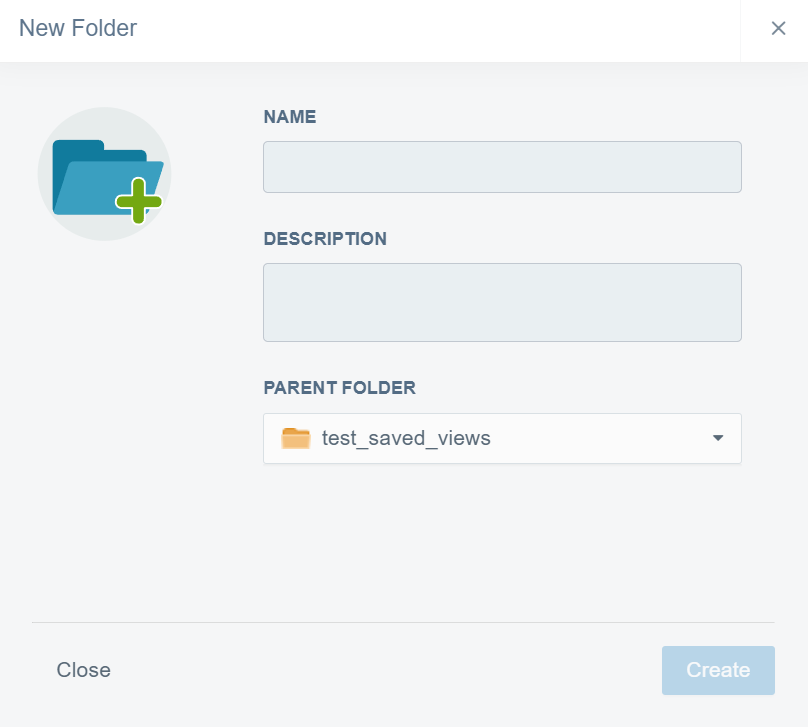
In this box, the user can create a new subfolder inside the selected folder.
In the "NAME" bar, the user must insert a name for the folder.
In the "DESCRIPTION" box, the user can provide additional information about the folder.
From the "PARENT FOLDER" drop-down bar, the user can change the parent folder for the new folder.
The user must click the "Create" button at the end to complete the creation. If the user wants to close the box without creating a folder, the "Close" button can be clicked.
3. Use Cases ^
4. FAQ
5. Troubleshooting