
- Basic Functions
- Mouse Actions
- Use Cases
- Frequently Asked Questions (FAQ)
- Troubleshooting
<< To Map page
1. Basic Functions ^


When the "Equipment" tab is clicked, a tab will appear with different options for how to manage the equipment on the map. All the project's equipment will be listed at the bottom of the tab, adhering to the filters.
The tab contains two subtabs, "Overview" and "Assignments".
Overview Tab ^
Sorting Tool ^
By clicking the "Sort" button, a new box will open where the user can select how the equipment list will be sorted.
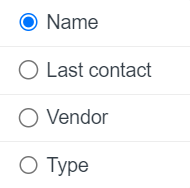
By selecting "Name", "Last contact", "Vendor" or "Type" the equipment will be arranged according to the selection.
Filter Tools ^
By inserting equipment's name on the "Search" bar, the user can filter equipment using key words.
By clicking the "Filters" button, a box appears.
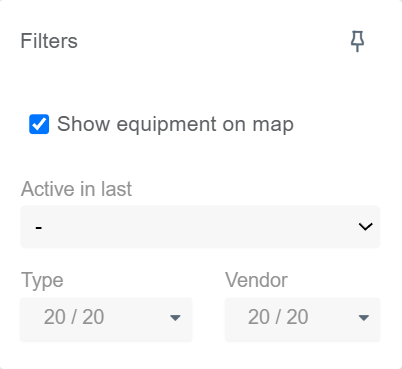
By checking or unchecking "Show equipment on map", the user can determine whether the equipment icons are visible on the map.
From the "Active in last" drop-down bar, the user can filter equipment based on the time period the equipment has been active.
From the "Type" drop-down bar, the user can filter equipment based on the type, for example, an excavator or dumper.
From the "Vendor" drop-down bar, the user can filter equipment based on the vendor, for example, Novatron or Leica.
By clicking the pin icon, the user can pin the box next to the tab.

When filters are activated, the number of active filters will be shown at the top of the box.
By clicking "Clear filters", the user can deactivate all the active filters.
Assignments Tab ^
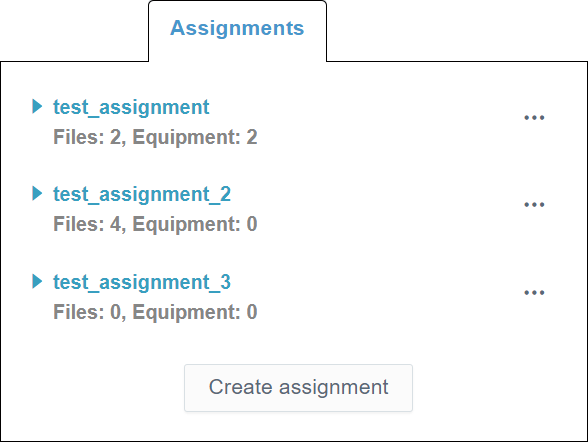
In the "Assignments" tab, the user can manage the assignments assigned to the equipment. All the available assignments will be listed on the tab.
Assignments ^
By clicking the assignment's name with the left button on the mouse, the user can observe the content of the assignment and the equipment the assignment is assigned to.
By clicking the three-dot icon button, a box will appear.
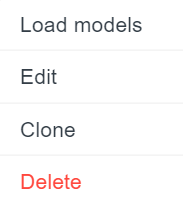
By clicking "Load models", the user can activate all the models included in the assignment on the map.
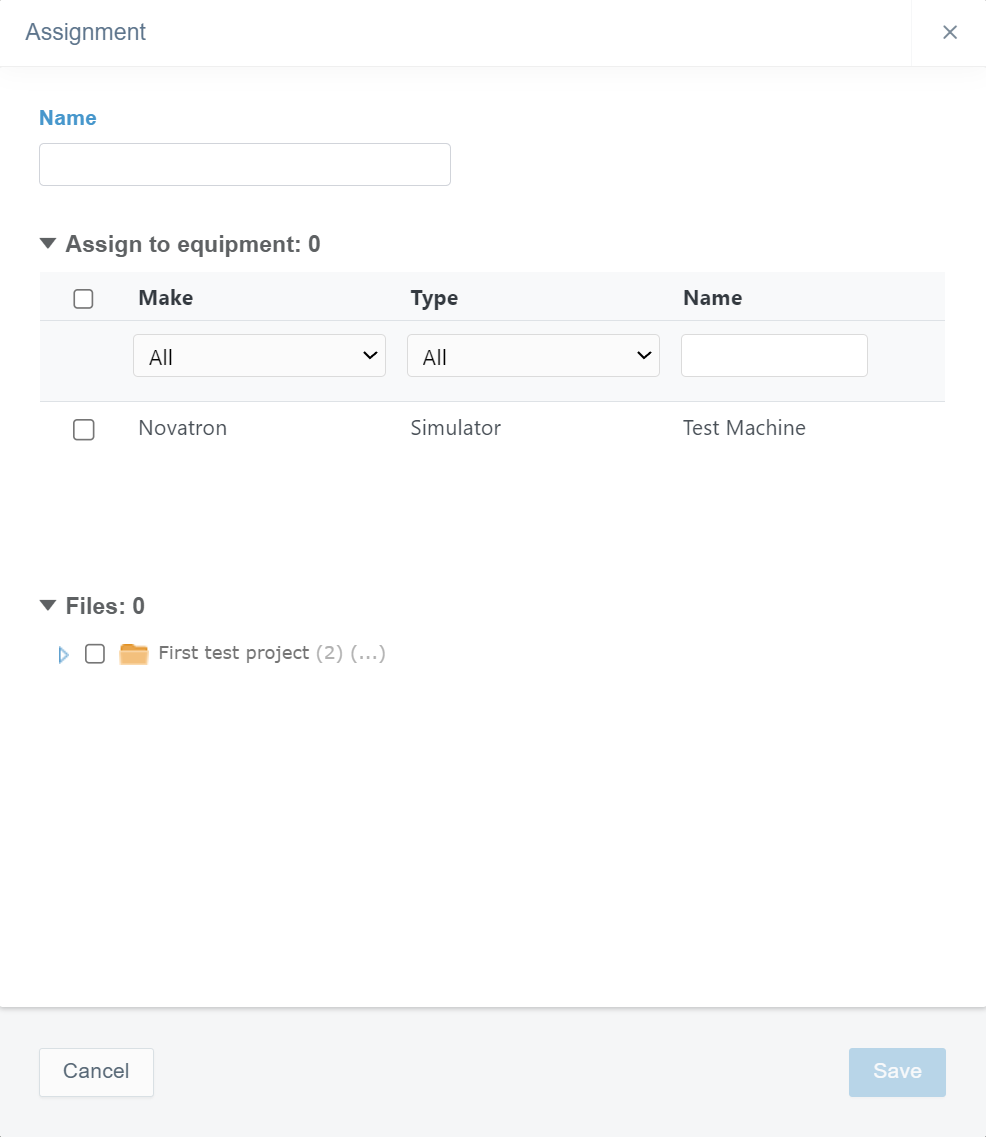
By clicking "Edit", a box will open.
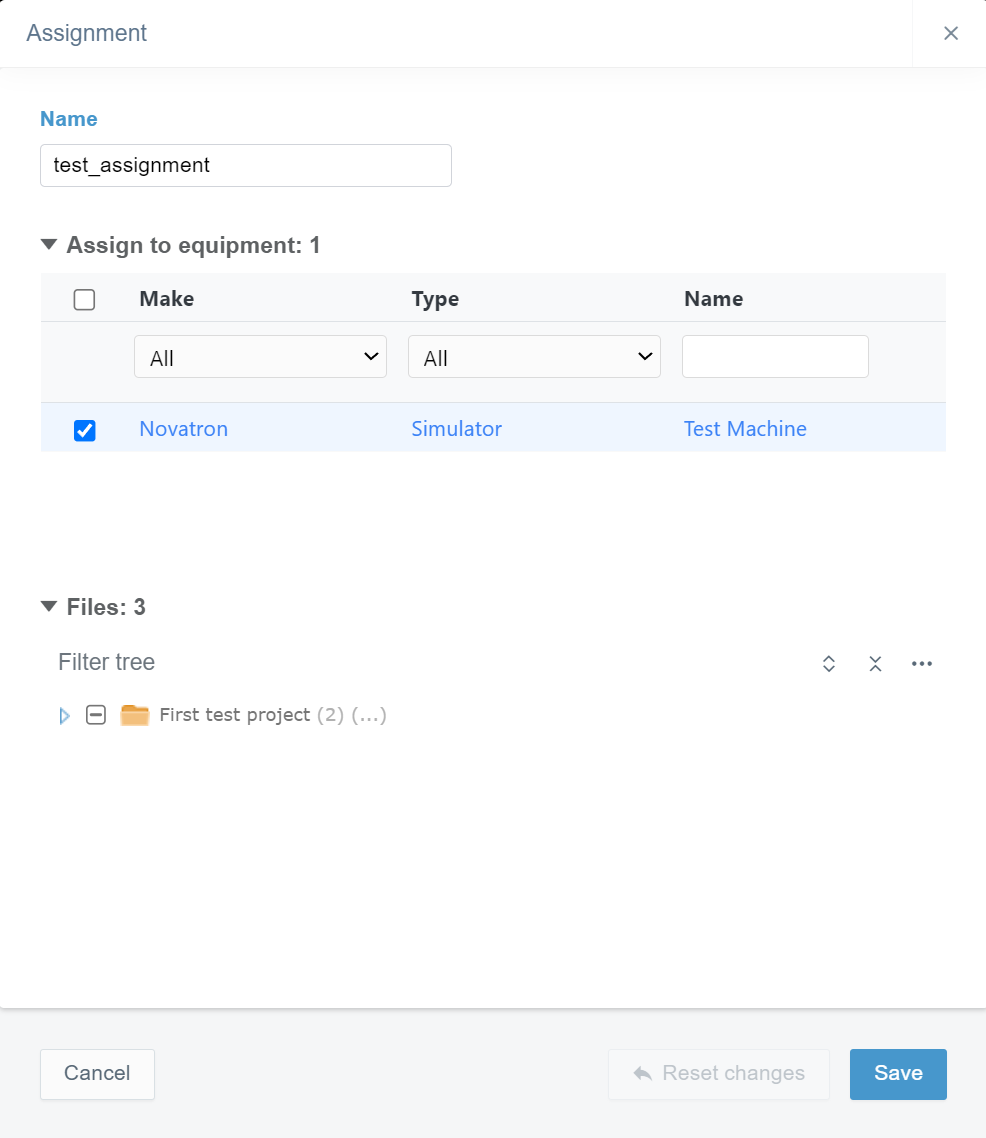
In this box, the user can modify the attributes of the assignment.
In the "Name" bar, the user can alter the assignment's name.
In the "Assign to equipment" section, the user can select and unselect the equipment to which the assignment is assigned.
By checking the box next to the "Make" column, the user can select all the equipment in the list.
From the drop-down bar under the "Make" header, the user can filter the equipment list by vendor.
From the drop-down bar under the "Type" header, the user can filter the equipment list by the type of equipment.
By inserting a name in the bar under the "Name" header, the user can filter the equipment list by the name of the equipment.
By checking and unchecking the box next to individual equipment, the user can select and unselect specific equipment.
In the "Files" section, the user can check and uncheck files that are included in the assignment.
In the "Filter tree" bar, the user can search folders or files from the folder tree.
By clicking the "Expand tree" button, the whole folder tree will be revealed.
By clicking the "Collapse tree" button, the folder tree will be collapsed so that only the root folder will be visible.
By clicking the "Tree settings" button, a box will appear.
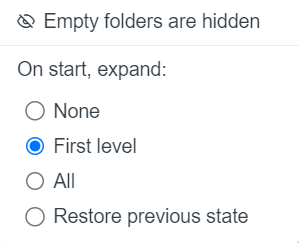
As a default, empty folders in the folder tree are hidden, and this cannot be changed.
"On start, expand", the user can determine how the folder tree is shown when the tab is opened. "None" means that only the root folder is shown; "First level" means that the folders that are under the root folder will be shown; "All" means that all the folders in the folder tree will be shown; and "Restore previous state" means that the previous state of the folder tree will be restored when the tab is opened.
By clicking the "Reset changes" button, the user can withdraw the recent changes and restore the latest saved state.
The user must click the "Save" button at the end to save the modifications. If the user wants to close the window without saving the modifications, the "Cancel" button can be clicked.
By clicking "Clone", the same box will open as when "Edit" is clicked.
In this box, the user can create a new assignment that is initialized with the selections included in the existing assignment.
To create a new assignment, the user must insert the name of the assignment in the "Name" bar.
The user can also make the same modifications as when "Edit" is clicked.
The user must click the "Save" button at the end to complete the creation of the assignment. If the user wants to close the window without creating an assignment, the "Cancel" button can be clicked.
The new assignment will be added to the assignment list on the tab.
By clicking "Delete", the user can delete an assignment.
Create an Assignment ^
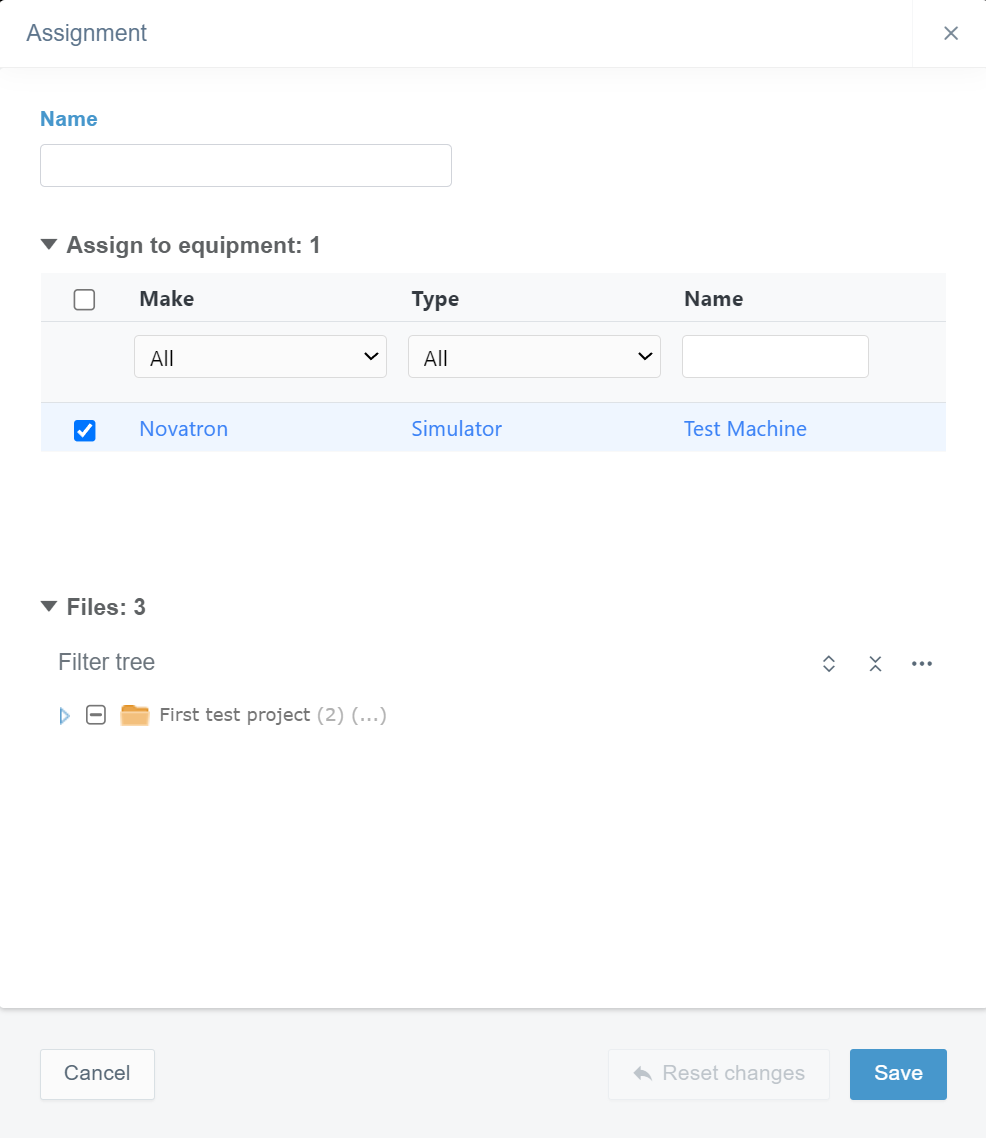
By clicking the "Create assignment" button, a box will open.
To create an assignment, the user must insert the name of the assignment in the "Name" bar.
In the "Assign to equipment" section, the user can select the equipment to which the assignment will be assigned.
By checking the box next to the "Make" column, the user can select all the equipment in the list.
From the drop-down bar under the "Make" header, the user can filter the equipment list by vendor.
From the drop-down bar under the "Type" header, the user can filter the equipment list by the type of equipment.
By inserting a name in the bar under the "Name" header, the user can filter the equipment list by the name of the equipment.
By checking the box next to individual equipment, the user can select specific equipment.
In the "Files" section, the user can check the files that will be included in the assignment.
The user must click the "Save" button at the end to complete the creation of the assignment. If the user wants to close the window without creating an assignment, the "Cancel" button can be clicked.
The new assignment will be added to the assignment list on the tab.
General Tools ^
Fit Visible ^
By clicking the "Fit visible" button, the user can fit all the equipment on the project in the map view.
2. Mouse Actions ^
When clicking a machine icon on the map with the left mouse button, a box will open.
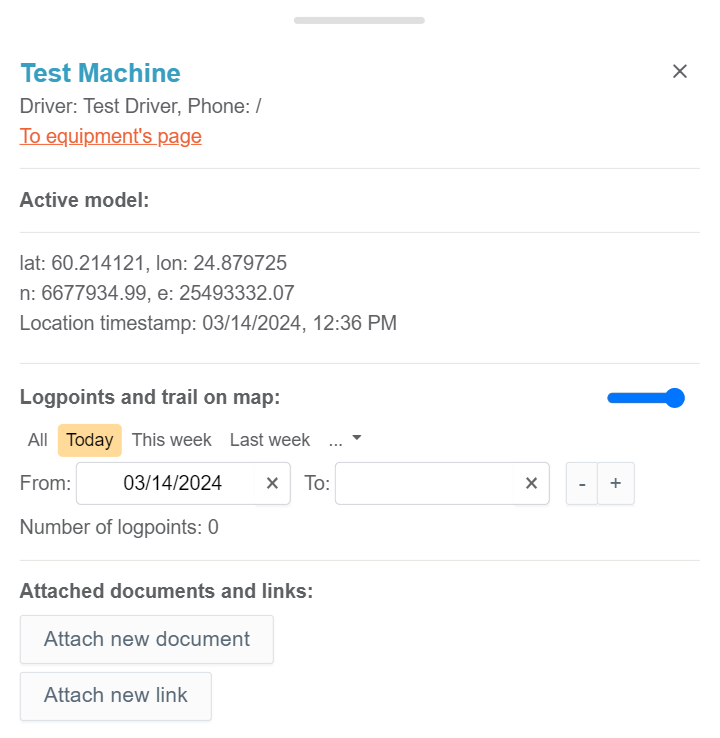
By clicking "To equipment page", the user will be directed to the "Equipment" page, and the clicked equipment will be active.
In the "Active model" section, the current active model will be visible.
In the "Logpoints and trail on map" section, the user can determine for which time period the log points that have been measured by the equipment will be shown on the map. Also, the trail of the equipment will be shown from that time period.
The user can select from pre-determined time periods or define a specific time period.
The pre-determined time periods are "All", "Today", "This week", "Last week", "Last 14 days", "1 month", "3 months", "6 months", and "1 year".
By inserting a value in the "From" bar, the user can define a starting date for the time period. By inserting a value in the "To" bar, the user can define the ending date for the time period.
By sliding the knob in the slider, the user can adjust the transparency of the trail lines.

By clicking the "Attach new document" button, a new view will appear.
In this view, the user can attach a document to the machine.
In the "Name" bar, the user can insert the name of the document.
From the drop-down bar, the user can select a document.
By clicking the save icon, the user can complete the attachment.
After a file has been attached, it will be listed in the section "Attached documents and links".
By clicking the downward arrow icon button, the user can download the file to local storage.
By clicking the trash can icon button, the user can detach the file.

By clicking the "Attach new link" button, a new view will appear.
In this view, the user can attach a URL link to the machine.
In the "Name" bar, the user can insert the name of the link.
In the "URL" bar, the user can insert the URL of the web page.
By clicking the save icon, the user can complete the attachment.
After a link has been attached, it will be listed in the section "Attached documents and links".
By clicking the trash can icon button, the user can detach the link.
3. Use Cases ^