Let's do it together!
Step 1: Ensure Saved View
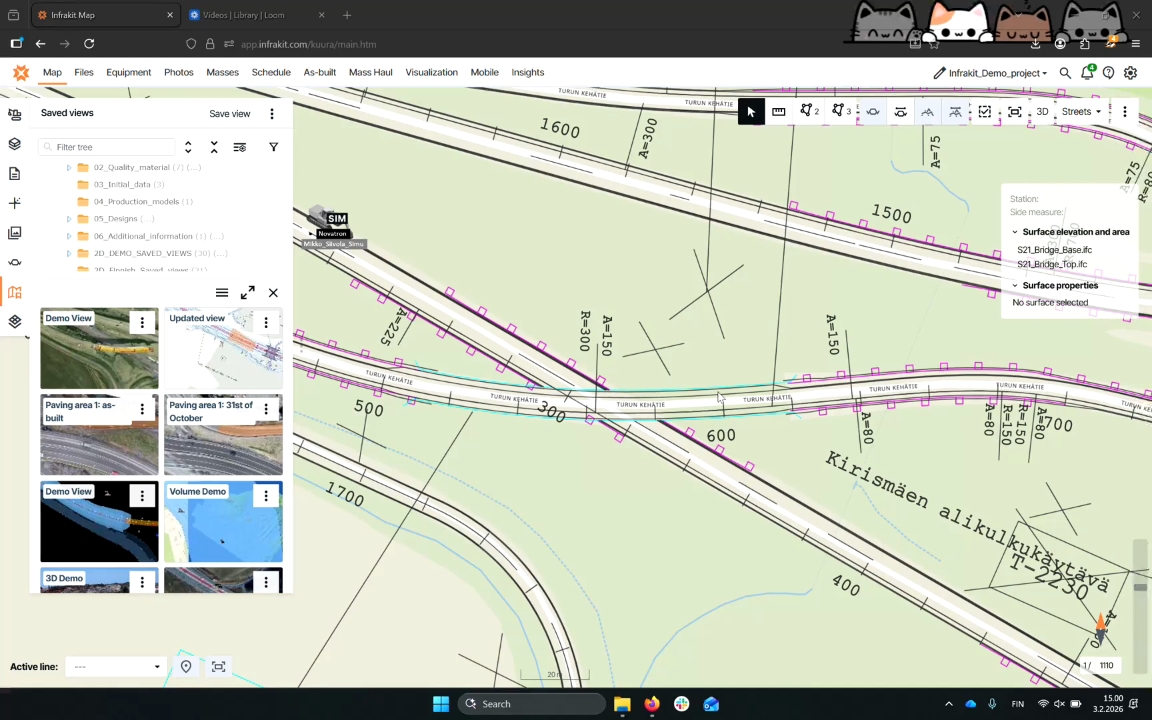
Make sure you have a saved view. If not, click the Save View button to create one.
Step 2: Open Saved View
Click on the thumbnail of your saved view to open it and see the visualized materials.
Step 3: Make changes to your view
From the map page, activate the materials you want to visualize in your saved view.
Step 4: Update Saved View
Access the view options via the three dots, select Update Saved View, and click OK to save changes.
Step 5: Verify Update
Clear the map state and return to the saved view to confirm that the changes are now visualized.
Troubleshooting
FAQ
What if my files are updated?
No need to update the saved view; it reflects the latest version automatically.
Can I add multiple visualizations?
Yes, you can activate different models or layers in your saved view.