Creating the connection
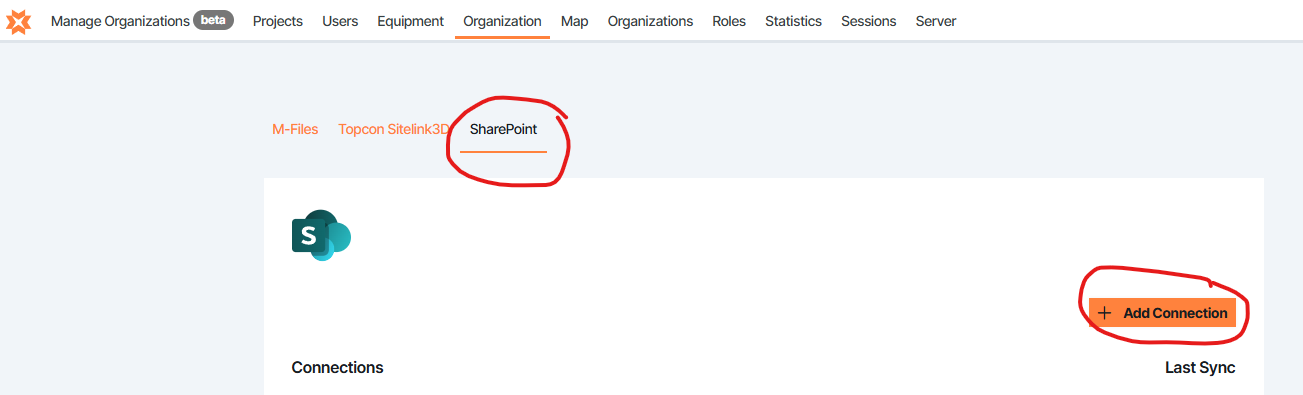
1. With Project admin rights or higher, navigate to your Infrakit admin pages. Select "Organization"
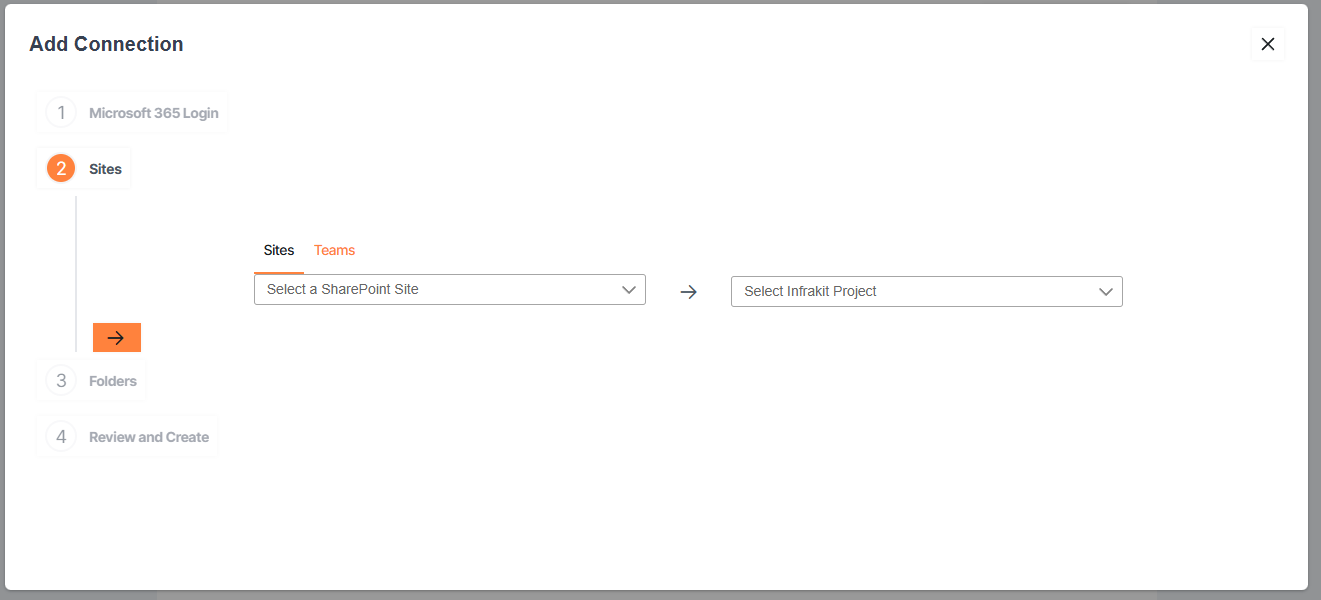
2. Start creating the connection
3. Next, login with your Microsoft account. The user signs in using their own Microsoft account via Microsoft Login. During the initial sign-in, Microsoft will prompt the user to grant permission for the integration to access SharePoint. Depending on your organization’s Microsoft (Entra ID) configuration, this step may also require approval from a Microsoft administrator. Admins may intentionally enforce this to ensure that integrations cannot be created without admin knowing about it.
4. Select Sharepoint site and Infrakit project for connection
5. Then select Folders from both sides for sync
6. Review that you are connecting right folders and tick connection to completed
Sync will check every 5 minutes for new data and update from Sharepoint to Infrakit for changes. The integration is one-way (SharePoint → Infrakit) and requires read-only access to list and download folders and files from the configured SharePoint site.
The integration uses delegated access only. No tenant-wide or global permissions are granted to the application. Although the application itself must be approved, it can only access SharePoint resources according to the permissions of the user who created the connection and only for the duration and scope of the issued access token.
Microsoft’s policy is to expire every token at least after 90 days. After expiration Microsoft requires logging in. The expiration interval could be also shorter depending on your organizations Entra ID configuration. After this the integration will be deactivated and needs to be recreated. This is a limit enforced by Microsoft.
If you wish to further limit access, you can create a dedicated integration account in your Microsoft environment, restrict its permissions to specific SharePoint sites, and use that account to set up the integration.