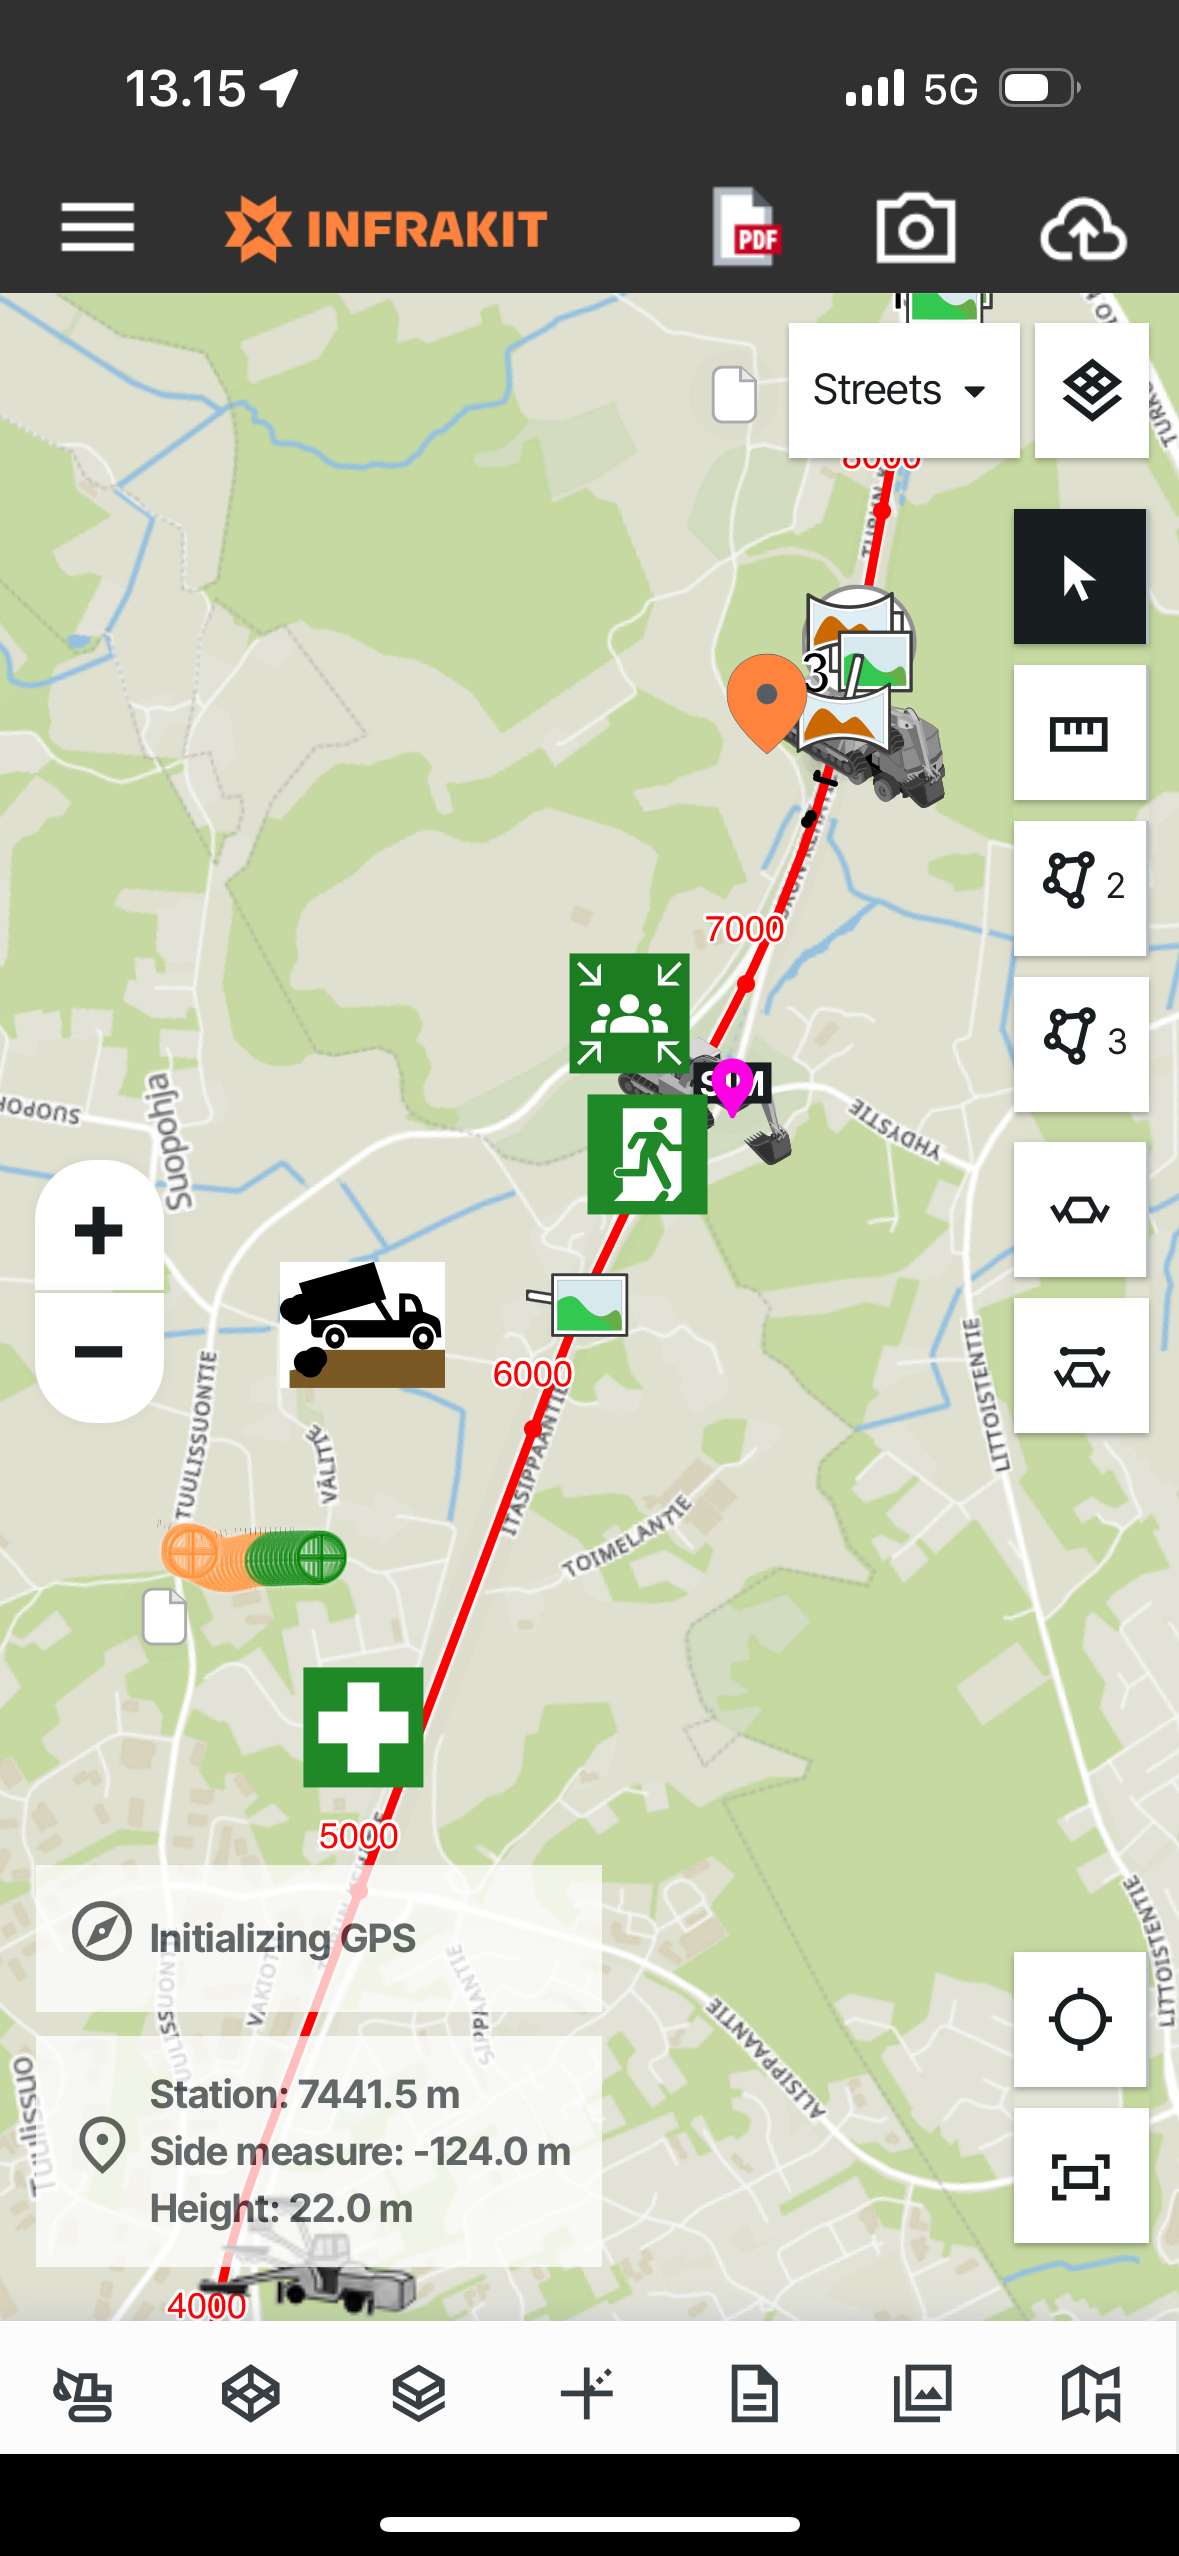
Once you open the mobile app and have the feature enabled for your organization, you'll see a PDF button on the top header menu next to the Photo-taking icon and Upload queue icon.
Let's see step-by-step how to use this:
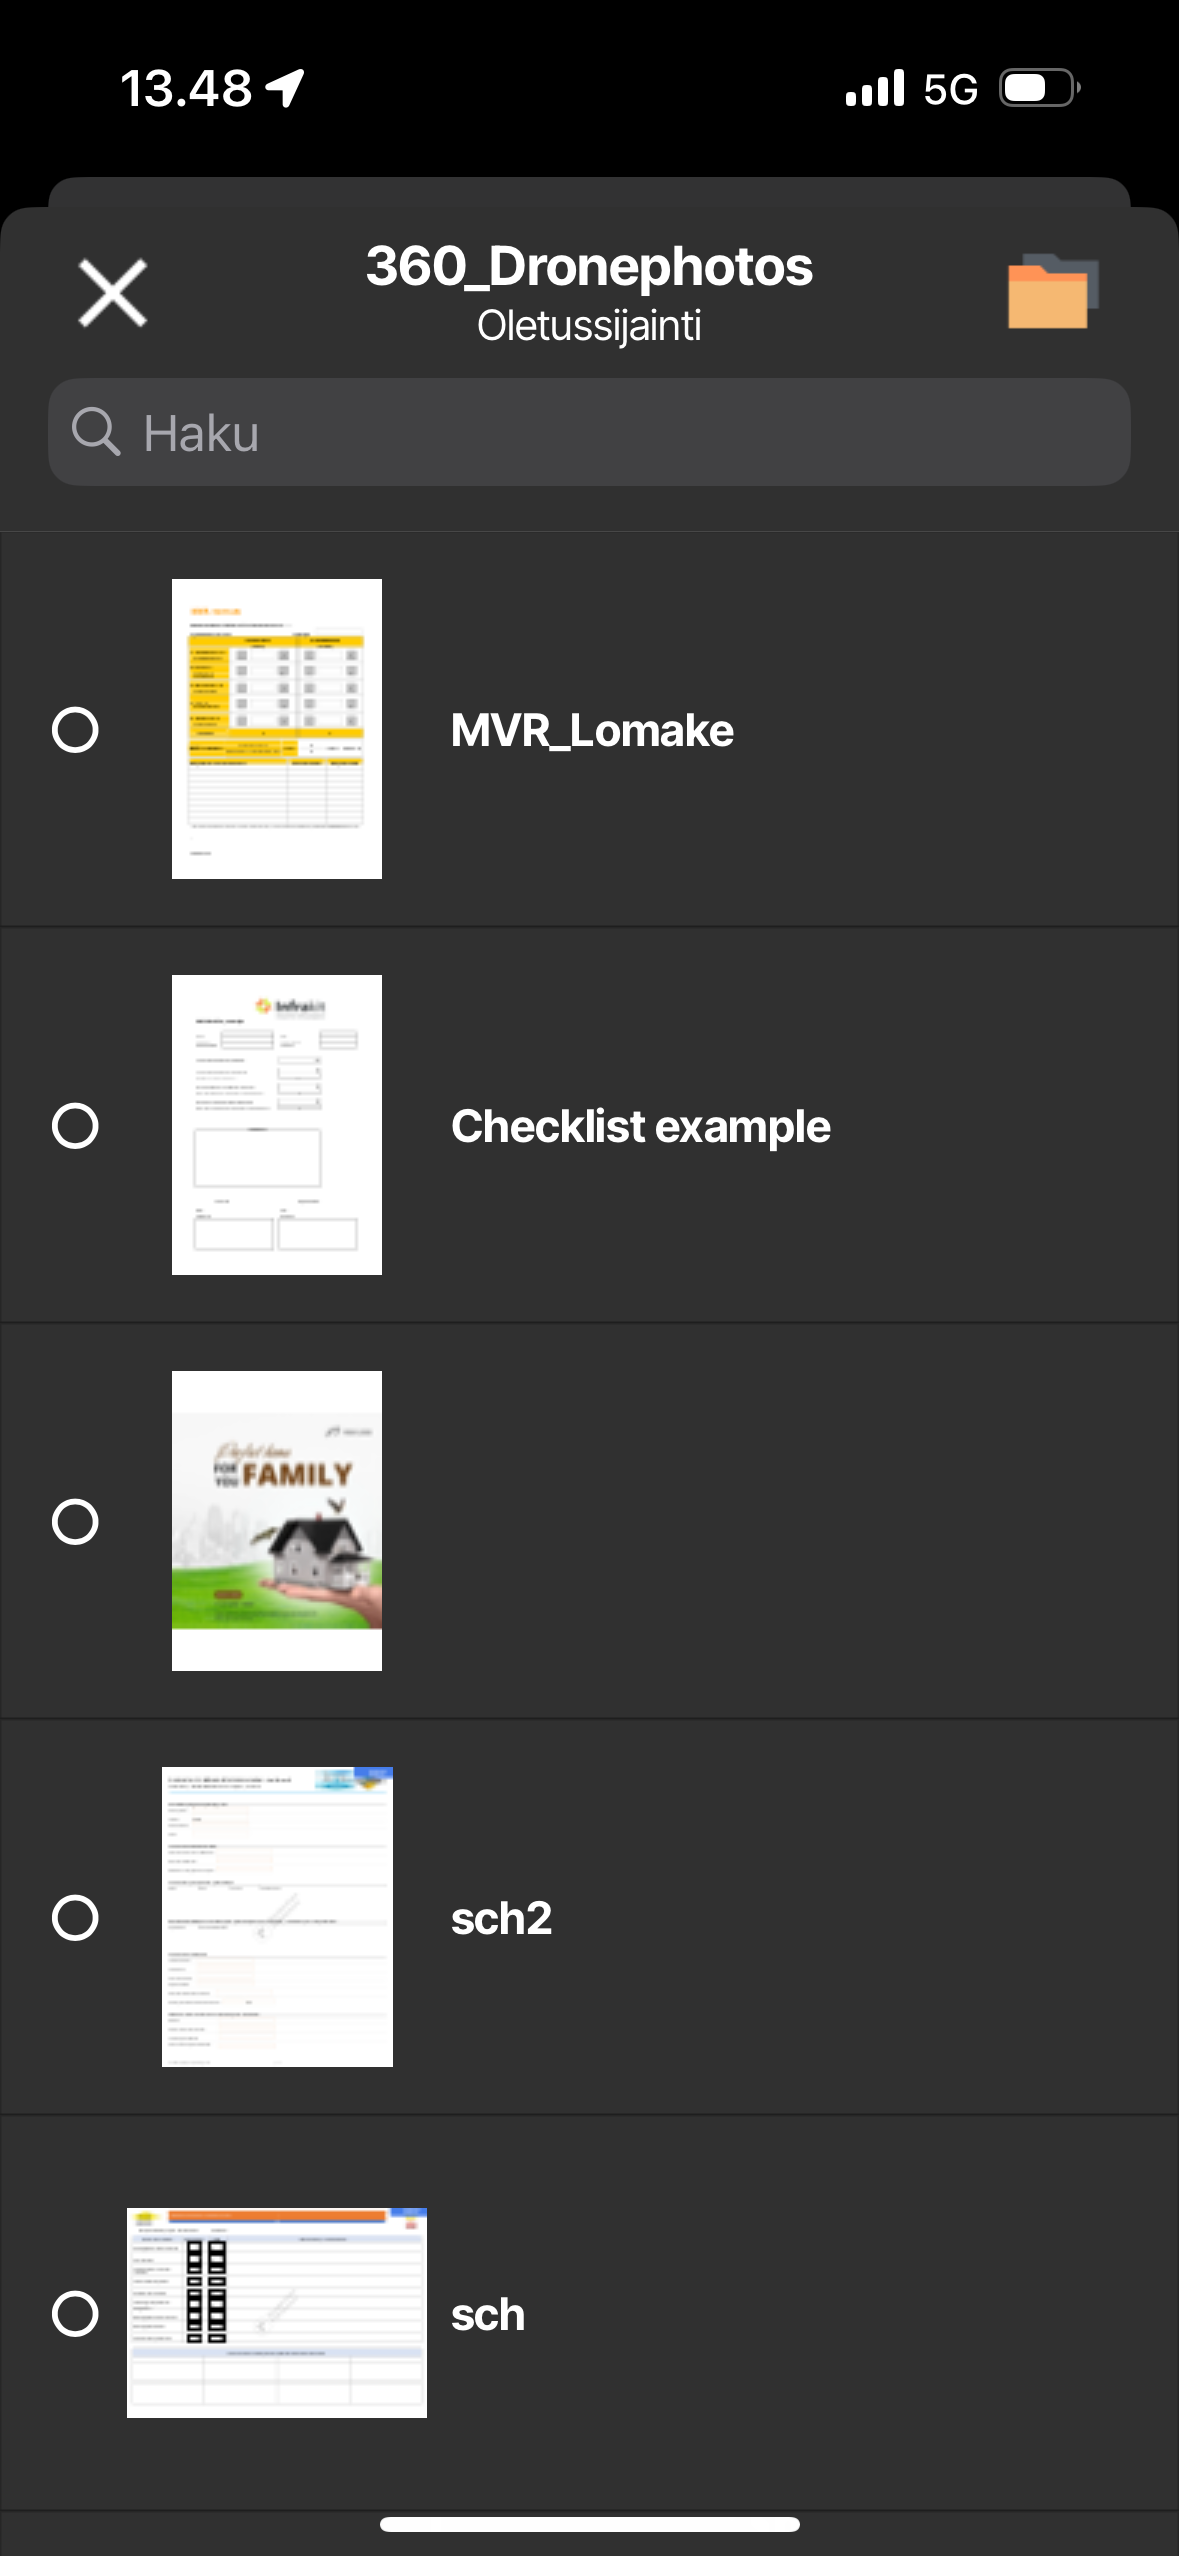
1. Open the Reporting tool - Then you'll see all the templates this project has (the templates can be input from Infrakit browser app OFFICE's project settings)
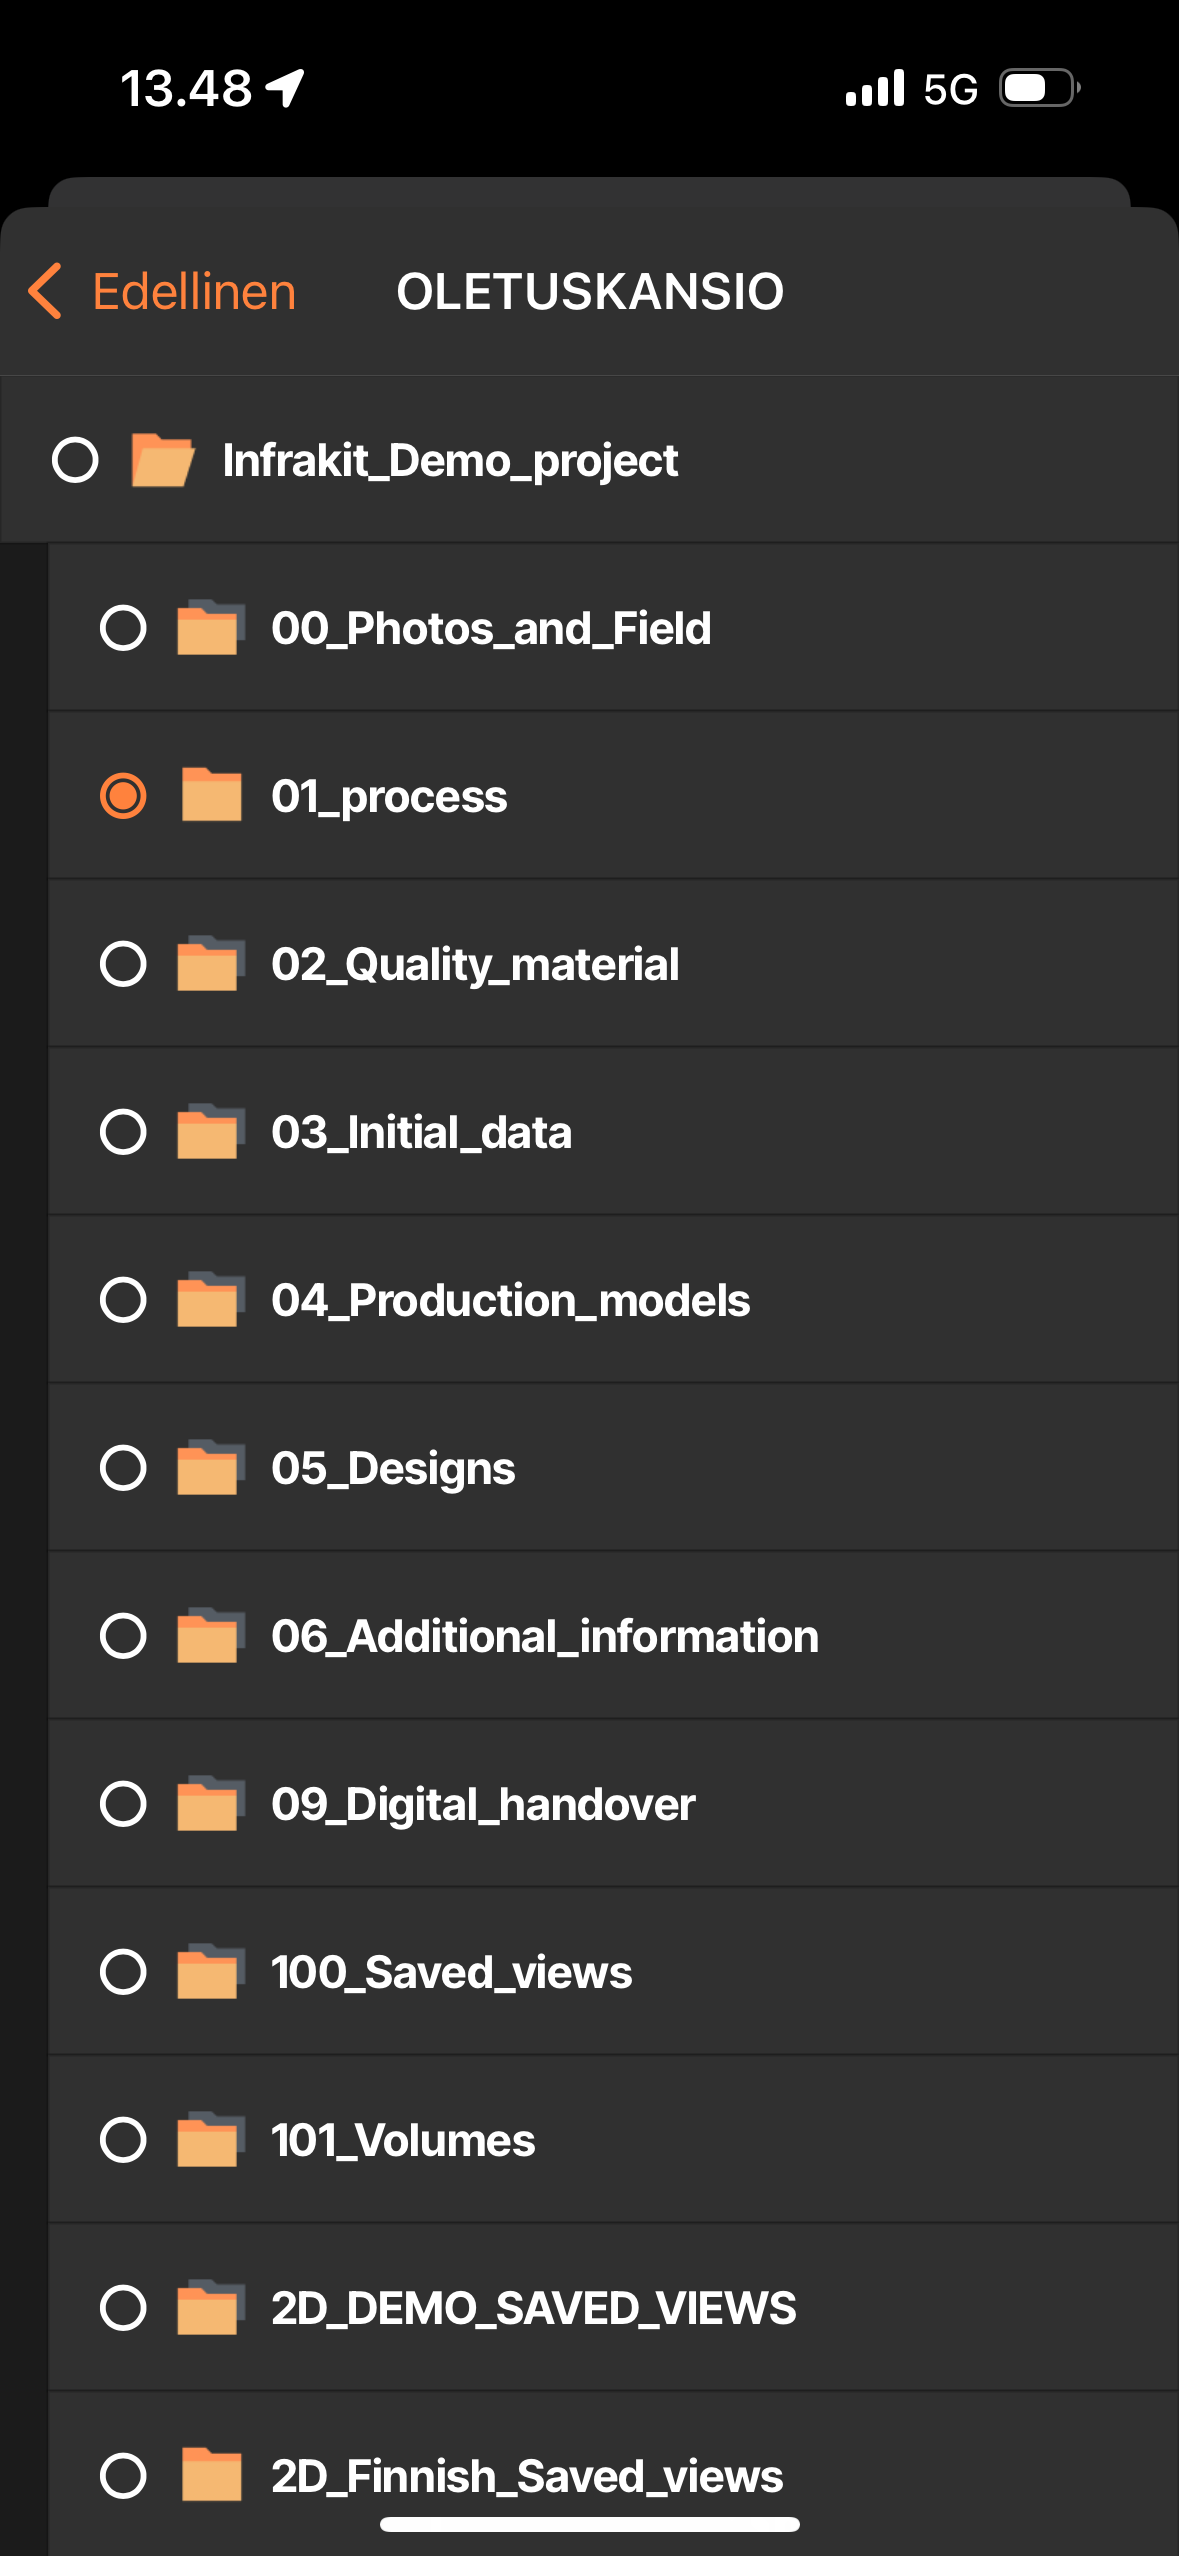
2. Select where to store the PDF in the Infrakit folders structure once finished
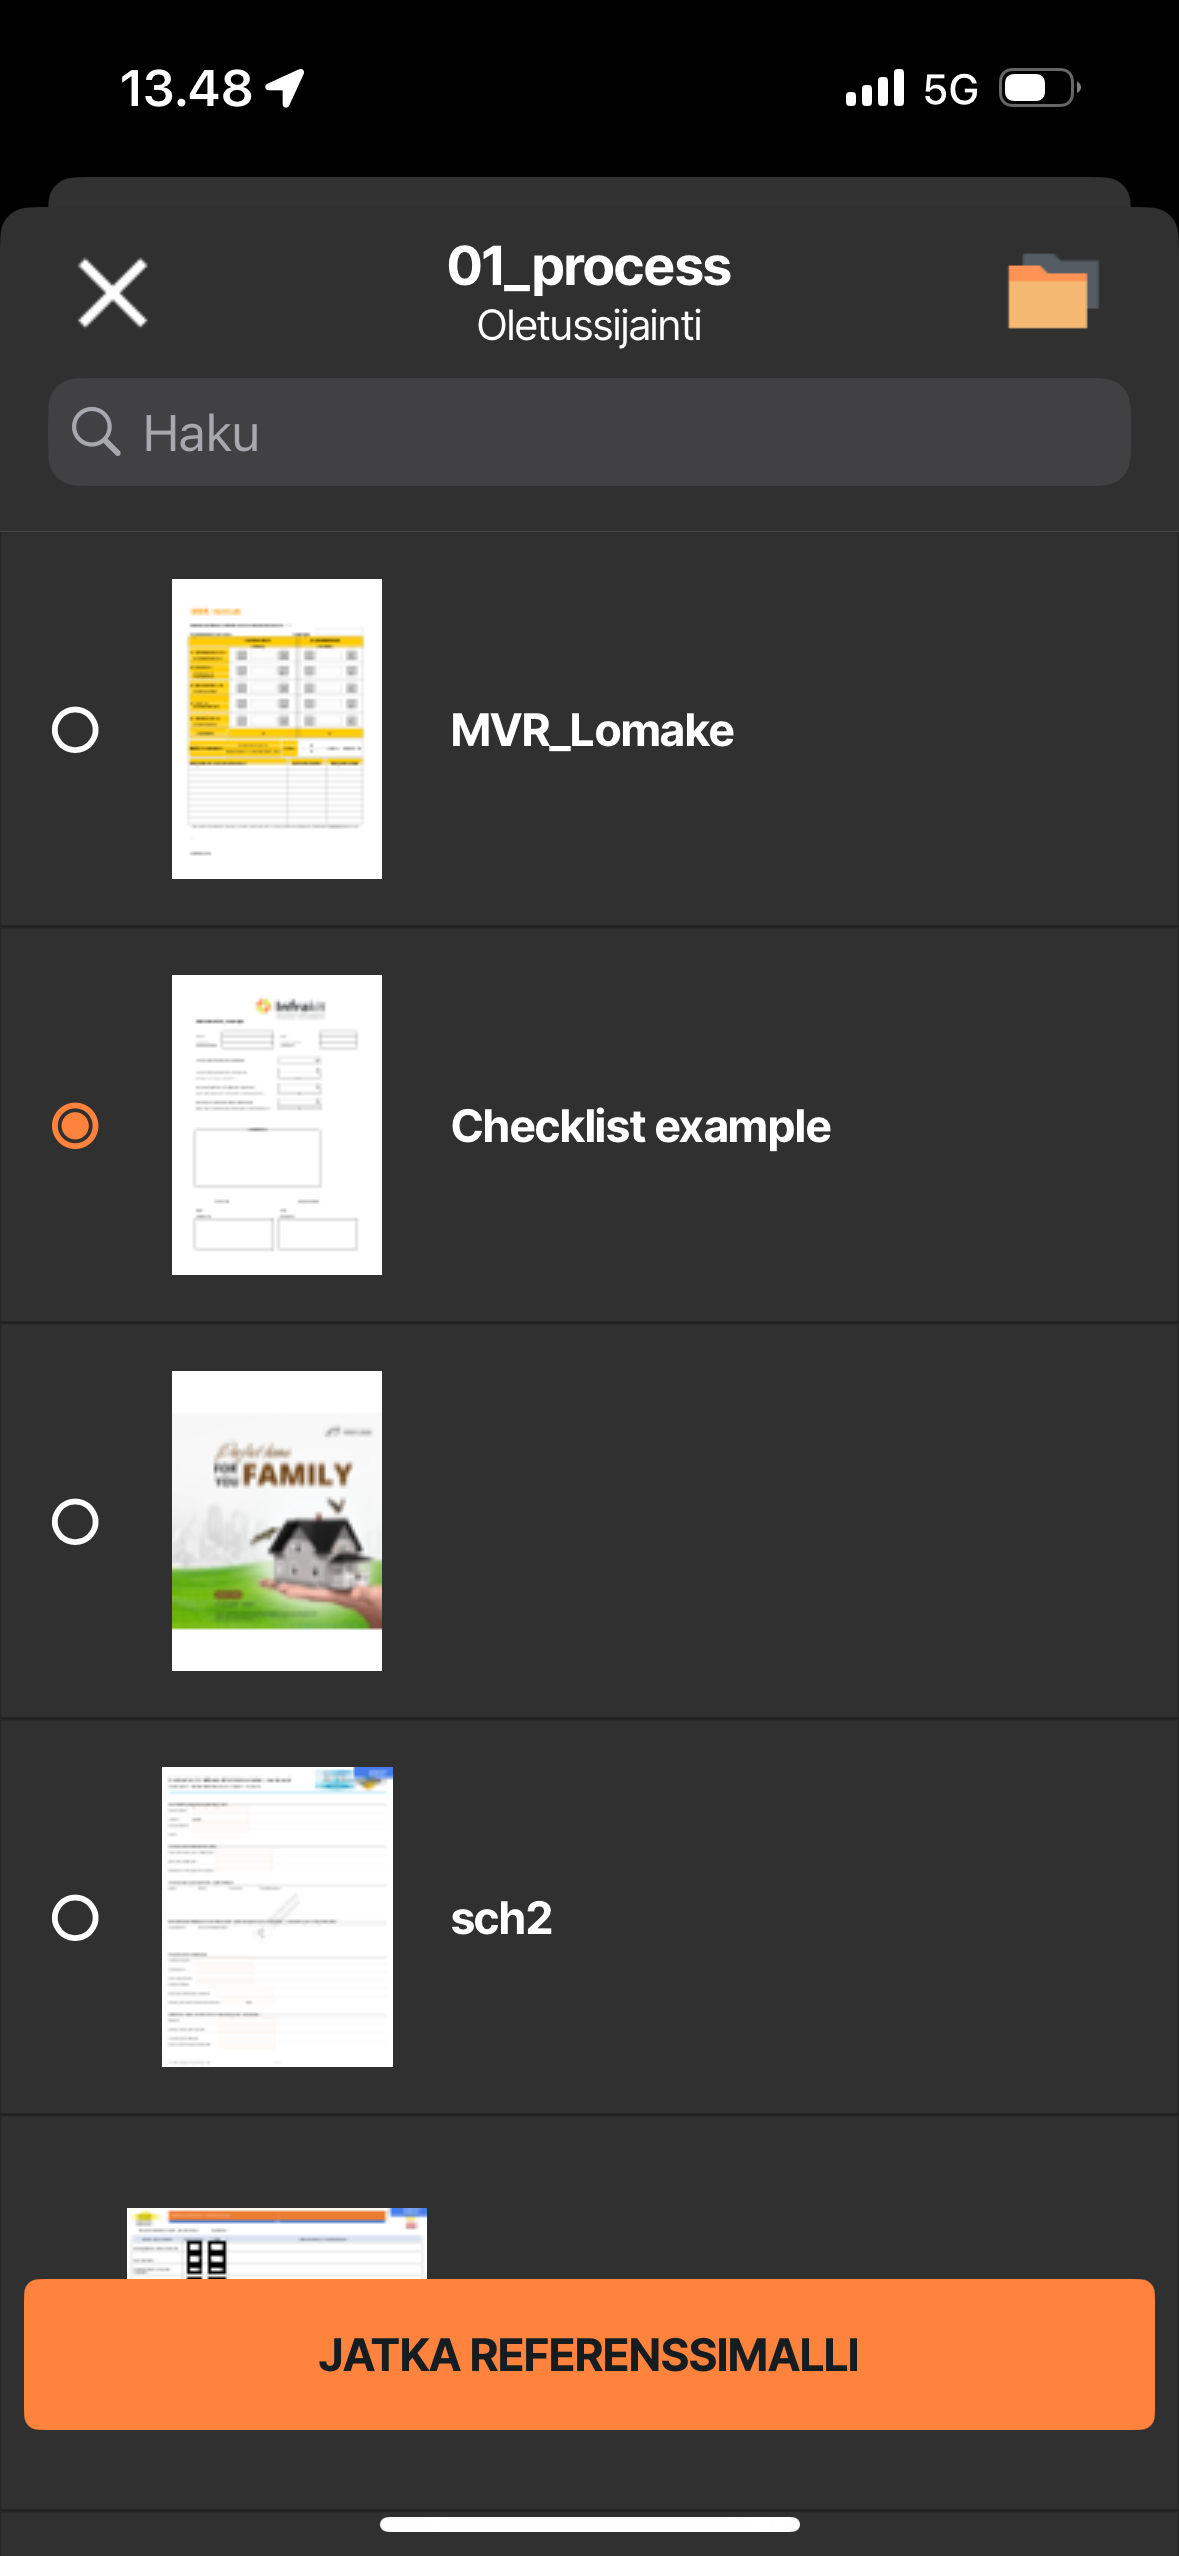
3. Select the template to use and start reporting from the button at the bottom
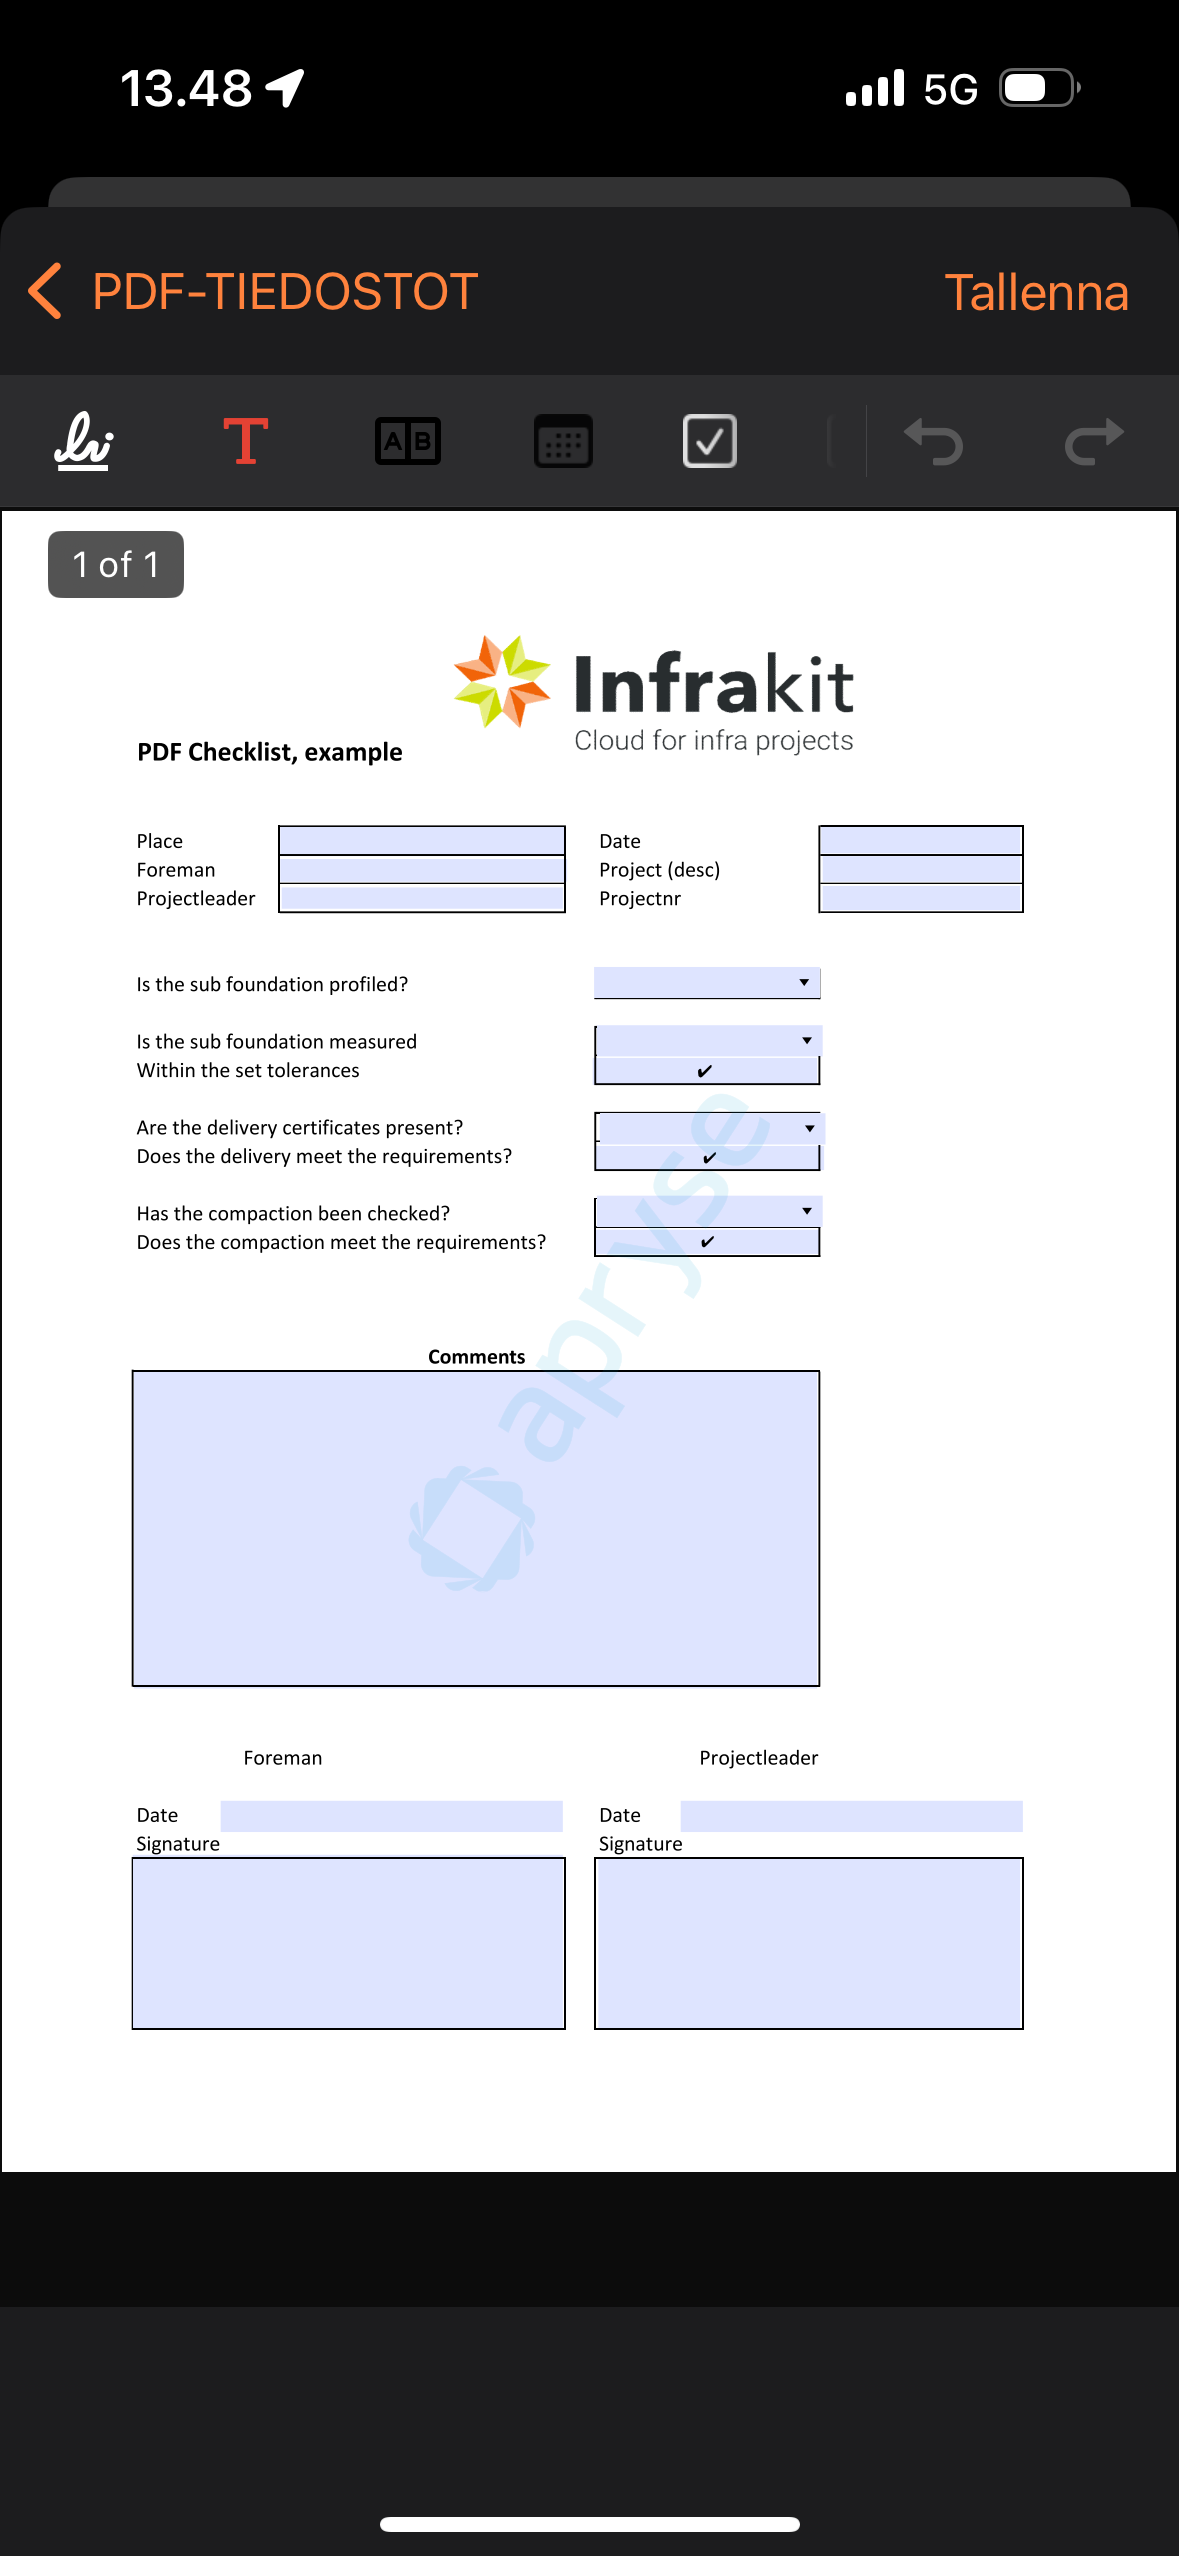
4. Fill out the form as it is configured to function - Each element will work as configured but if you want to for example fill a signature or text to places where there is no configured elements, you can use the top bar tools
5. Once done, press save and the PDF will be stored as you edited it to the Infrakit folder structure
TIP: The done PDFs can be viewed on the Documents tab on the bottom bar