Welcome to Infrakit Knowledge Base
Search our knowledge base for answers or contact support@infrakit.com / +358 9 4257 9297
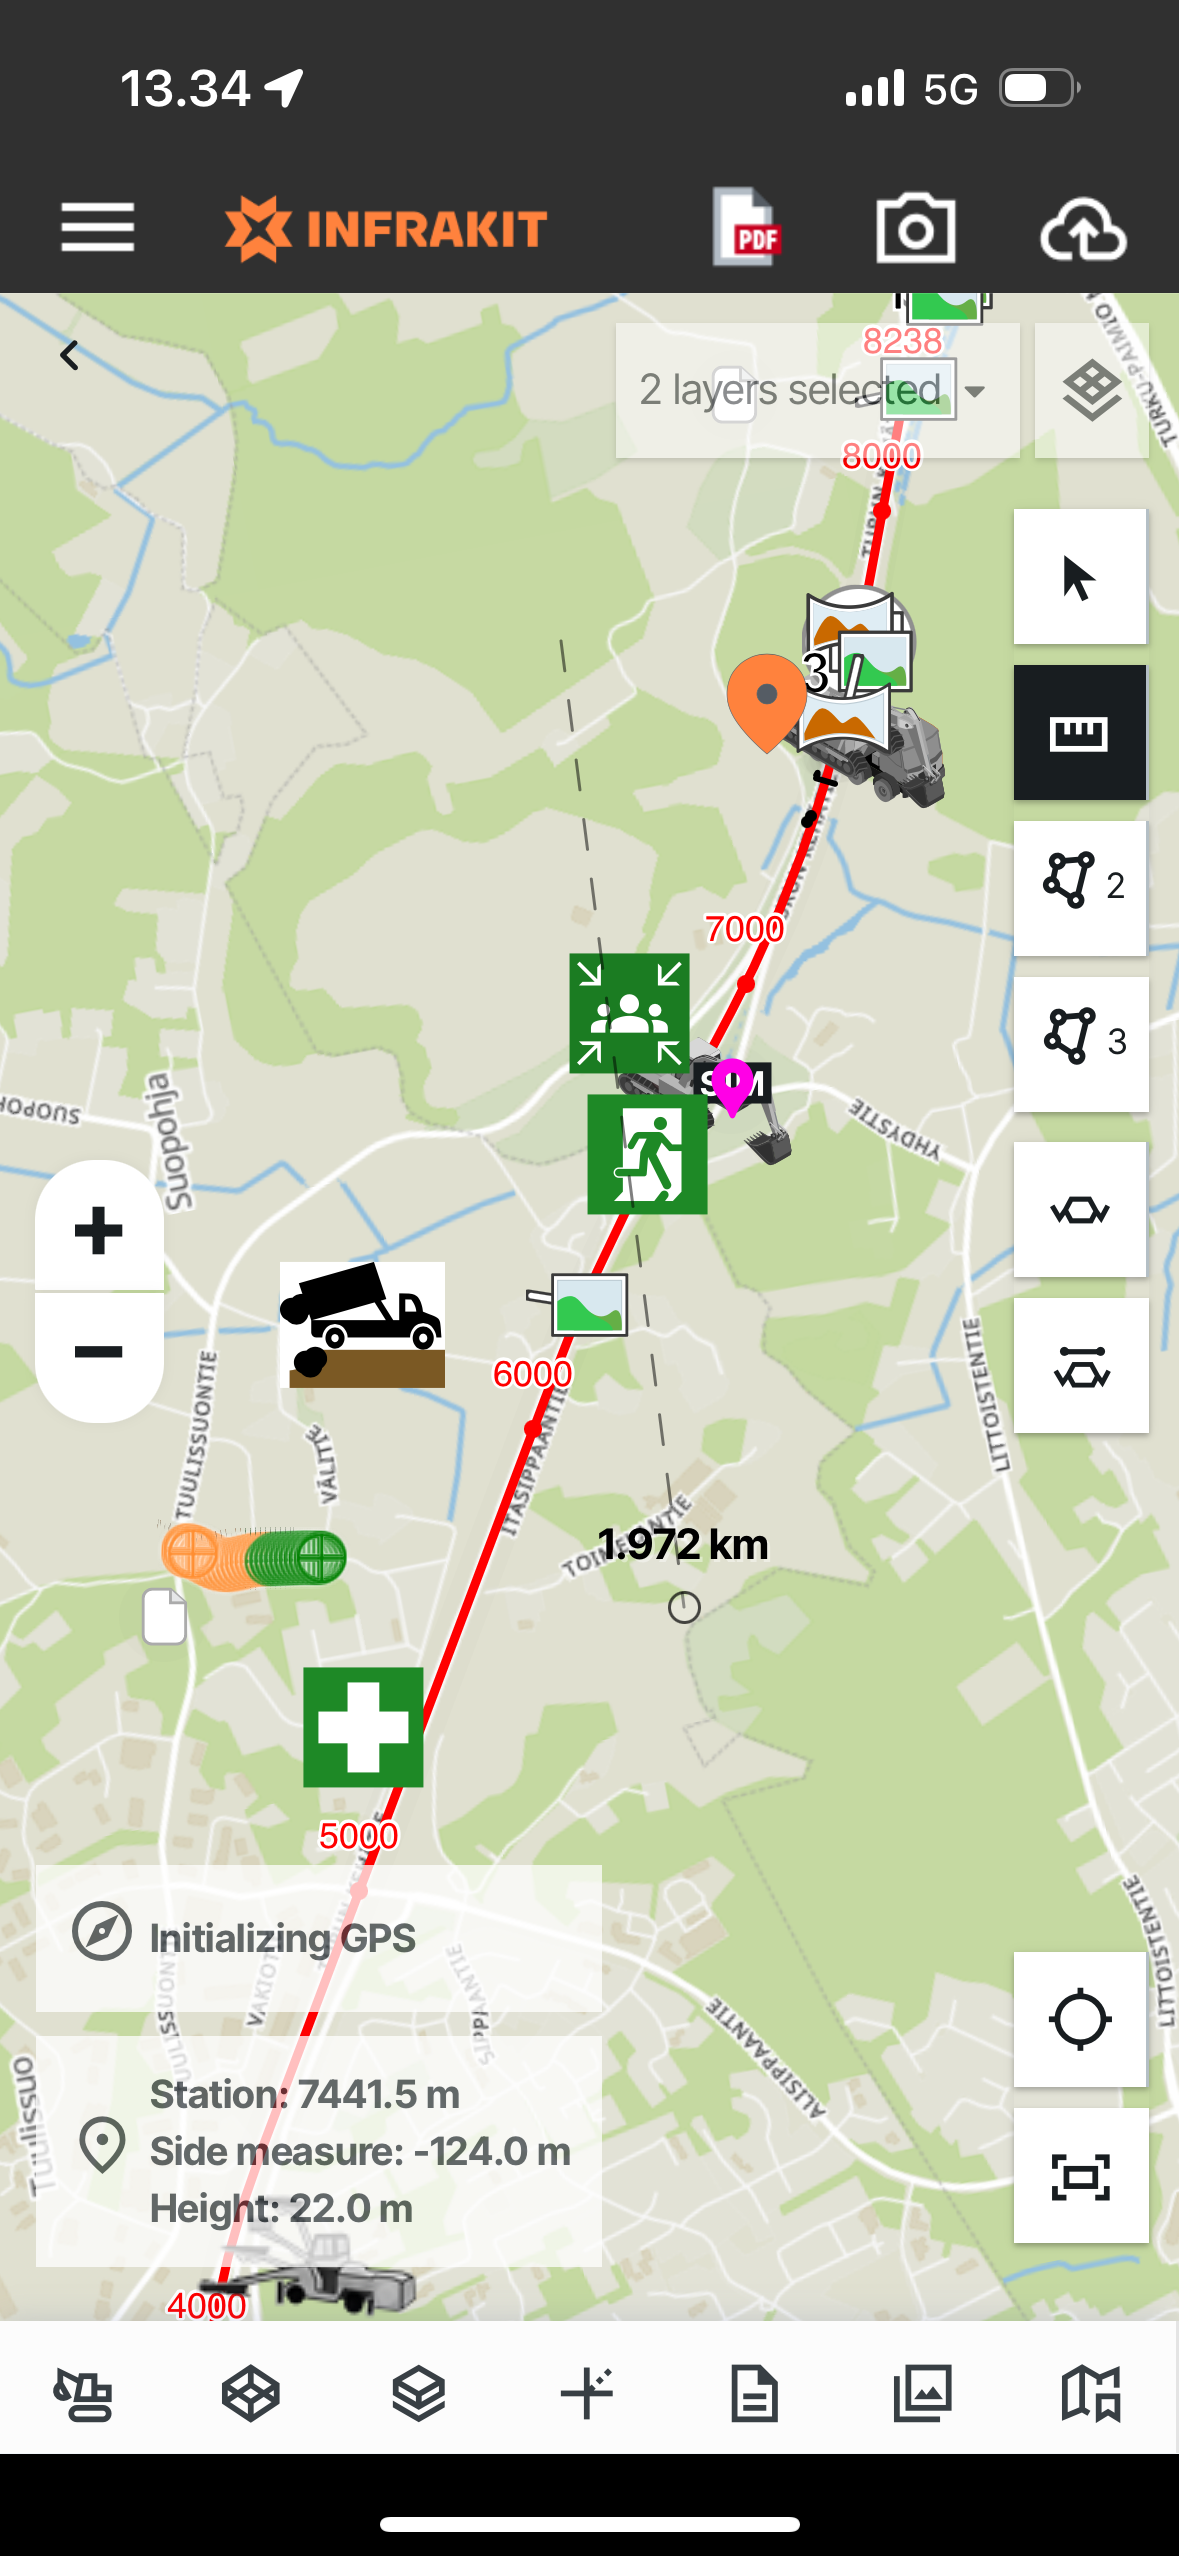
Infrakit FIELD
FIELD app - Taking pictures
With the FIELD mobile app you can take photos from the site and save them directly to Infrakit folder structure.
Updated 3 weeks ago
Once you have opened the mobile app, you'll see the photo-taking icon on the top header bar.
Let's see how you can take a picture step-by-step:
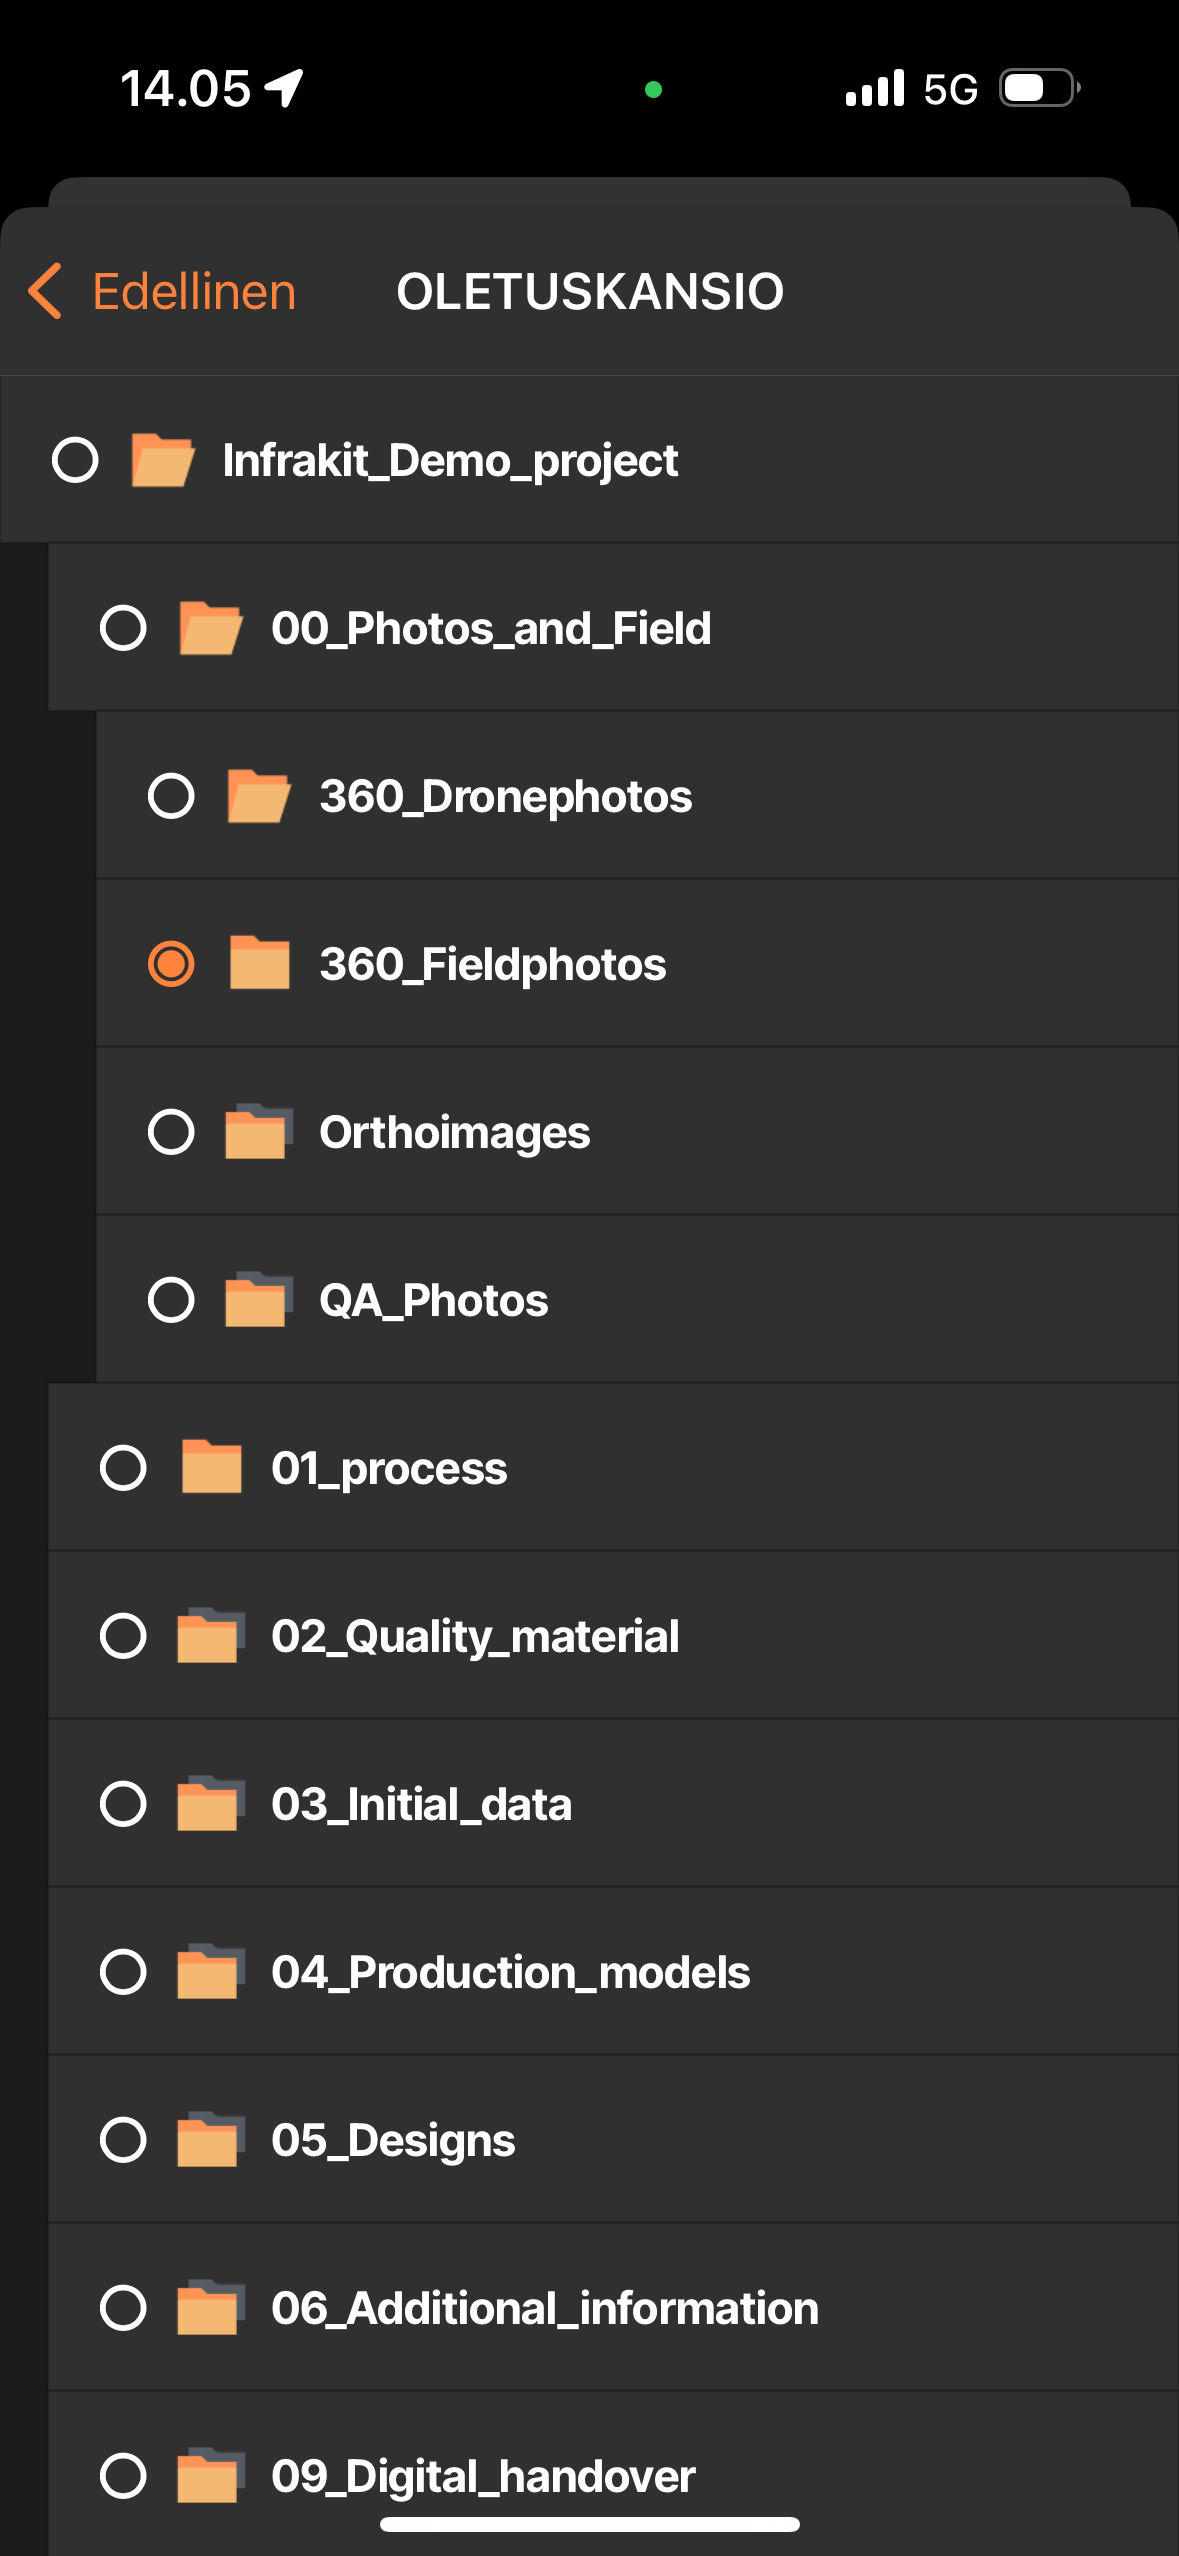
1. Enter the photo-taking and select the folder where you want to store the photos
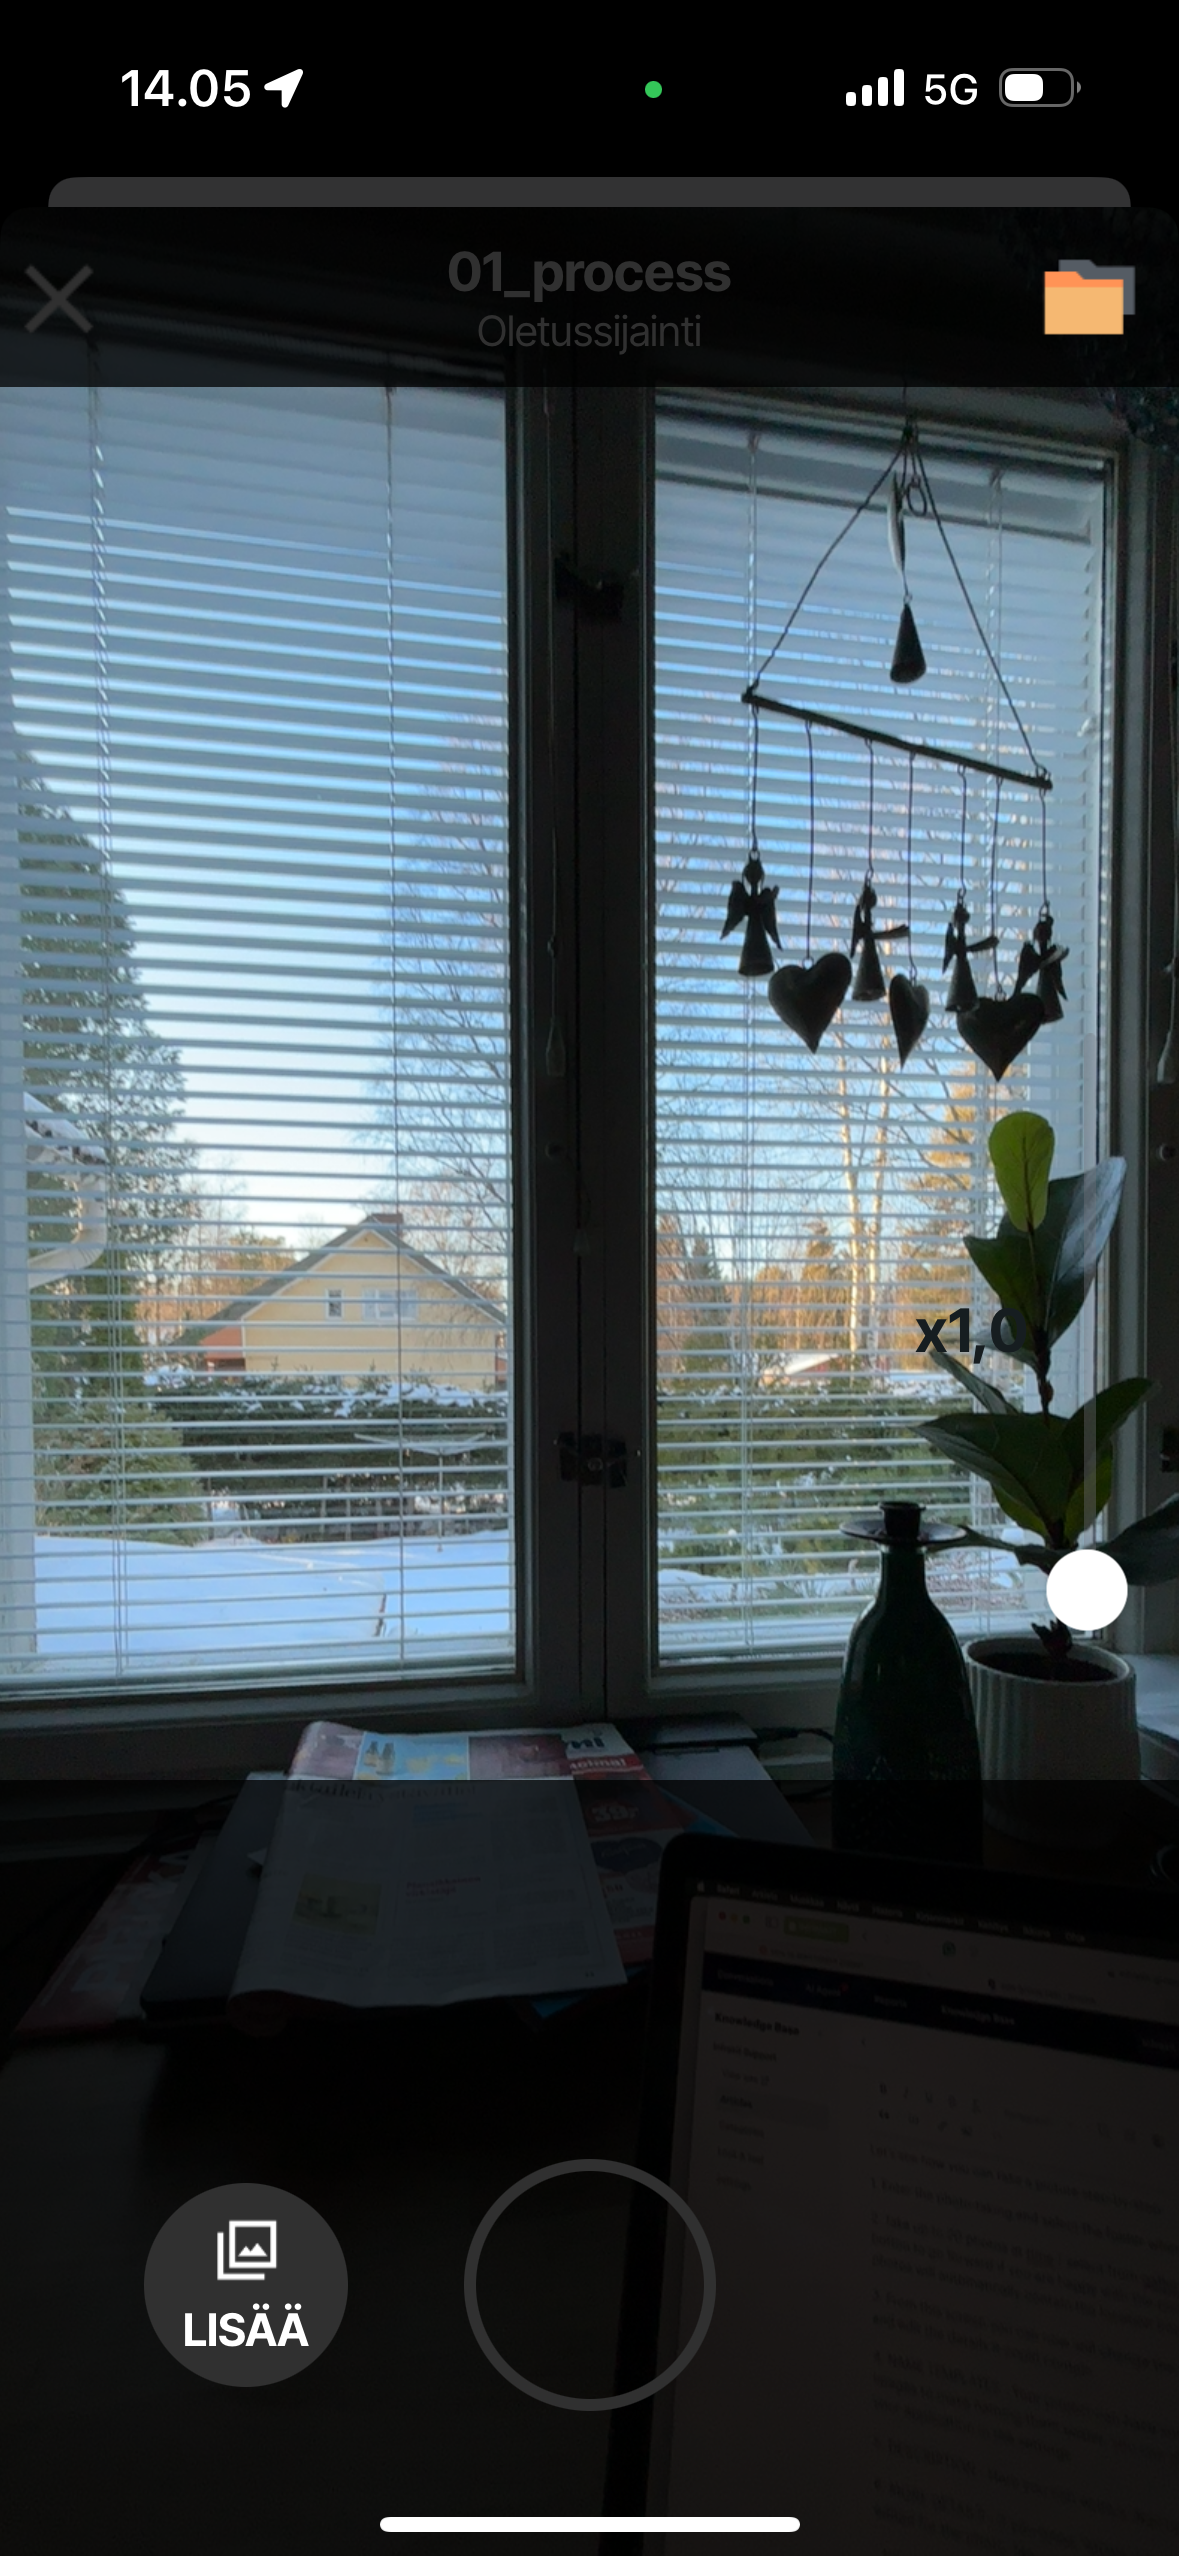
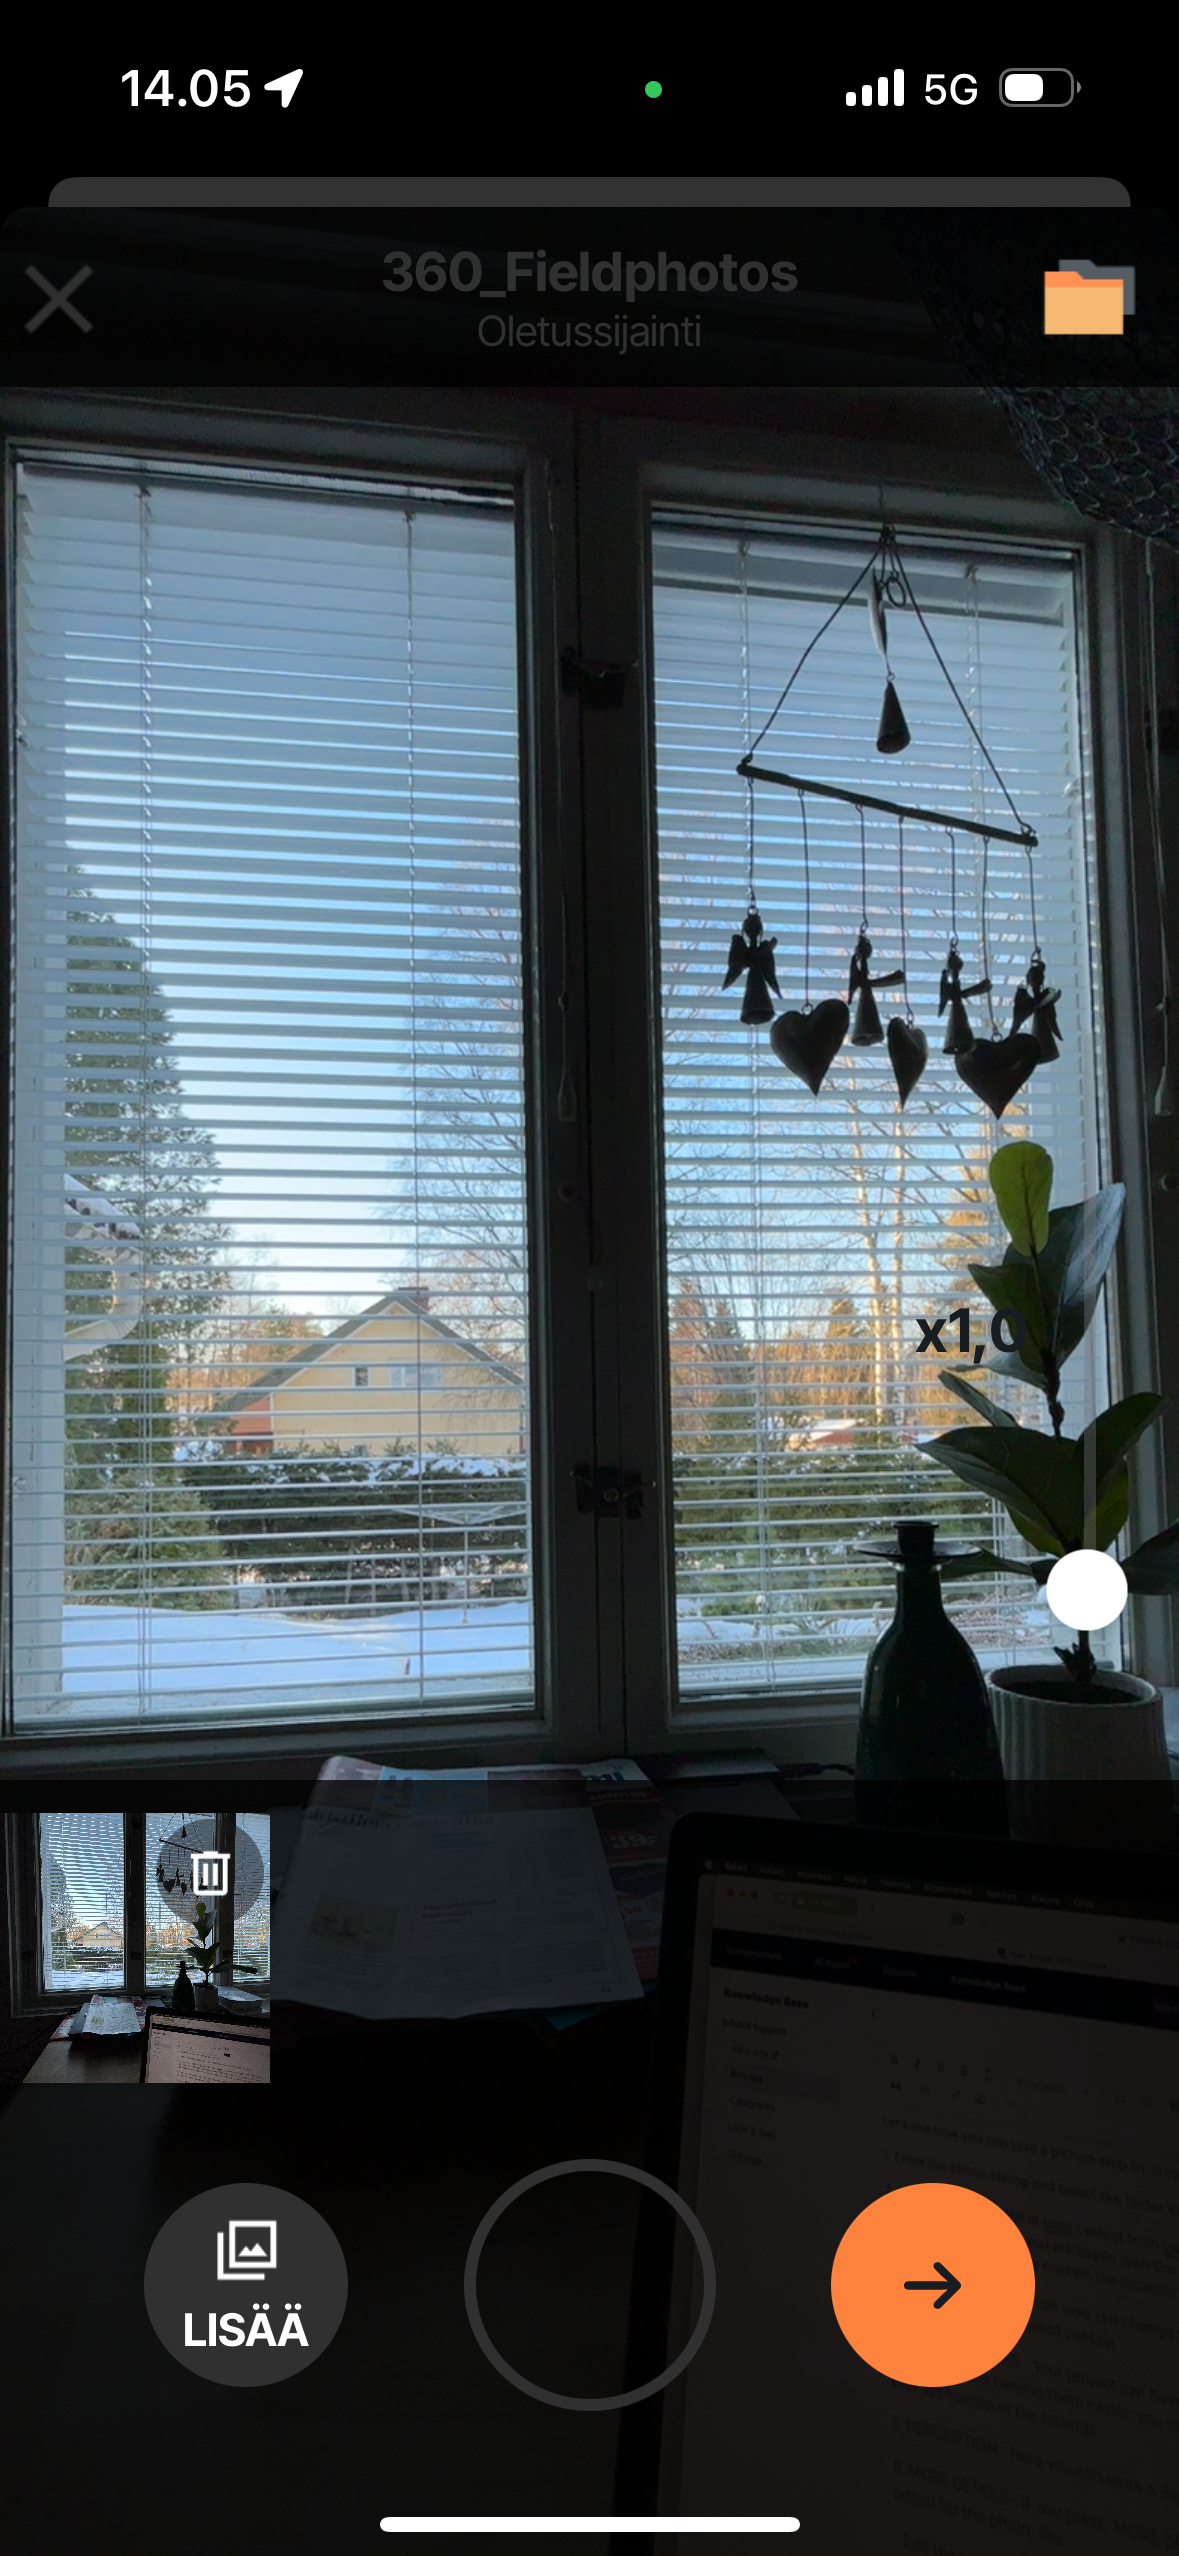
2. Take up to 20 photos at time / select from gallery and press the right-hand bottom side button to go forward if you are happy with the pics and do not want to delete any. Taken photos will automatically contain the location information from where you took the photos.
3. From this screen you can now still change the folder where you want to store the photos and edit the details it could contain
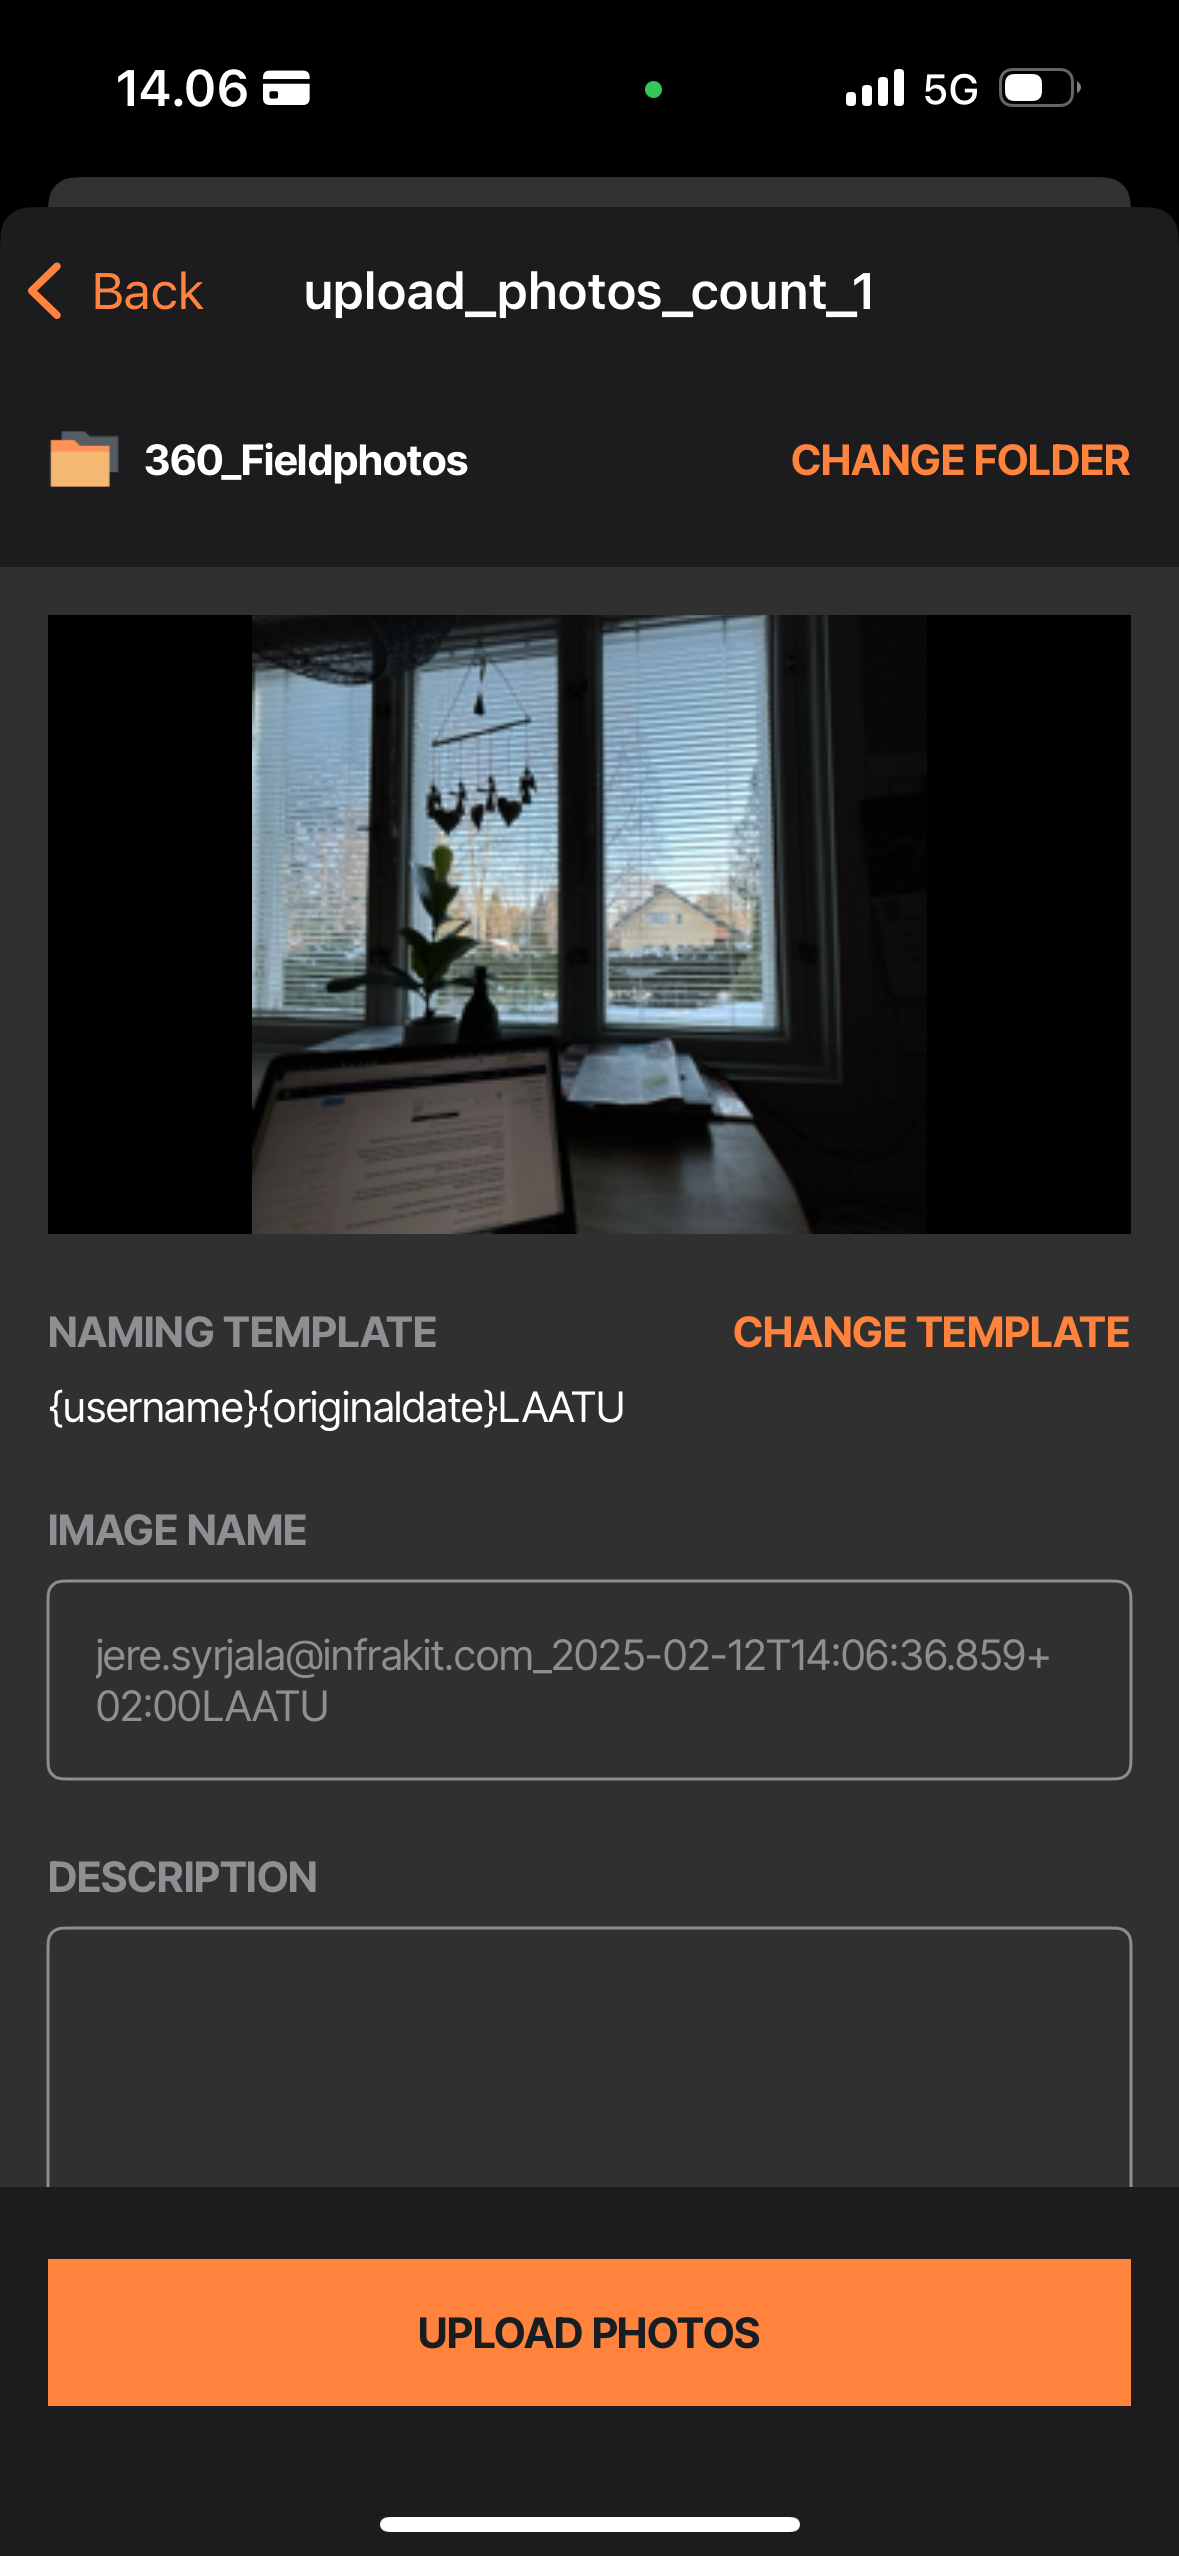
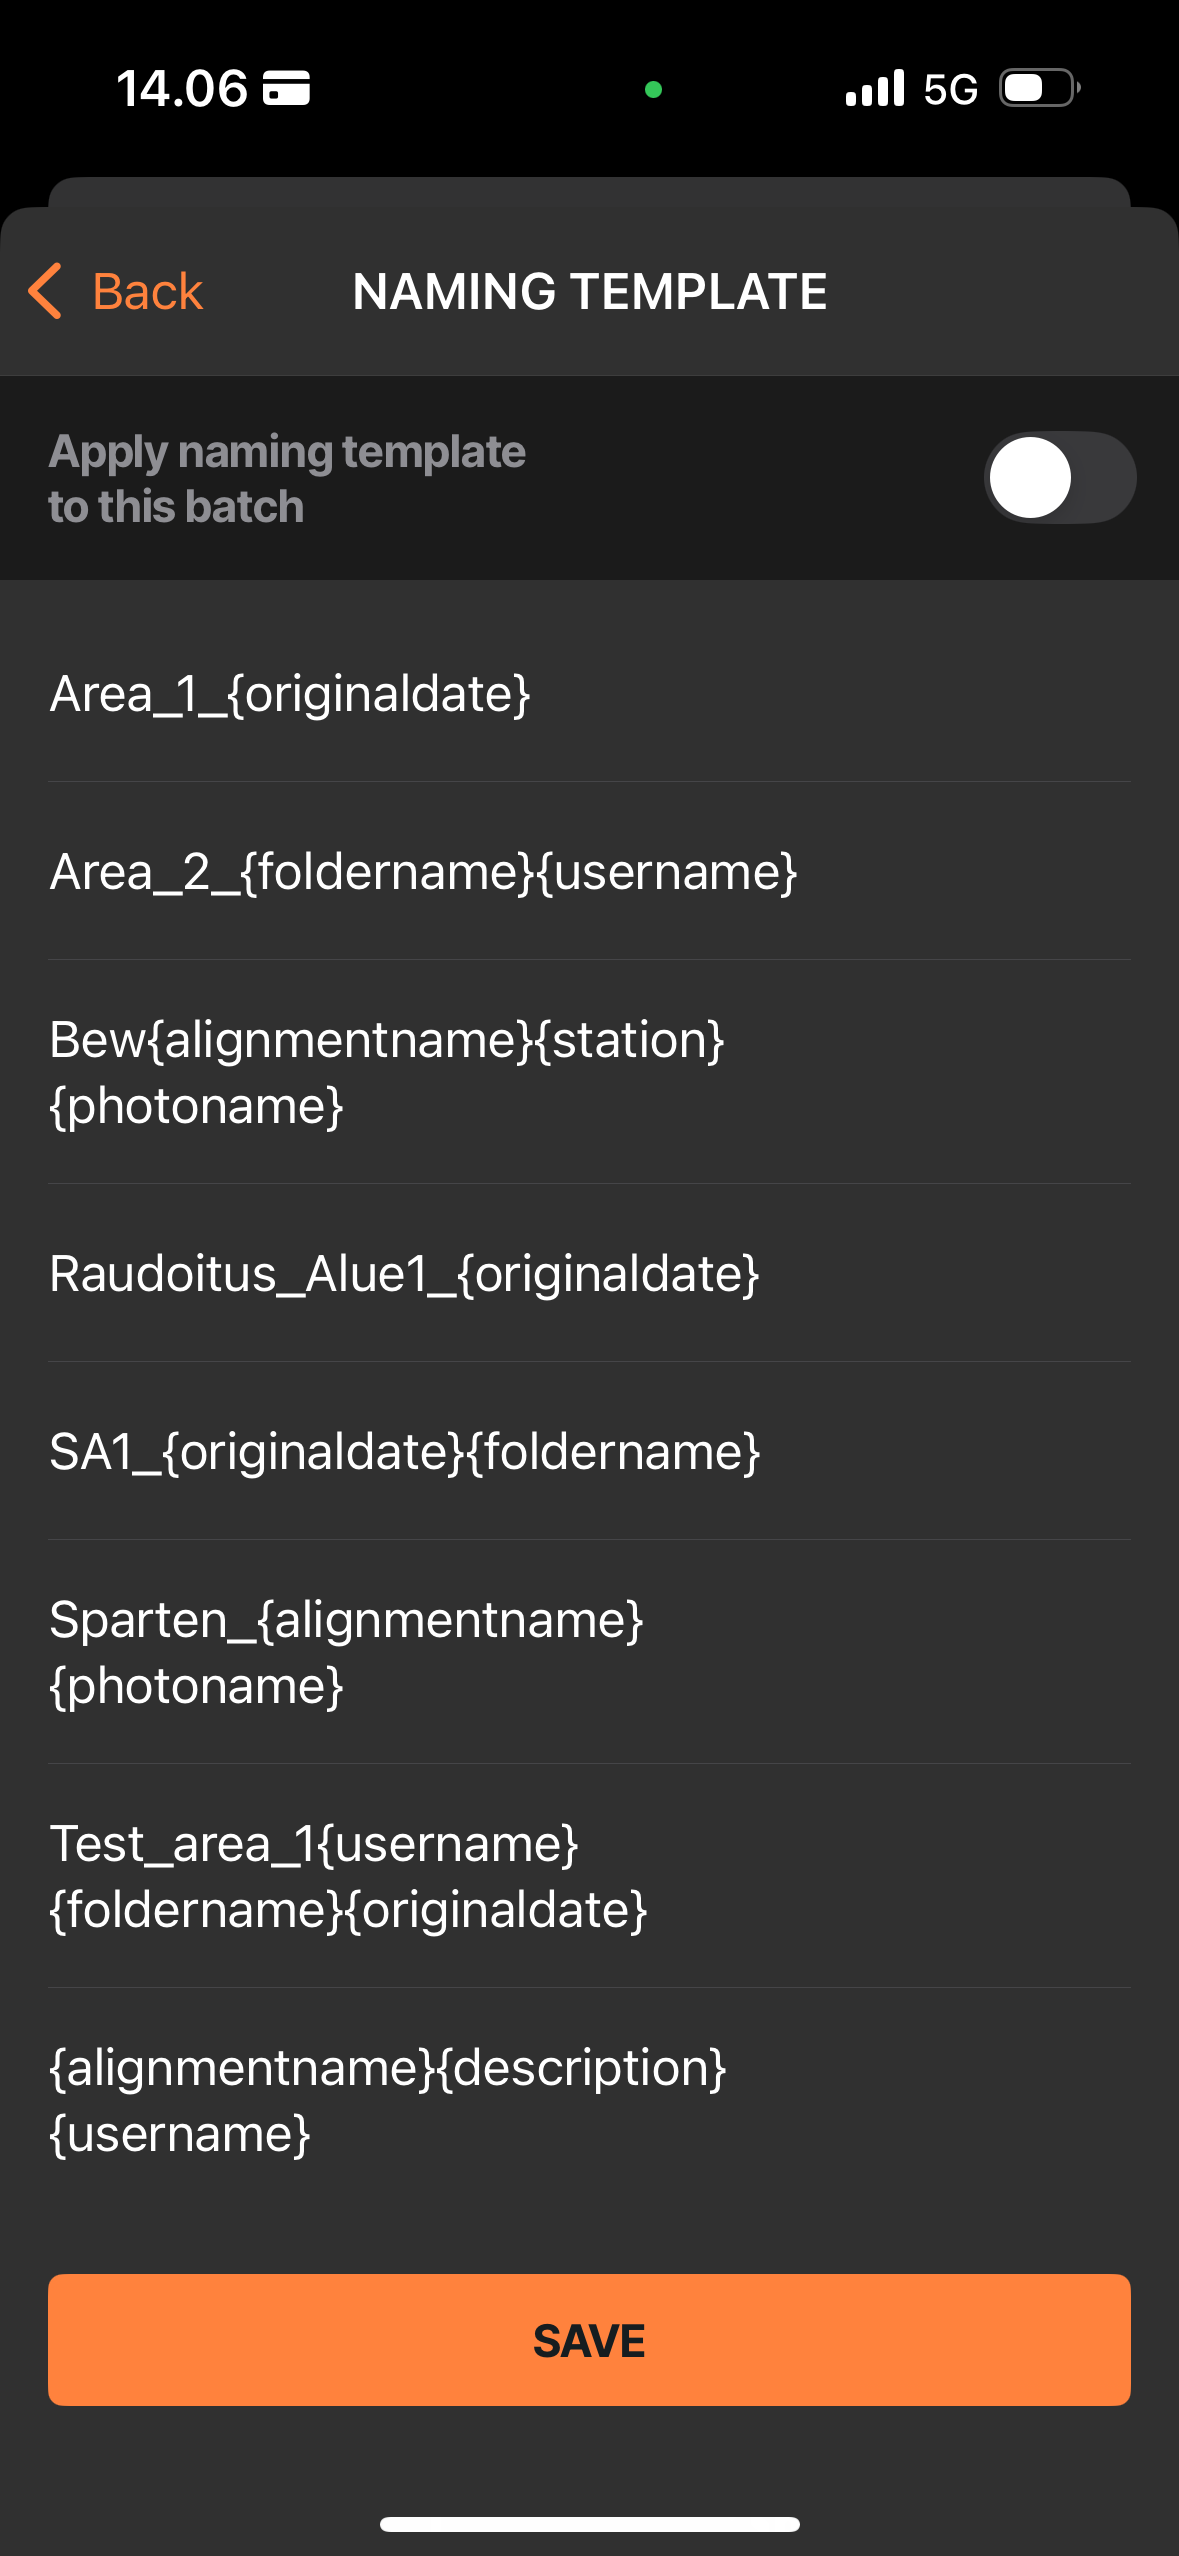
4. NAME TEMPLATES - Your project can have some predefined name templates for the images to make naming them easier, you can change them here or have some preset for your application in the settings
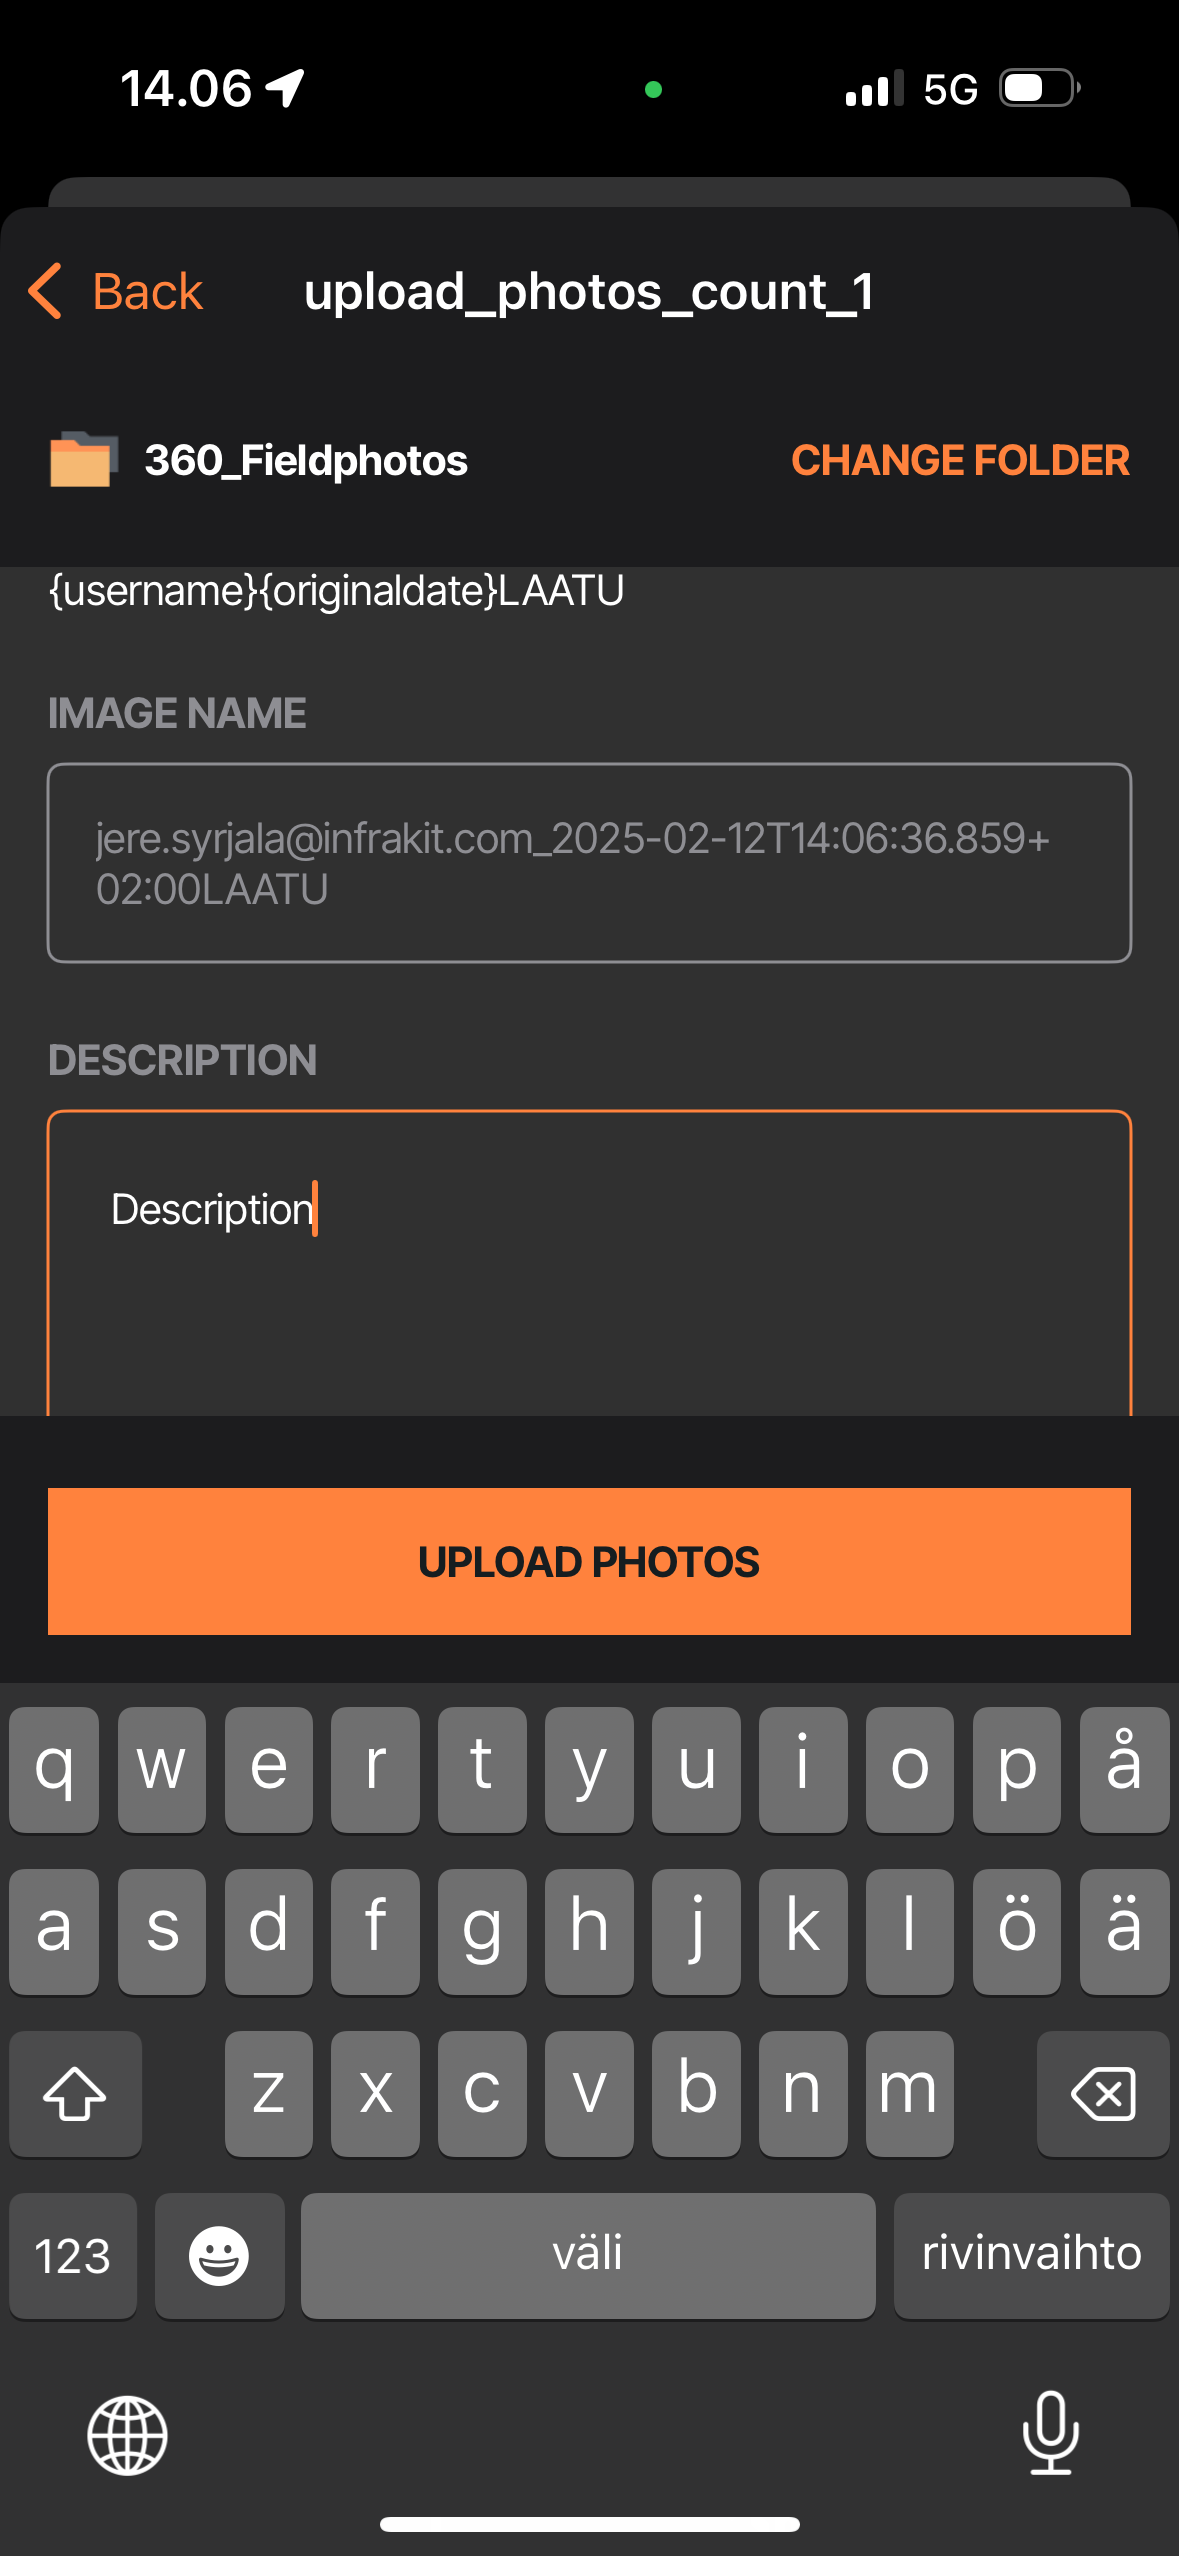
5. DESCRIPTION - Here you can write a description for the photo
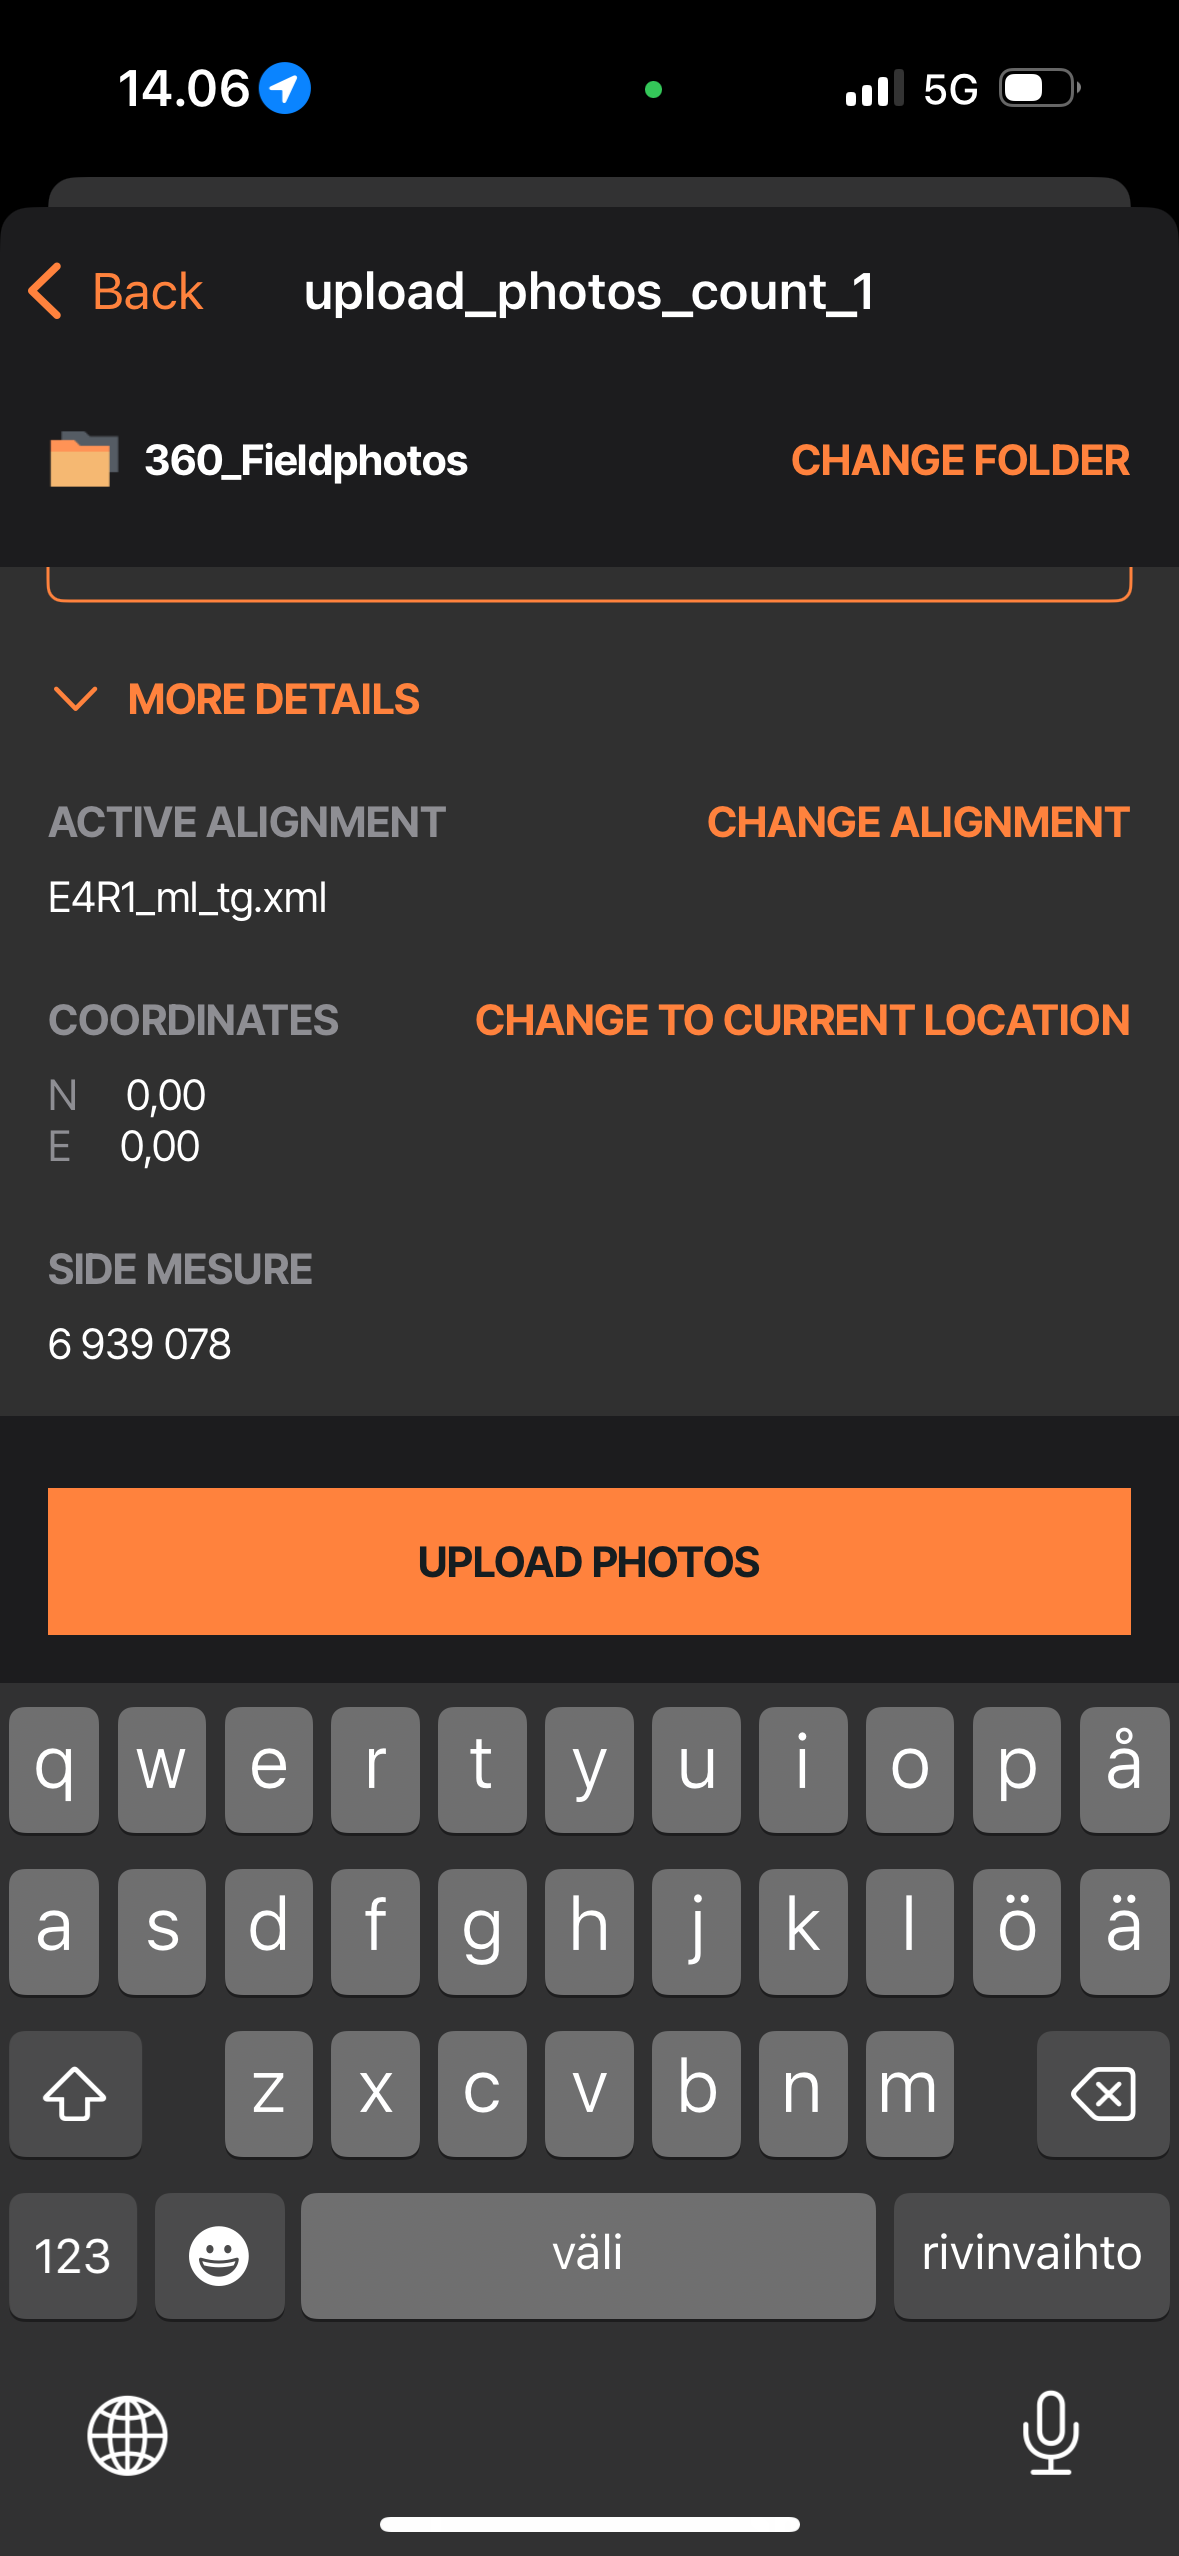
6. MORE DETAILS - If you press "MORE DETAILS" button, you'll see more details that can be edited for the photo, like:
- Edit the location of the photo
- Edit properties of the photos
- Edit stations, directions, attach them to alignments
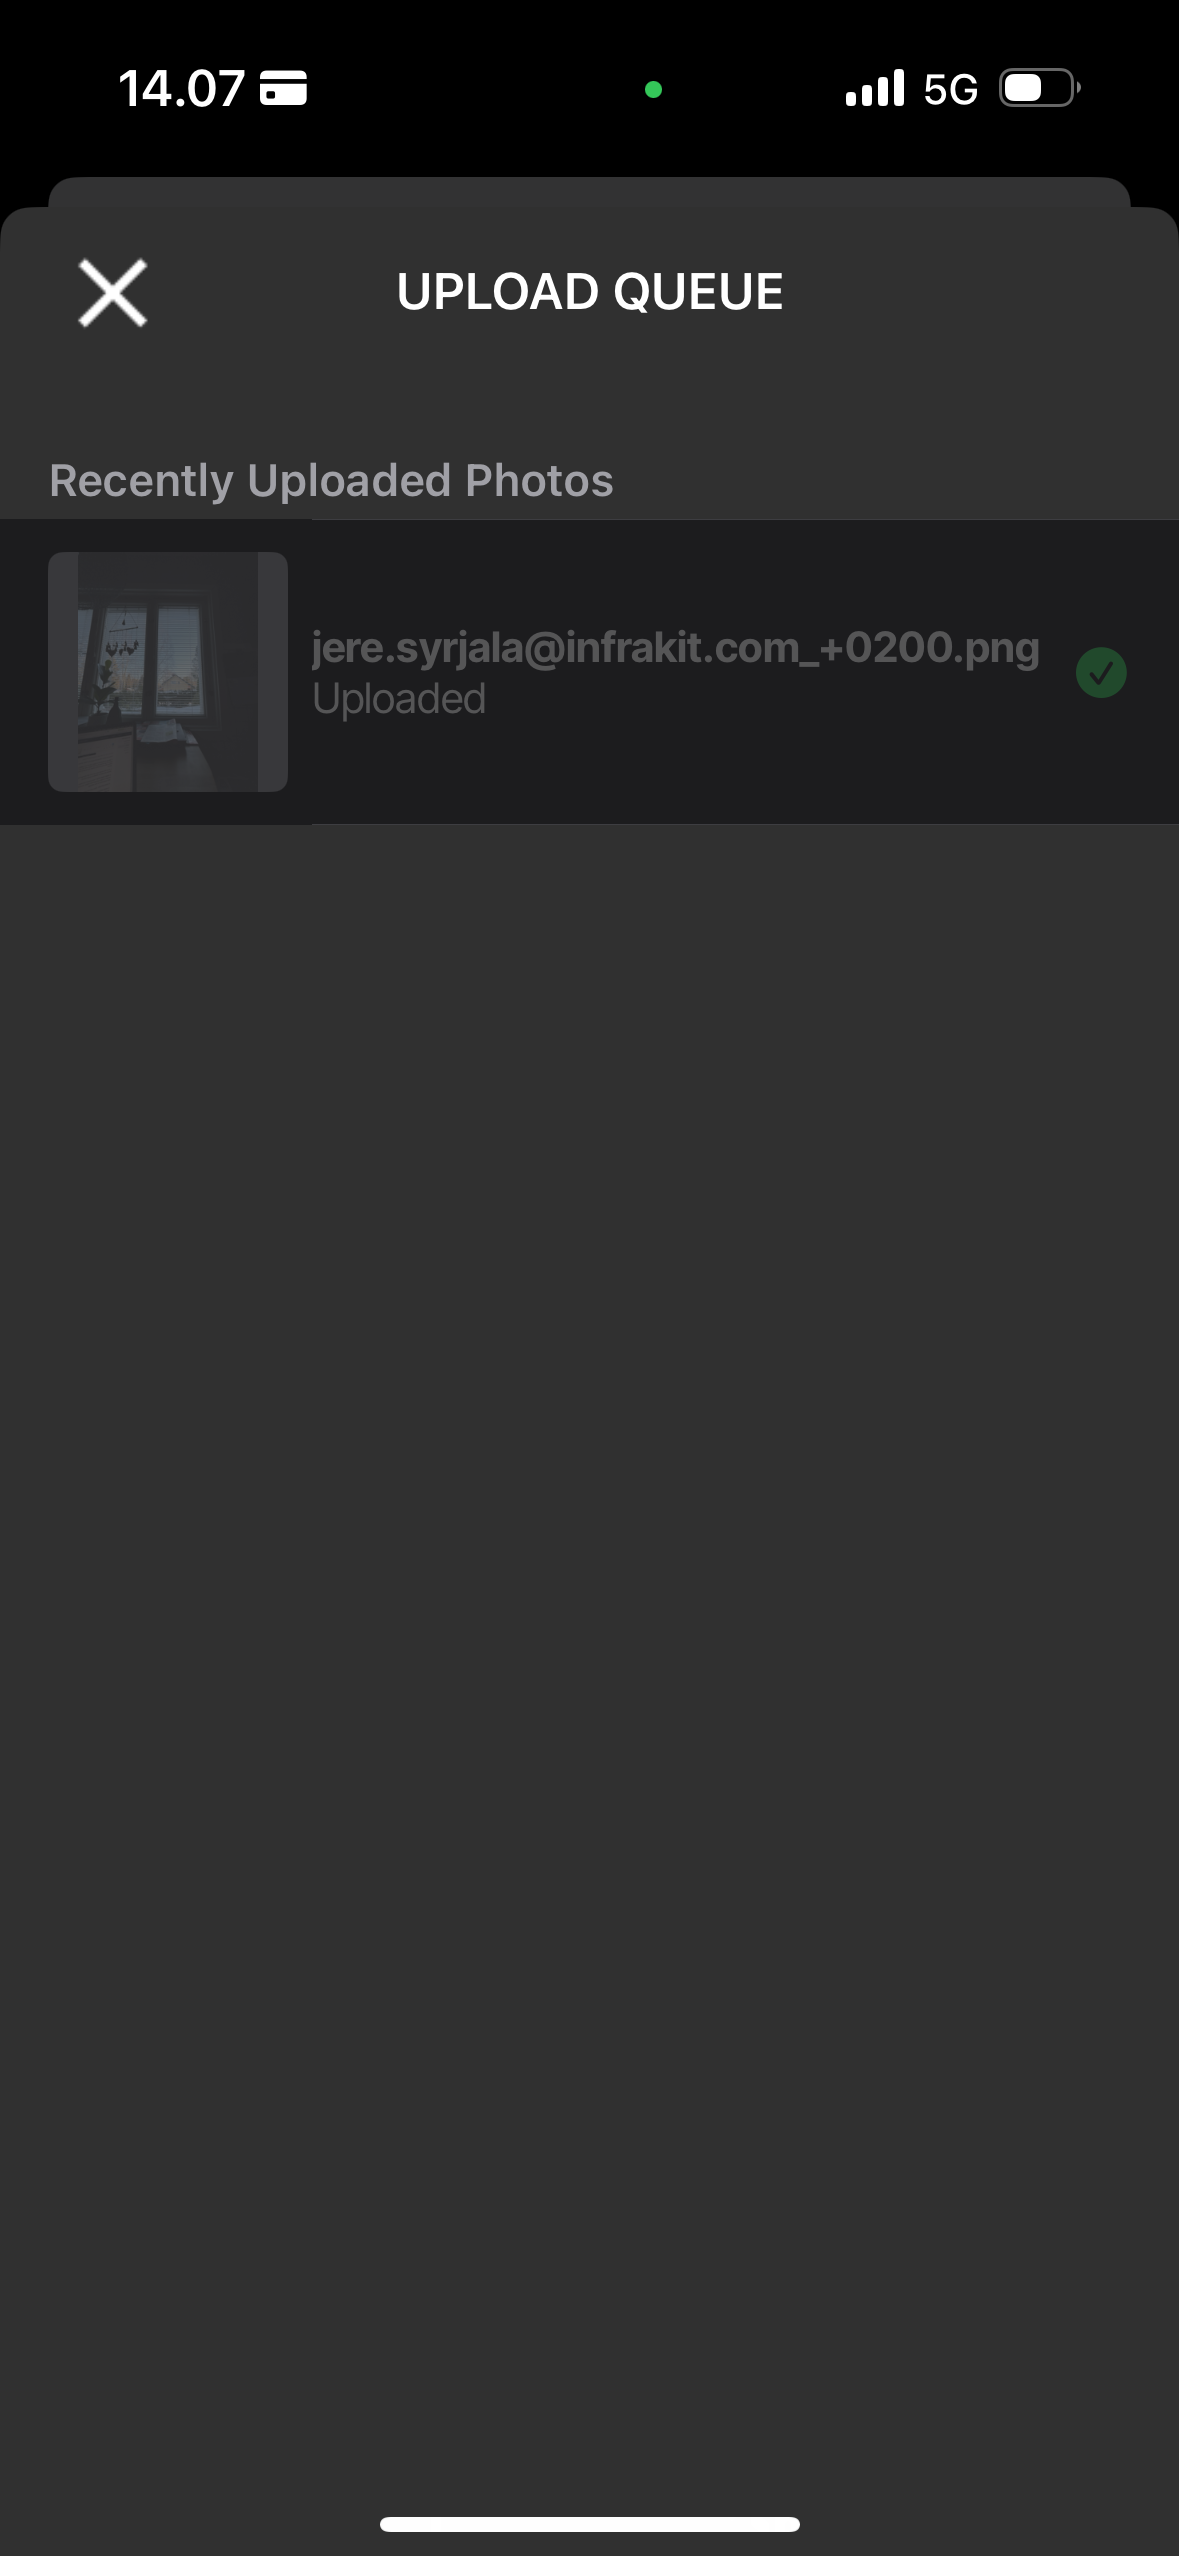
7. UPLOAD QUEUE - After uploading the photos, you can check that they upload correctly from the upload queue which is on the right-hand side of the top header
TIP: Every change you make to the photo details can be also applied to the whole batch taken - This could save a lot of time!